A worn-out or damaged bat grip can significantly impact your batting performance, affecting your swing feel, grip, and ultimately, your ability to hit the ball effectively. A slippery or excessively worn grip not only compromises your control but can also lead to blisters and discomfort, hindering your overall game. Replacing your grip is a straightforward process that can revitalize your bat and enhance your performance on the field, saving you money compared to purchasing a completely new bat. A fresh grip provides superior tackiness and comfort, allowing for a more confident and powerful swing.
This simple yet effective upgrade is surprisingly easy to accomplish, even for those with limited DIY experience. Ready to restore your bat to its optimal hitting condition? Let's dive into the step-by-step process of replacing your baseball bat grip, transforming your worn-out equipment into a high-performance weapon.
Preparation and Safety Guidelines
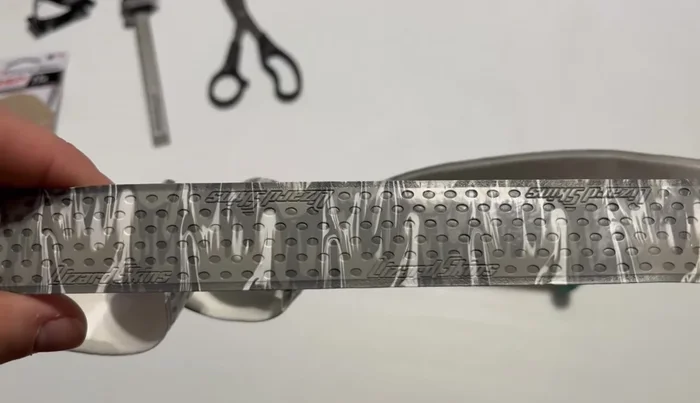
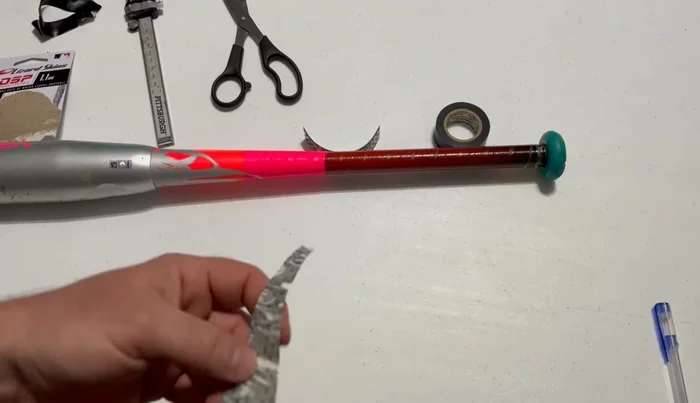
- Lizard Skin Bat Grip
- Scissors
- Black Electrical Tape
- Measuring Tool
- Always use sharp scissors or a utility knife specifically designed for cutting tape. Avoid using dull blades which can slip and cause injury.
- Ensure your hands are clean and dry before applying the new grip to prevent slippage and ensure proper adhesion.
- If you are uncomfortable with any part of this process, seek assistance from a sporting goods professional or someone experienced in replacing bat grips.
Step-by-Step Instructions
Determine Grip Size
- Measure the thickness of your existing grip to determine the correct replacement size.
Prepare the Bat Handle
- Remove the old grip from the bat handle.
- Clean and dry the bat handle thoroughly.

Prepare the Bat Handle Position the New Grip
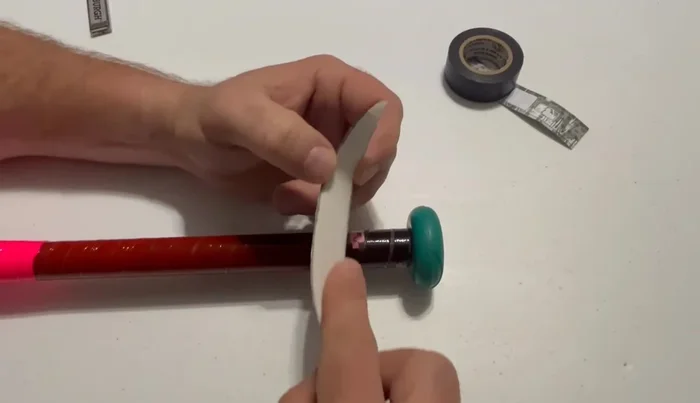
- For a right-handed batter, align the shorter pre-cut angle of the new grip with the knob of the bat.
Position the New Grip Wrap the New Grip
- Peel back a small amount of the backing paper from the new grip, only what you're working with at the moment.
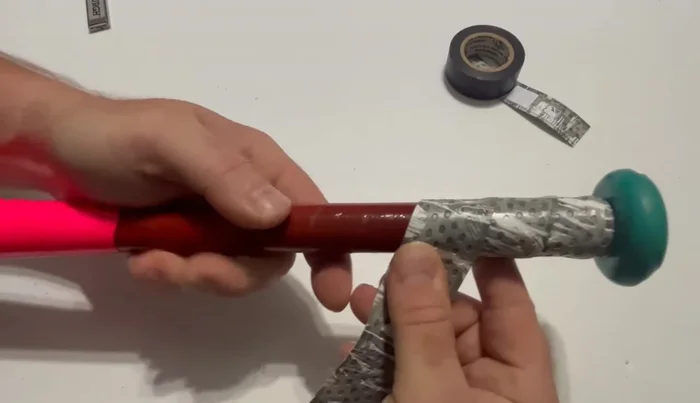
- Begin wrapping the grip around the bat in a counter-clockwise direction (for a right-handed batter), overlapping by about one dot pattern (or to your preference). Avoid overstretching the grip.
- Continue wrapping, peeling back more backing paper as you go, maintaining consistent overlap.
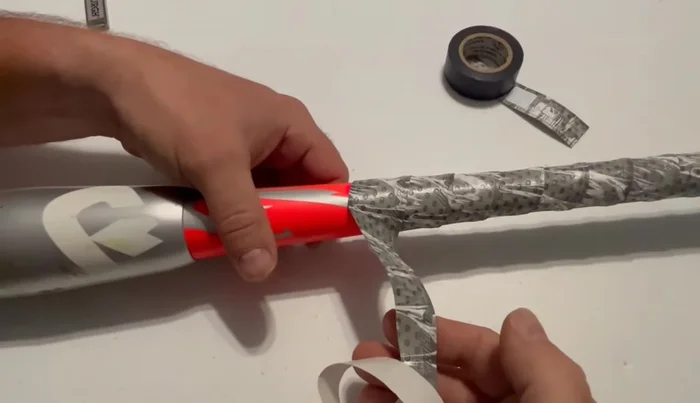
Wrap the New Grip Finish the Wrap
- Trim excess grip material at the end, maintaining a similar angle to the original cut.
- Secure the end of the grip by wrapping it tightly to ensure it is straight.
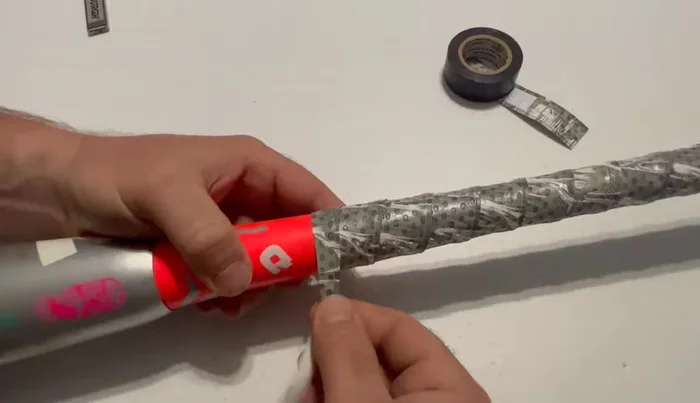
Finish the Wrap Secure the Grip
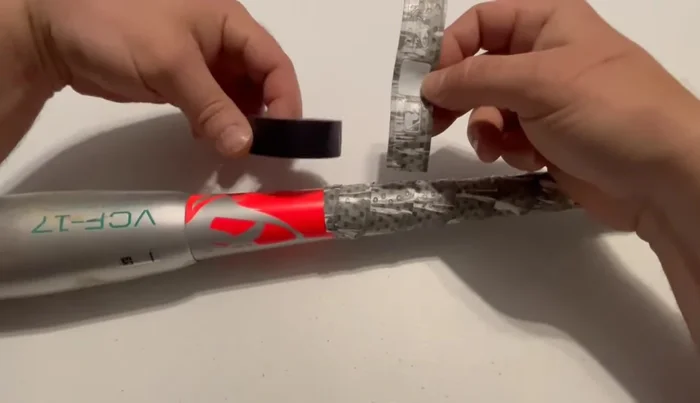
- Apply two wraps of black electrical tape over the end of the grip, ensuring it adheres to both the grip and the bat. This provides stronger adhesion than the included finishing tape.
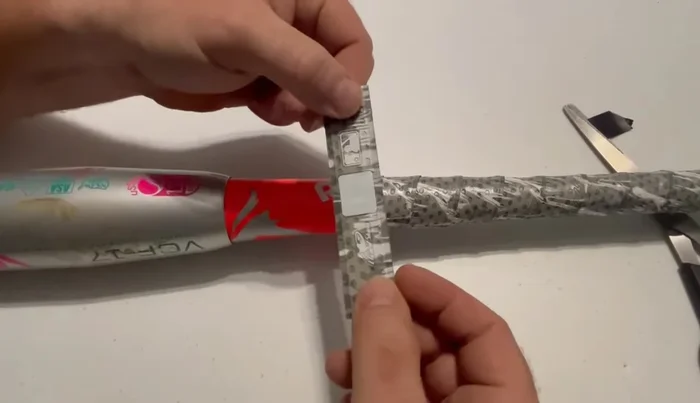
- Use the included finishing tape to neatly cover the black electrical tape.
Secure the Grip
Read more: Best Bat for 8-Year-Olds: A Comprehensive Guide
Tips
- Measure your existing grip to determine the correct replacement size. Online sources may vary.
- Only peel back a little bit of the backing paper at a time to avoid sticking the grip to itself.
- Don't overstretch the grip during application. Just pull it enough to remove wrinkles.
- Use scissors to cut the tape instead of tearing it for a better seal.