Have you ever dreamt of honing your batting skills in your own personal haven? Imagine the freedom to practice whenever the mood strikes, without limitations or waiting lists. Building your own batting cage might seem like a daunting task, but with careful planning and execution, it's entirely achievable, transforming your backyard into a baseball paradise. Forget about crowded fields and unpredictable weather; this guide will empower you to create a personalized training space designed to elevate your game.
This is more than just a DIY project; it's an investment in your passion. From selecting the perfect location and materials to constructing a sturdy and safe structure, we'll walk you through every step of the process, ensuring you end up with a batting cage that's both functional and aesthetically pleasing. Ready to transform your dreams into reality? Let's dive into the step-by-step guide below.
Preparation and Safety Guidelines
- End poles
- Level
- Concrete
- Twine
- String
- Concrete bags (80 pounds)
- Carabiners snap clips
- Nets
- Ladders
- Turf (putting green type)
- Net savers
- Heating mat
- Inlaid lens and plate
- Practice Net
- Always wear a helmet and protective eyewear when hitting in the batting cage. No exceptions.
- Ensure the netting is securely fastened and in good condition to prevent balls from escaping. Regularly inspect for tears or damage.
- Maintain a safe distance from the pitching machine and other individuals while in the batting cage. Never swing wildly or recklessly.
Step-by-Step Instructions
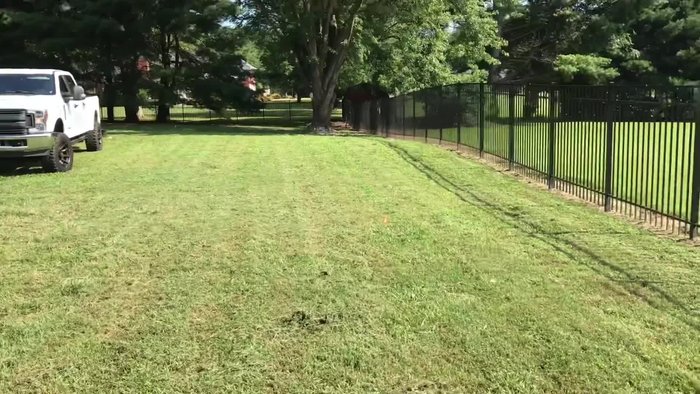
Site Preparation
- Find a level spot for your batting cage. Perfect leveling isn't necessary.

Site Preparation Frame Construction
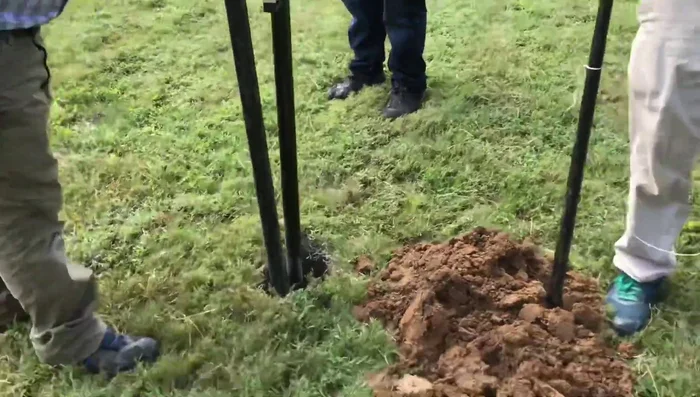
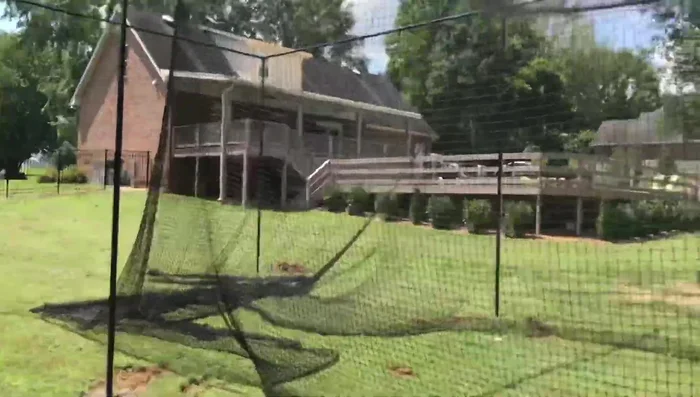
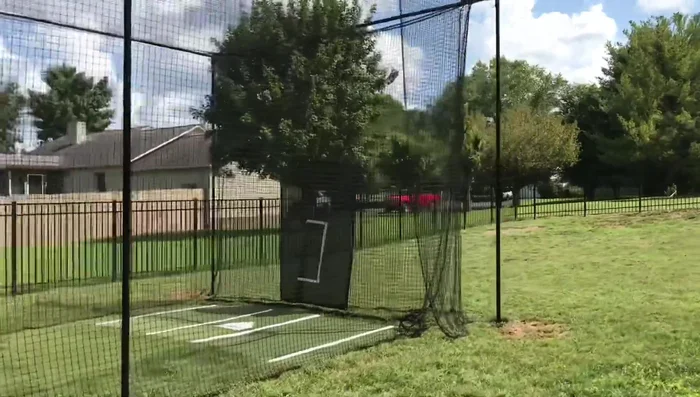
- Set the end poles, ensuring they are level and form a square. Bury them at least 18 inches, ideally 2 feet, into the ground with concrete.
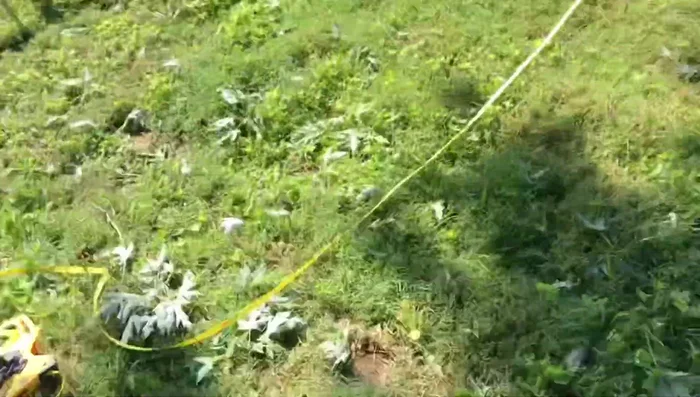
- Use twine or string to create straight lines between the poles to ensure accurate placement and a square frame.
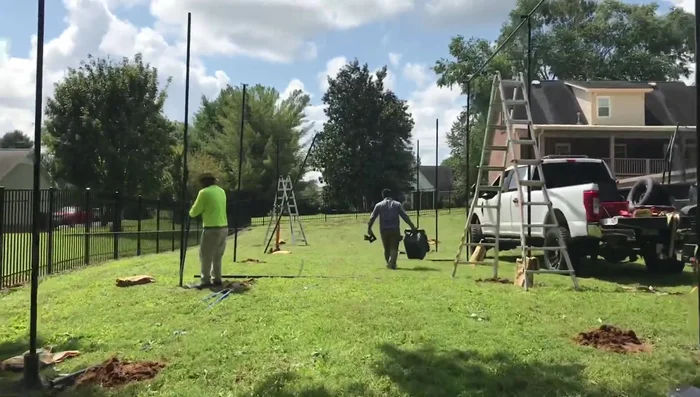
- Connect the top of the frame to add stability and a clean look.
Frame Construction Netting Installation Preparation
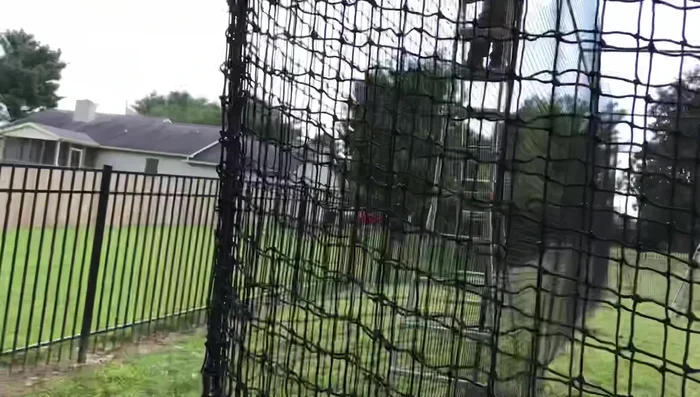
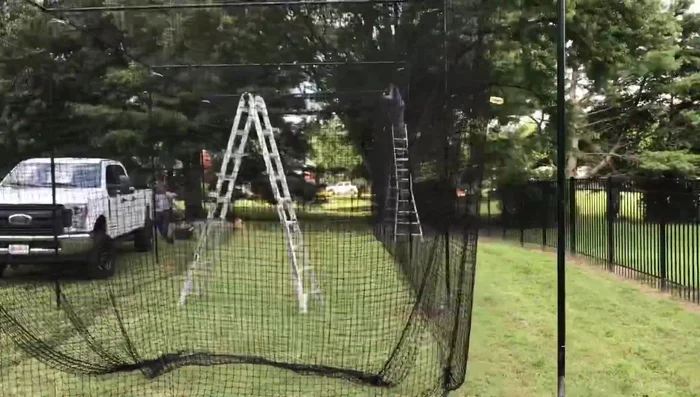
- Install the fittings for the netting, using carabiners or snap clips for easy connection. Two people are recommended for this task to ensure safety and efficiency.
- Lay out the net completely before attaching it to the frame. Divide the extra net into sections to ensure even distribution and easy clipping.
Netting Installation
- Attach the net to the frame, ensuring it hangs inside the frame and isn't touching it. Adjust the length of each section to remove sagging.
- Pull up the net tails to create a taut and clean finish. A team approach is recommended for this step for safety and efficiency.
Netting Installation Addressing Frame Imperfections
- Add extra netting temporarily to any low corners if needed before adding concrete and turf.
Addressing Frame Imperfections Finishing Touches
- Secure the extra net at the bottom, creating a “taco” shape to keep it in place and ensure a neat finish.
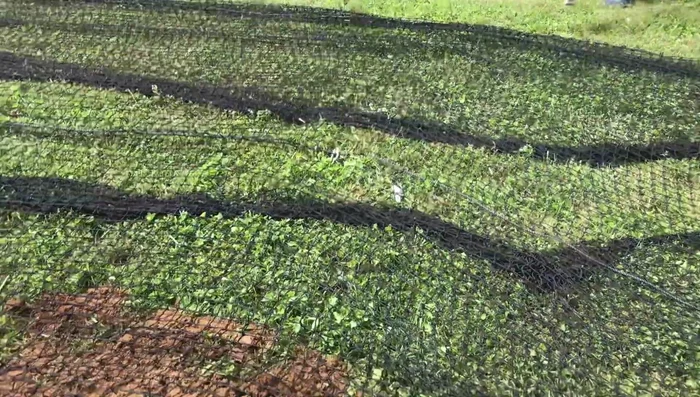
- Install the turf, net savers, heating mat, and other finishing touches.
Finishing Touches
Read more: String Line Method for Perfect Batting Cage Alignment
Tips
- Use dry concrete mix for easier installation and less water usage.
- Use 80-pound concrete bags for setting the poles. Quick-crete is a good option.
- Don't use teeth to hold ropes during installation; use proper pulling techniques to ensure safety.
- Aim for a 14-foot wide batting cage to provide enough space for batters to swing freely.