Cricket, a sport loved by millions, often requires specialized equipment that can strain the budget. One such item is the batting T-stand, essential for honing batting skills. Purchasing a professional-grade T-stand can be a significant expense, especially for individuals or clubs with limited resources. Fortunately, crafting your own high-quality, durable batting T-stand is entirely feasible with readily available materials and basic tools, offering considerable cost savings without sacrificing performance. This DIY approach allows for customization to your specific needs and preferences, ensuring a perfect fit for your practice sessions.
This guide provides a comprehensive, step-by-step approach to constructing your own cost-effective batting T-stand, walking you through each stage of the process with clear instructions and helpful images. Get ready to save money and improve your batting prowess with this simple yet effective DIY project, transforming your backyard into your personal cricket training ground.
Preparation and Safety Guidelines
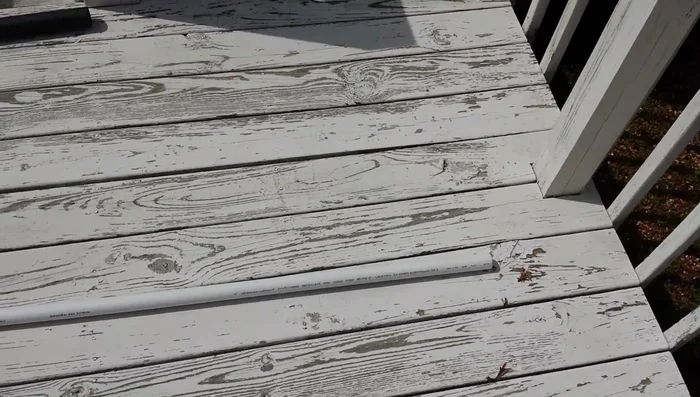
- 10-foot piece of 1-inch PVC pipe (3/4 inch also works)
- Four PVC caps
- Three PVC T-connectors
- One PVC cross-connector
- Saw (skill saw or hand saw)
- Measuring tape
- Pencil or marker
- Sand (optional)
- Insulation (optional)
- Tape (optional)
- Always ensure the stand is stable and firmly planted on the ground before use. Uneven ground or improper setup can lead to tipping and injury.
- Use caution when hitting balls. Never swing wildly or without regard for your surroundings. Clear the area of any obstacles or people before beginning.
- Regularly inspect the stand for any signs of damage or wear. Replace or repair any damaged parts immediately to prevent collapse and injury.
Step-by-Step Instructions
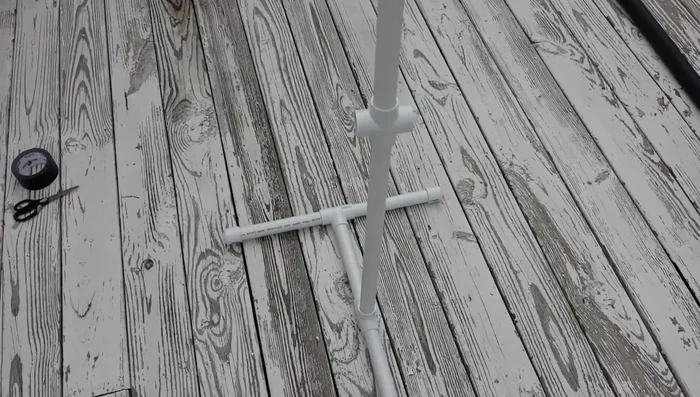
Prepare Base
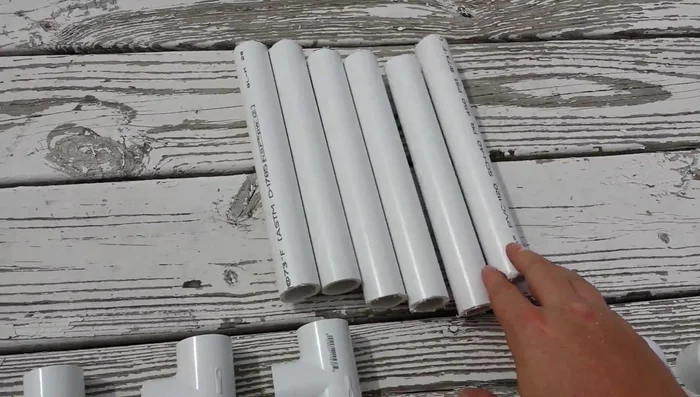
- Cut the PVC pipe into six 10-inch pieces for the base.
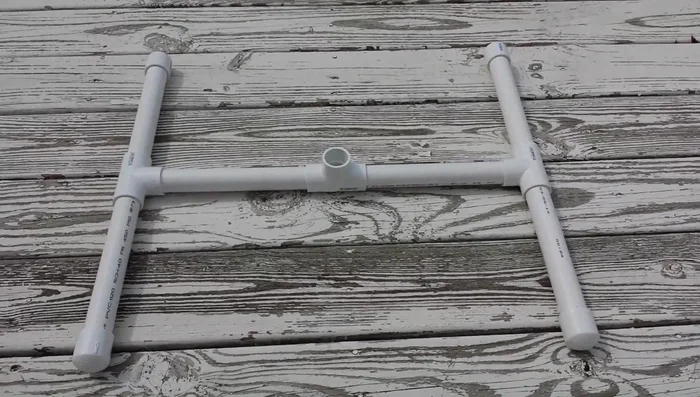
- Assemble the base using the three T-connectors and the six 10-inch pieces.
- Fill the base pipes with sand for added stability (optional).

Prepare Base Assemble Central Post
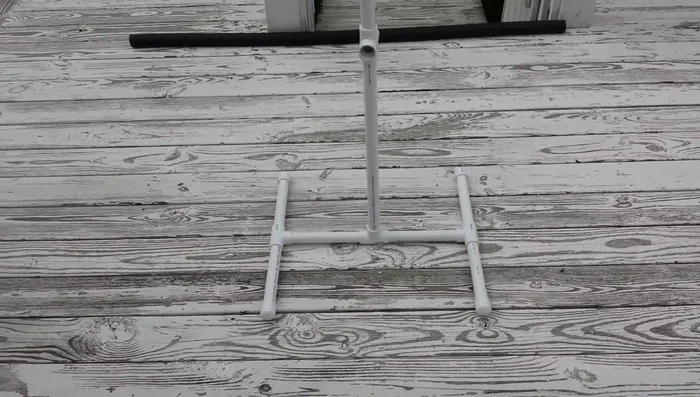
- Cut a 2-foot long piece of PVC for the central post.
- Attach the central post to the base using a T-connector.
- Attach the cross-connector to the central post for height adjustment.
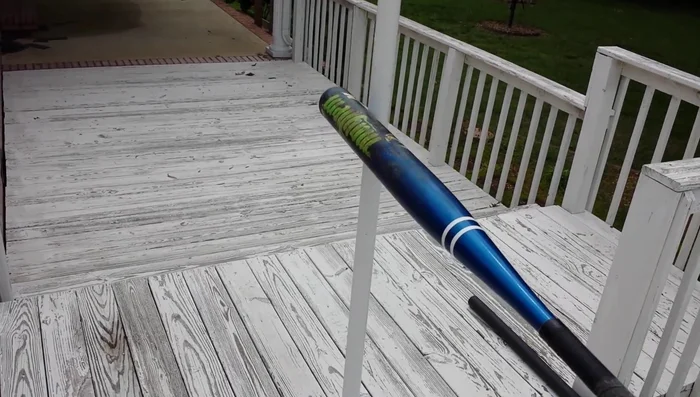
Assemble Central Post Determine Hitting Height
- Use a bat to determine your preferred hitting height. Mark the central post at this height.
- Measure down 2.5 inches from the marked height to account for the ball's height on the tee.
- Measure down an additional 3 inches for the insulation padding.
- Cut the central post at the final marked height.
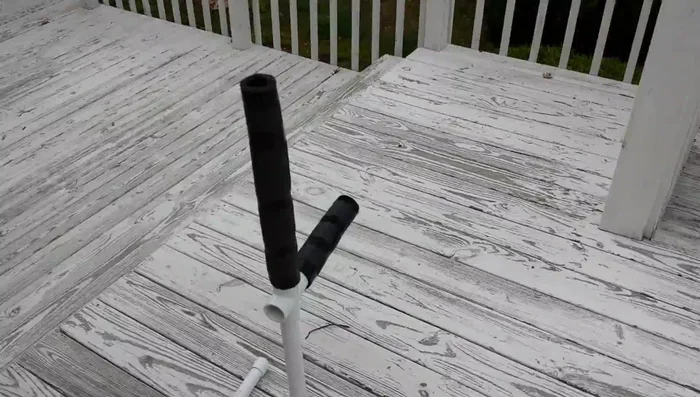
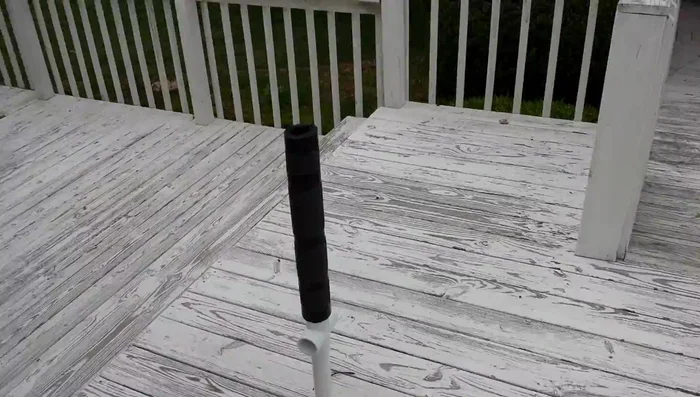
Determine Hitting Height Add Padding and Decoration
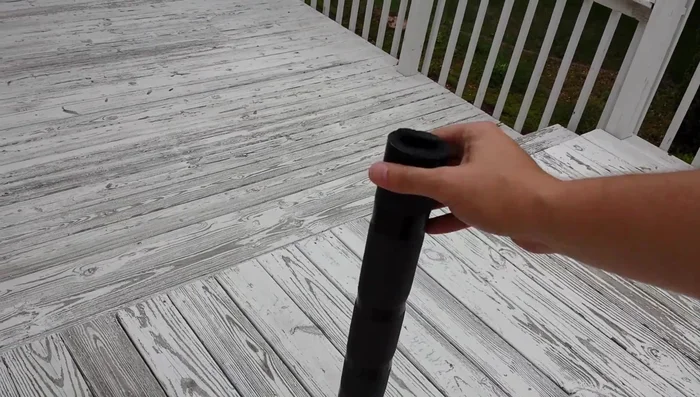
- Apply the insulation to the top of the central post.
- Add decorative tape for aesthetics (optional).
Add Padding and Decoration


Tips
- Consider using sand to add weight and stability to the base.
- Add extra insulation for beginners who may not have as accurate a swing.
- Personalize your T-stand with team colors or your favorite colors.