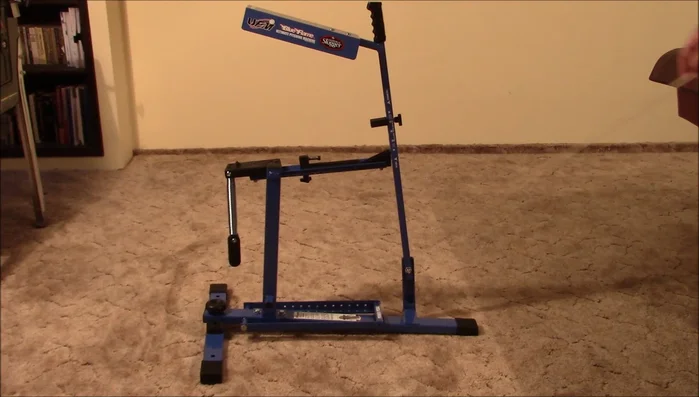
The Louisville Slugger Blue Flame pitching machine is a popular choice for coaches and players alike, offering a consistent and reliable way to improve pitching skills and batting practice. Its robust design, however, requires careful assembly to ensure optimal performance and longevity. This guide will equip you with the knowledge and tools necessary to successfully set up your Blue Flame, maximizing its potential and minimizing the risk of damage or injury. Proper assembly is key to unlocking the machine's full capabilities, ensuring consistent ball speed and trajectory.
This introduction will cover essential pre-assembly checks and provide a foundational understanding of the machine's components. We’ll then dive into a detailed, step-by-step assembly process, complete with illustrative diagrams and helpful troubleshooting tips. Following this guide, you'll be ready to experience the benefits of a perfectly assembled Blue Flame pitching machine, leading to more effective training sessions and improved player performance.
Preparation and Safety Guidelines
- Louisville Slugger Blue Flame Pitching Machine
- Wrench
- Phillips Head Screwdriver
- 9in Camping Stakes
- Always wear safety glasses while assembling and operating the pitching machine. Debris or malfunctioning parts can cause eye injuries.
- Ensure the pitching machine is placed on a stable, level surface away from obstacles and people before turning it on. Never operate near children.
- Disconnect the power cord before performing any maintenance or cleaning. Failure to do so could result in electric shock.
Step-by-Step Instructions
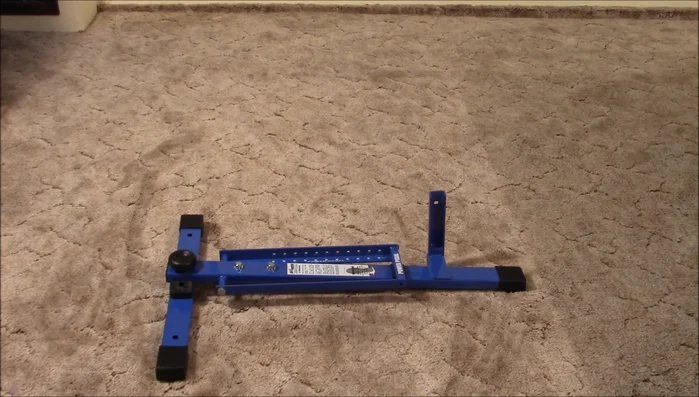
Attach Front Leg
- Remove the large hand screw from the base assembly and use it to attach the front leg assembly.

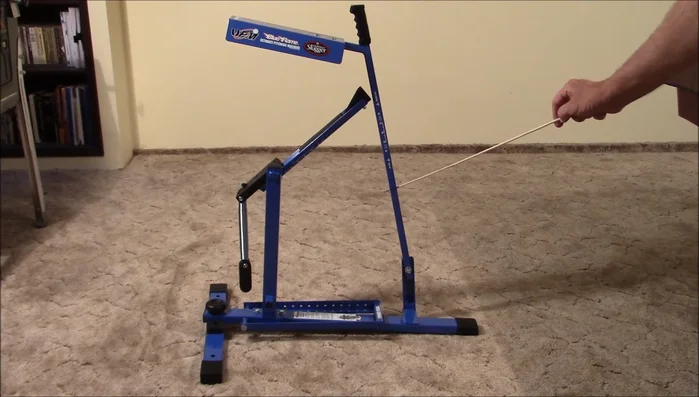
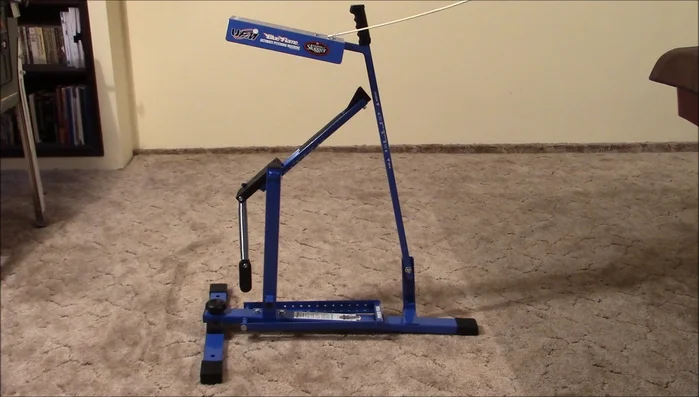
Attach Front Leg Attach Throwing Arm
- Attach the throwing arm to the base by removing two 9/16 bolts, positioning the throwing arm over the holes, and reinserting the bolts. Tighten the bolts into the frame and then tighten the lock nuts onto the bolts.
Attach Throwing Arm Attach Release Arm
- Remove the bolt from the release arm, pass it through the base holder, align the release arm with the holes, and tighten the nut.
Attach Release Arm Attach Ball Shield
- Attach the ball shield using a Phillips head screwdriver.
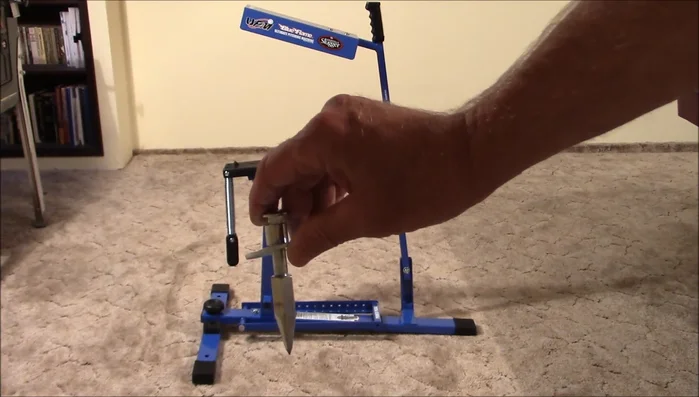
Attach Ball Shield Attach Micro Adjustment and Release Arm Block
- Attach the micro adjustment and release arm block using the provided thumb screws.
Attach Micro Adjustment and Release Arm Block Attach Stabilizing Stakes (Replace Included Spikes)
- Attach two securing spikes to the front leg assembly (though these are considered inadequate; use camping stakes instead).
Attach Stabilizing Stakes (Replace Included Spikes) Attach Spring
- Attach the spring to the rotating pivot arm of the base plate using the provided cotter pin.
Attach Spring

Tips
- Use 9in camping stakes instead of the provided spikes to anchor the machine for better stability.
- For Little League batters, at a distance of 52 ft (instead of 42 ft), use power level 11, micro adjustment at 3, release arm at 4, and fine adjustment halfway for optimal strike zone coverage.
- To compensate for the lack of pitcher windup, move the machine back 10ft (to 52ft) to give the batter more reaction time.
- Pull the release arm back slowly and smoothly for consistent pitch accuracy. Avoid jerking the arm.
- For grounders, using your arm is more efficient than the machine.