Build your dream backyard batting cage without breaking the bank! This comprehensive guide walks you through a DIY project that delivers professional-grade results at a fraction of the cost. We'll show you how to construct a sturdy and long-lasting batting cage using readily available materials and a proven frame kit, eliminating the need for expensive pre-assembled cages. From choosing the right foundation and turf to installing the frame and netting, we provide detailed, step-by-step instructions perfect for DIY enthusiasts of all skill levels.This guide outlines the entire process, from planning the base and sourcing materials to assembling the frame and hanging the net. Learn how to create a level and well-drained base using gravel, install a high-quality, durable turf surface, and expertly assemble a strong and safe frame. We'll also cover essential accessories to enhance safety and functionality, transforming your backyard into the ultimate batting practice haven. Get ready to experience the satisfaction of building your own custom batting cage and enjoying countless hours of practice!
Pros And Cons
- Simulates a real batter's box.
- Protects the turf from damage in the hitting area.
- High quality.
- Drains extremely well.
- Realistic looking.
- 2-inch blade of grass with brown thatch for thickness.
- High quality materials at an affordable price.
- Saves money versus a complete frame by allowing DIYers to source their own pipe.
- Strong design (2 1/4 in 14 gauge galvanized steel).
- Easy to hang net on cables.
- Strong, sturdy frame without cables coming off the ends (eliminates trip hazard).
- Packs down hard like concrete.
- Allows water drainage.
- Jagged edges help with packing.
Read more: Master Your Swing: 5 Top-Rated Folding Baseball Practice Nets
Choosing the Right Cage Frame
The foundation of any successful batting cage is its frame. I opted for the Simron Sports 2 1/4" Deluxe Commercial Cable Frame Kit. This kit provides all the essential corner pieces, transitions, ground sleeves, cables, and hardware, saving you money compared to buying a complete pre-assembled cage. The high-quality 2 1/4" x 14-gauge galvanized steel components ensure durability and strength.
The kit's smart design allows for sourcing your own 2" EMT conduit for the vertical and horizontal poles. This readily available material at Home Depot or Lowe's further reduces costs. My cage measures 15 1/2 ft wide by 55 ft long, resulting in a sturdy structure with three arches and four angled supports – eliminating tripping hazards often associated with exposed end cables.
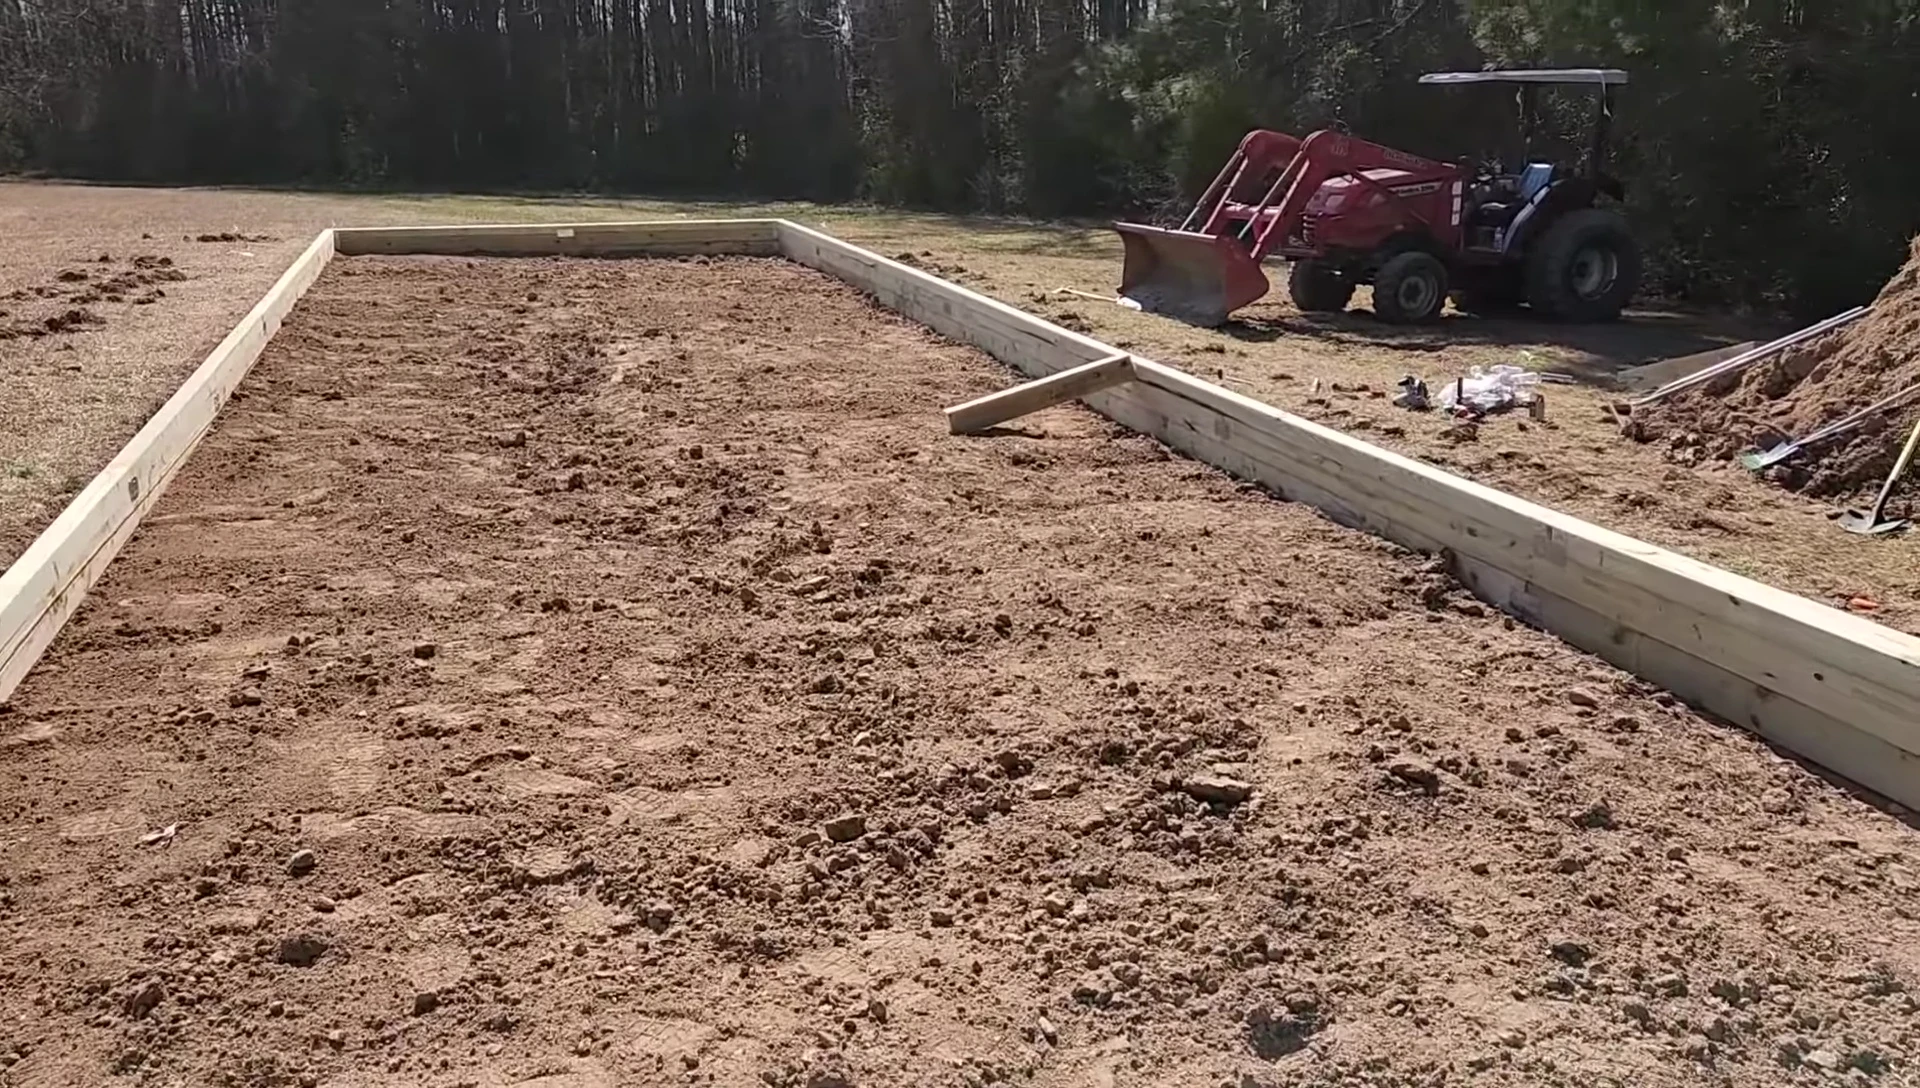
Creating a Solid Base
A level and well-drained base is crucial for cage stability and longevity. While grass or concrete are options, a raised gravel base offers superior performance. It levels uneven ground, provides excellent drainage, and avoids muddy conditions. I used a densely packed gravel that mimics the firmness of concrete without the drainage issues.
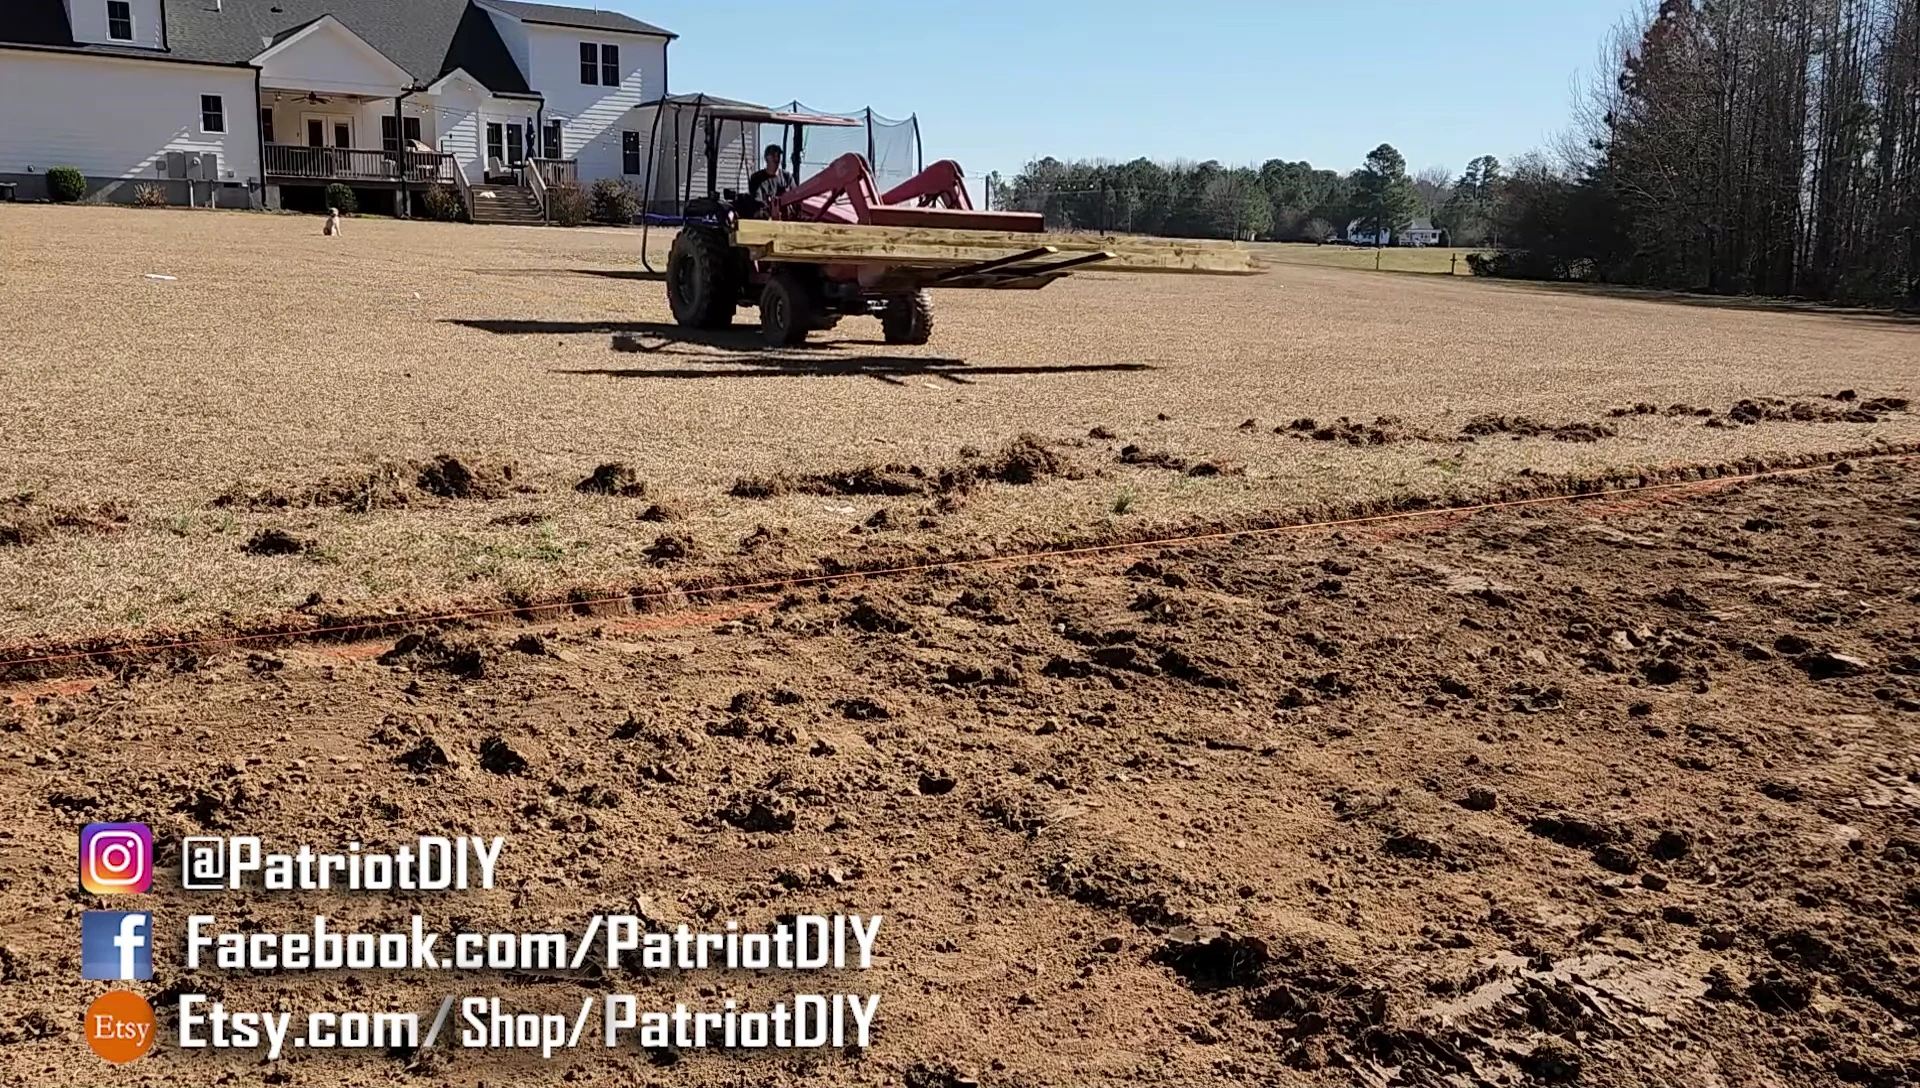
Building the base involves creating a perimeter frame using pressure-treated 4x6 lumber. Leveling is key; start at the lowest point of your yard to ensure a consistent surface. Reinforce the frame by layering 4x6s and securing them with metal strapping and lag screws. Remember, at least 4 inches of gravel are needed for proper compaction.
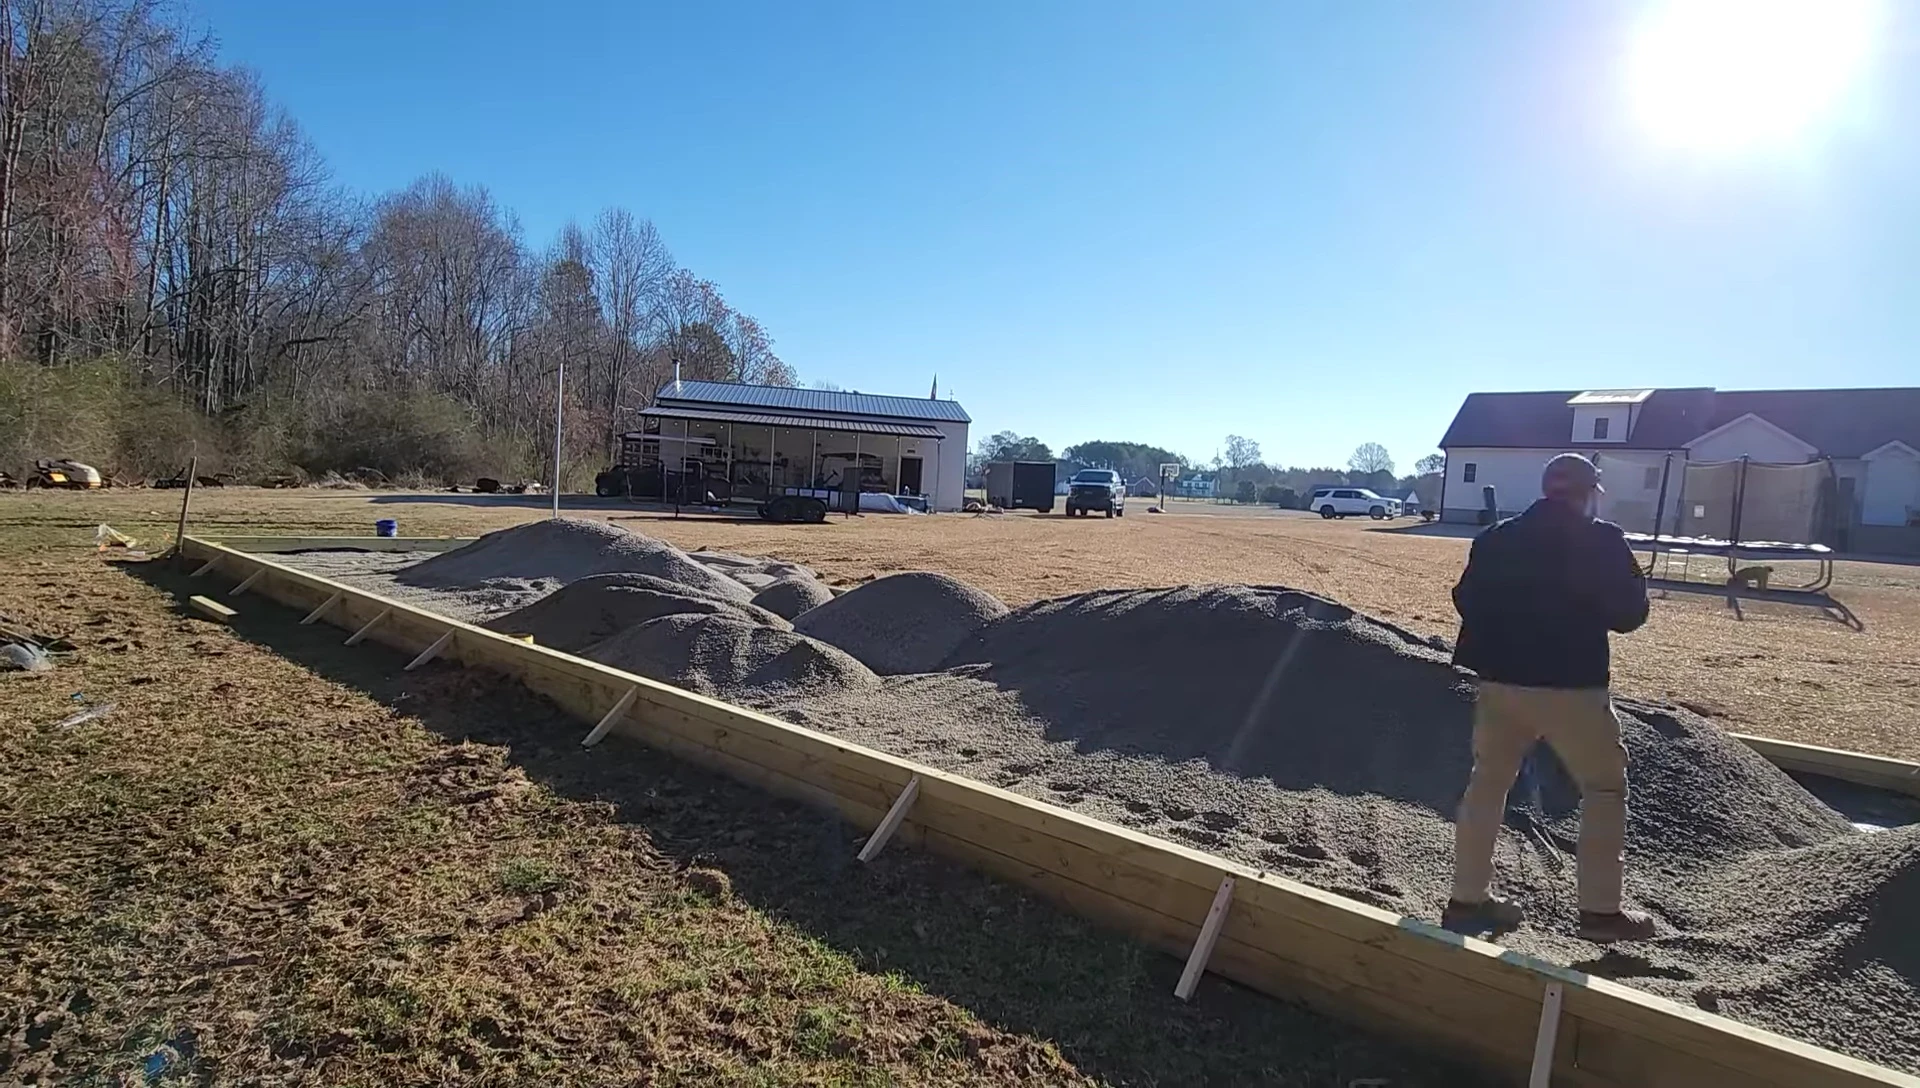
Adding Turf and Infill
I chose high-quality outdoor turf from ATX Turf, known for its excellent drainage and realistic appearance. The 2-inch blade height and thatch provide a thick, natural look. ATX Turf’s website offers valuable guidance on base materials and cage kits.
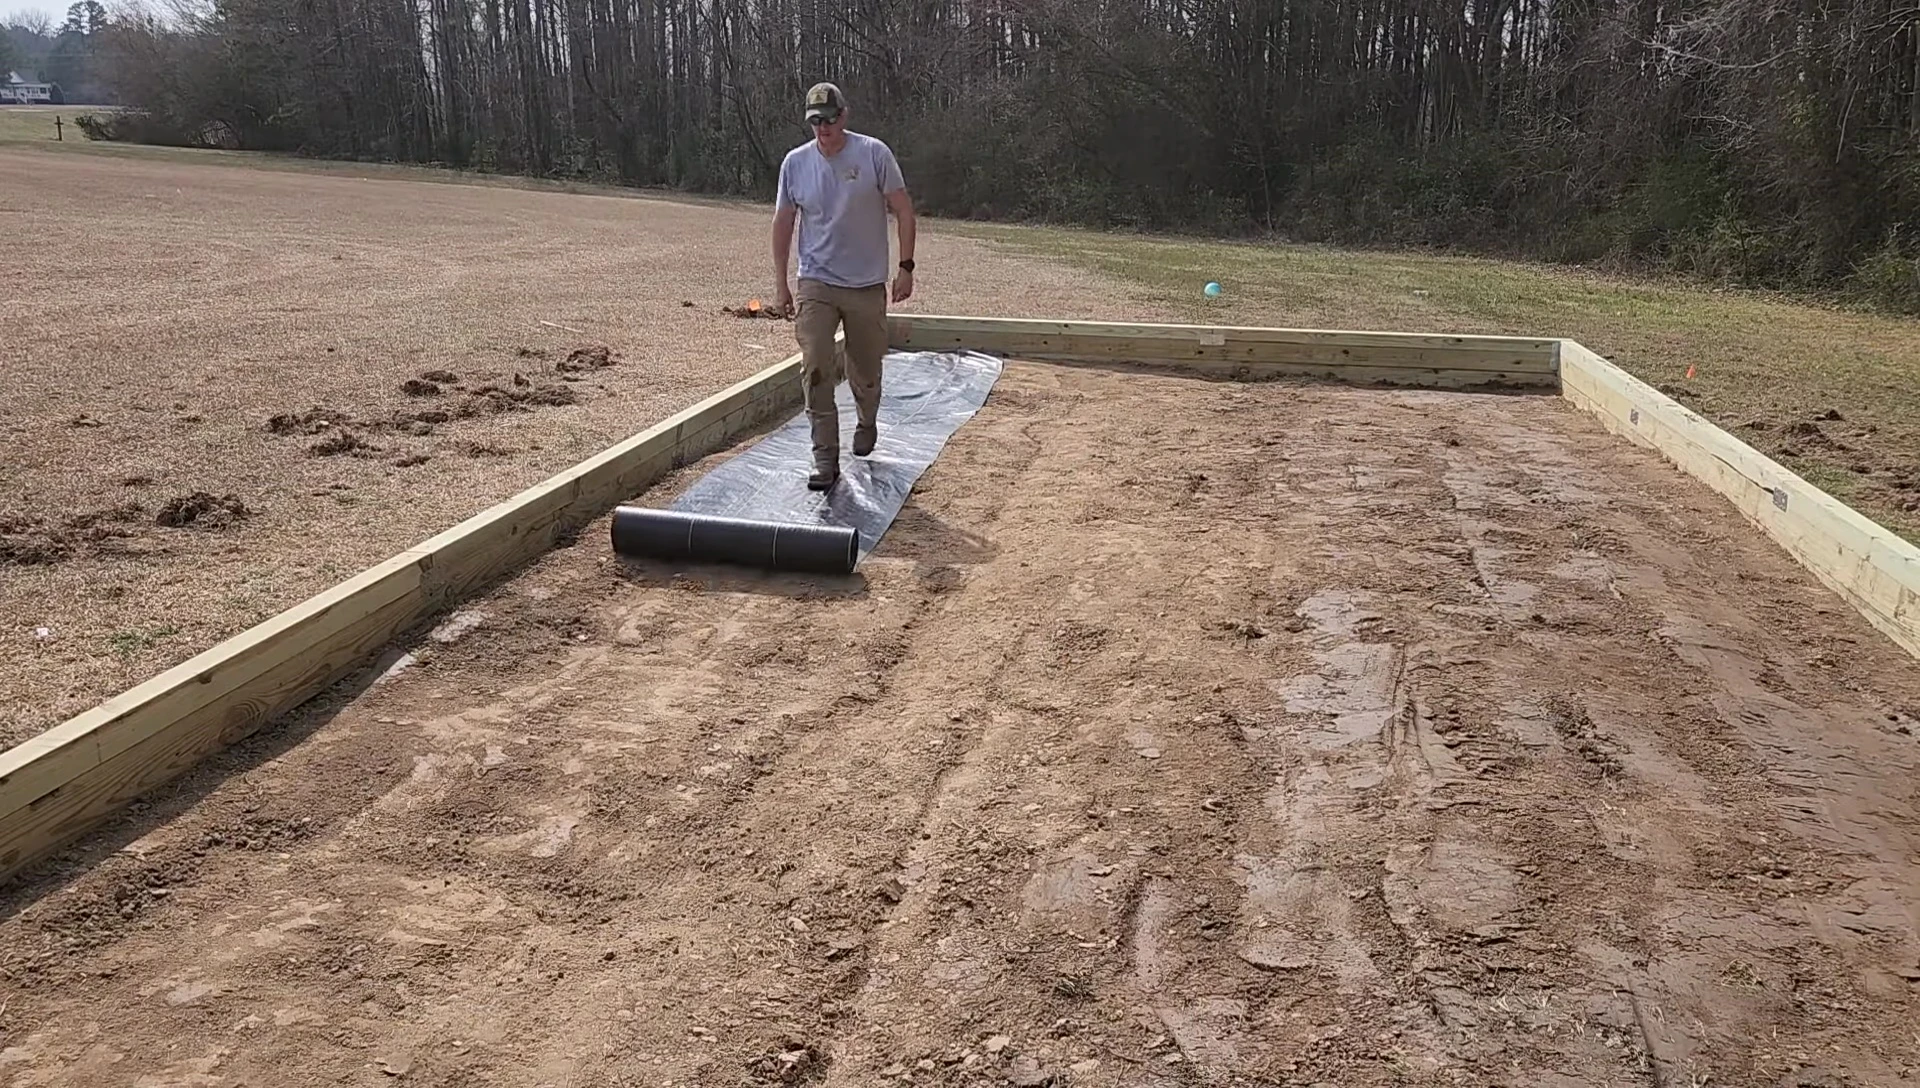
After securing the weed barrier fabric to the base, I filled the frame with crushed 8-9 stone gravel, compacting it thoroughly with a plate compactor. Finally, I rolled out and secured the turf, trimming the excess and staking it down tightly. For added stability and a more natural look, infill sand was spread and brushed into the turf.
Assembling and Installing the Cage
Before installing the Simron Sports kit, I pre-assembled the arches and prepared the poles. Cleaning the poles with white vinegar and applying a bonding primer and black enamel paint ensures long-lasting protection and a professional finish.
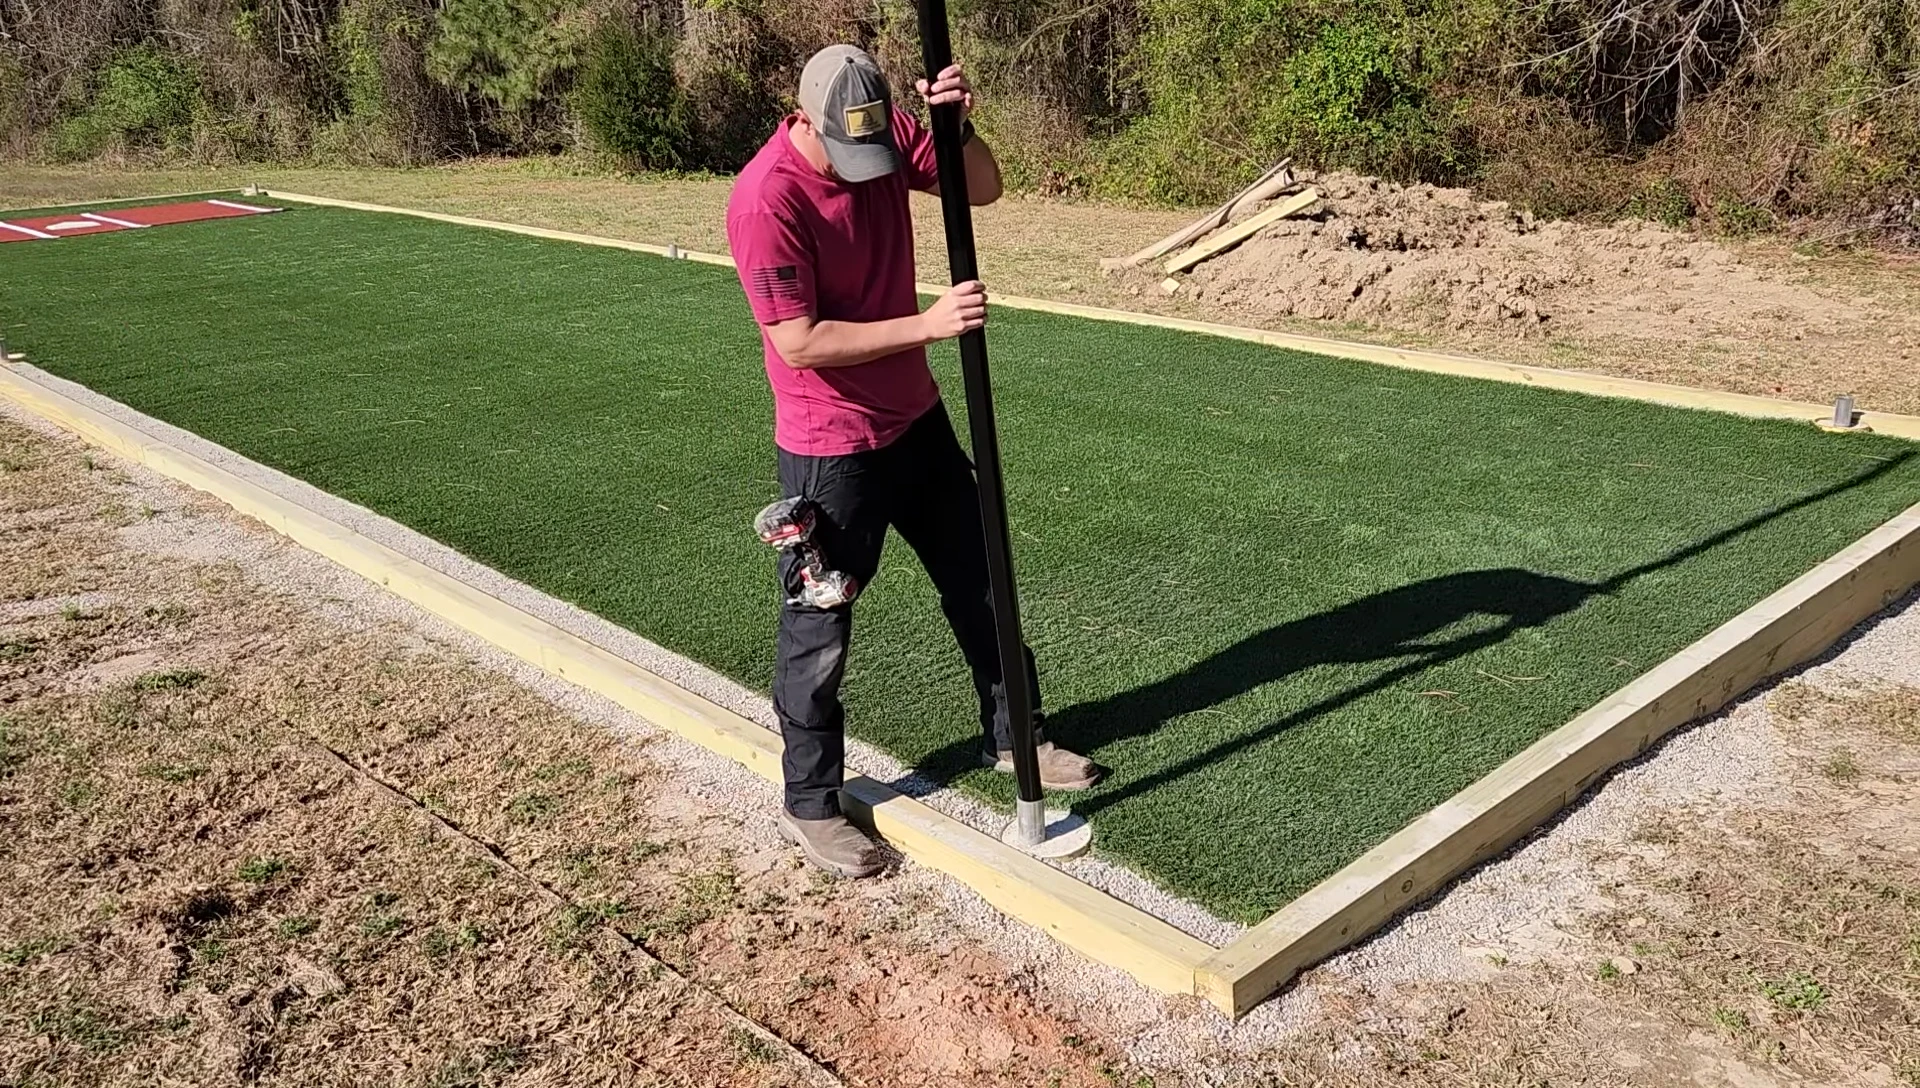
Install the ground sleeves, setting them at the correct height using concrete. Install the poles into the sleeves, securing them with self-tapping screws. Add padding to the bottom of the poles for added safety. Attach the pre-assembled arches and angled supports, using the provided clamps and hardware.
Hanging the Net and Adding Accessories
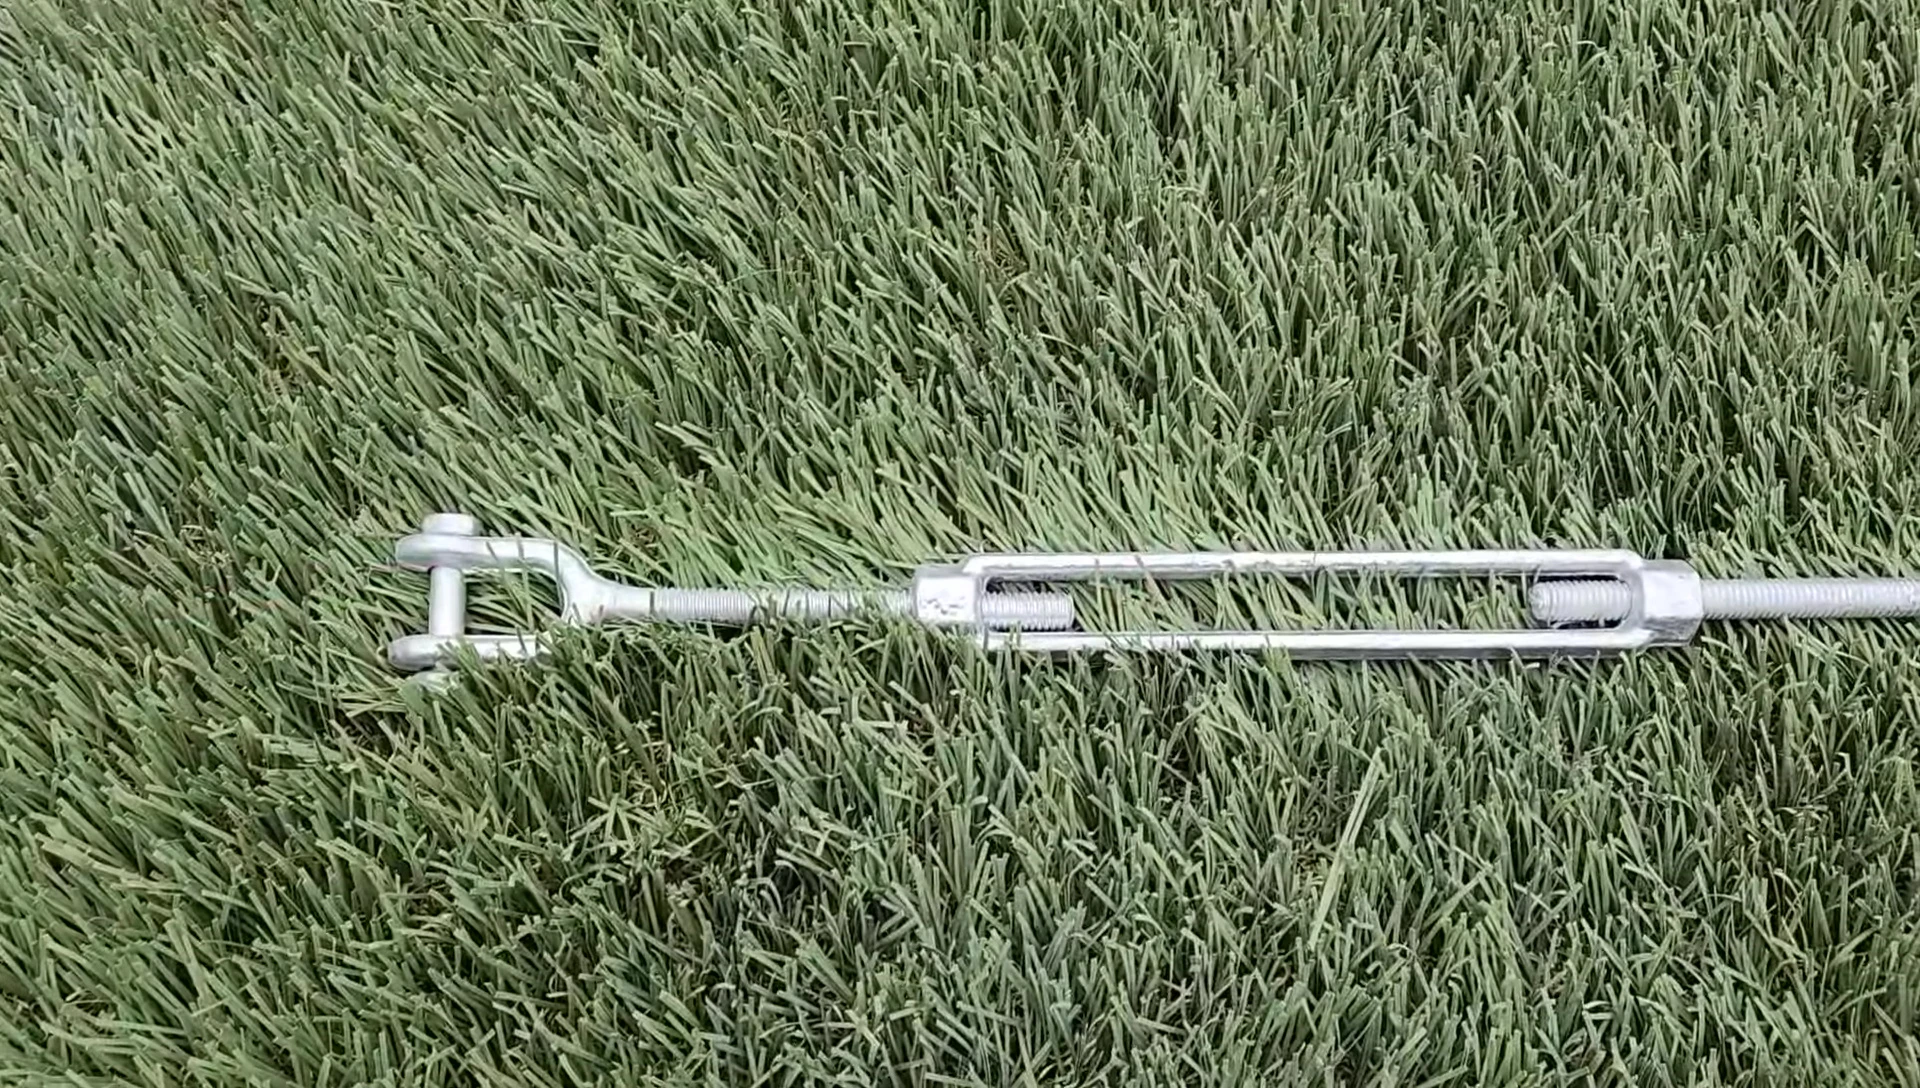
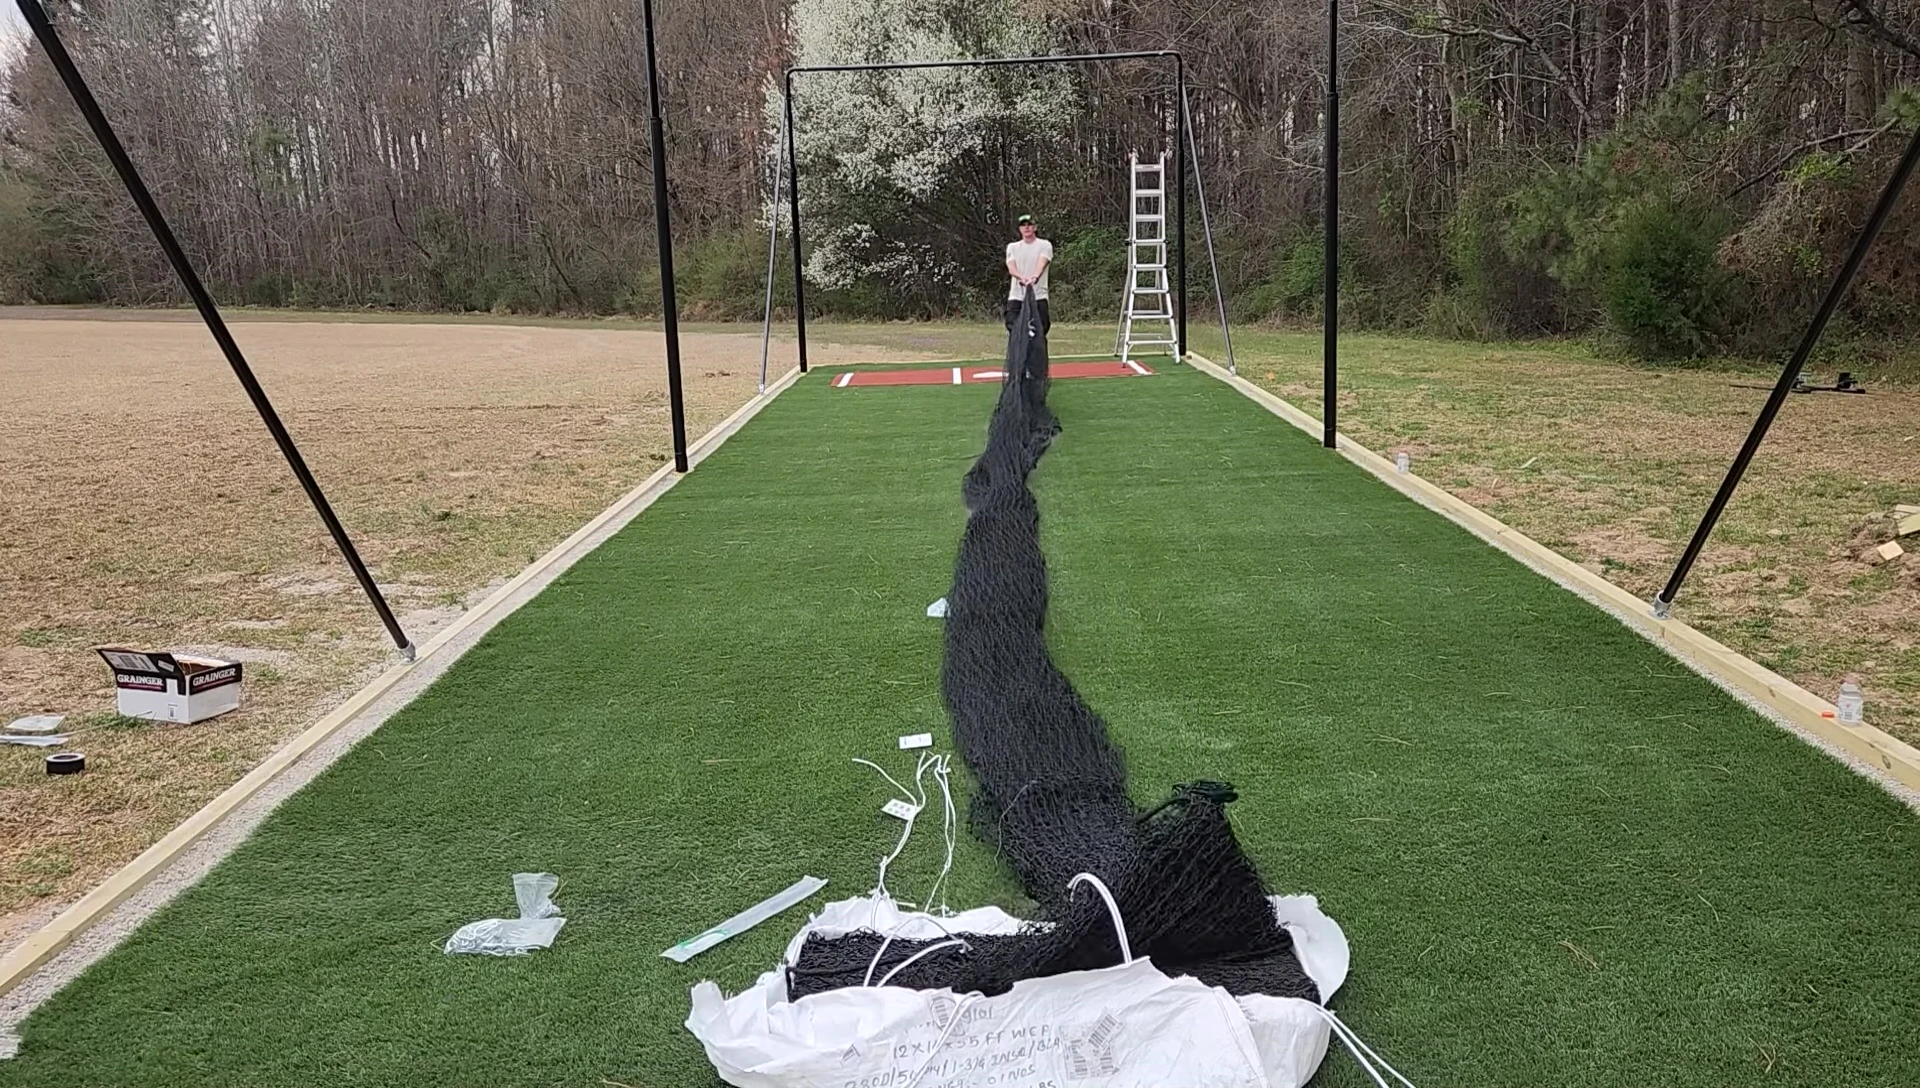
Prepare the turnbuckles and cables, connecting them with cable clamps. Attach the cables to the arches, tightening them with turnbuckles for a taut net. Hang the net, securing it with spring clips spaced every 2 feet.
Finally, add accessories like a backstop and L-screen for enhanced protection and functionality. With the net securely hung and accessories in place, the batting cage is ready for use.
Conclusion
Building a DIY backyard batting cage is a rewarding project, offering significant cost savings compared to store-bought options. The Simron Sports frame kit, combined with readily available materials like EMT conduit and high-quality turf from ATX Turf, provides a robust and long-lasting solution.
The raised gravel base addresses drainage and leveling challenges effectively. The detailed step-by-step instructions make this project manageable for DIY enthusiasts, resulting in a customized batting cage tailored to your specific needs and budget. The added accessories enhance safety and functionality.