This article provides a comprehensive guide to building your own DIY two-pitch pitching machine ball feeder. Using readily available materials and repurposed components, this project demonstrates impressive ingenuity and cost-effectiveness. Forget expensive store-bought accessories; this guide walks you through the entire process, from sourcing parts like a rotisserie motor and an old dowel sander to the final assembly and testing. Even unexpected challenges, such as initially slow ball dispensing, are addressed with practical and innovative solutions.The project highlights a clever mechanism using collars and a flexible dowel sander to create a "pinch and roll" system for smoothly releasing baseballs. Through iterative design and testing, the final product achieves a reliable ball feed rate of approximately 7-8 seconds per ball, even under varying conditions. This guide is perfect for anyone looking to build a functional and affordable pitching machine accessory, showcasing how resourcefulness and a bit of DIY spirit can achieve remarkable results.
Pros And Cons
- Dispensing balls at approximately 7-8 seconds intervals after modifications.
- Initially dispensed balls at 12-15 second intervals, requiring modifications.
- Suffered from binding issues initially, necessitating adjustments to spacing and wheel diameter.
Read more: Top 5 Compact Baseball Pitching Machines
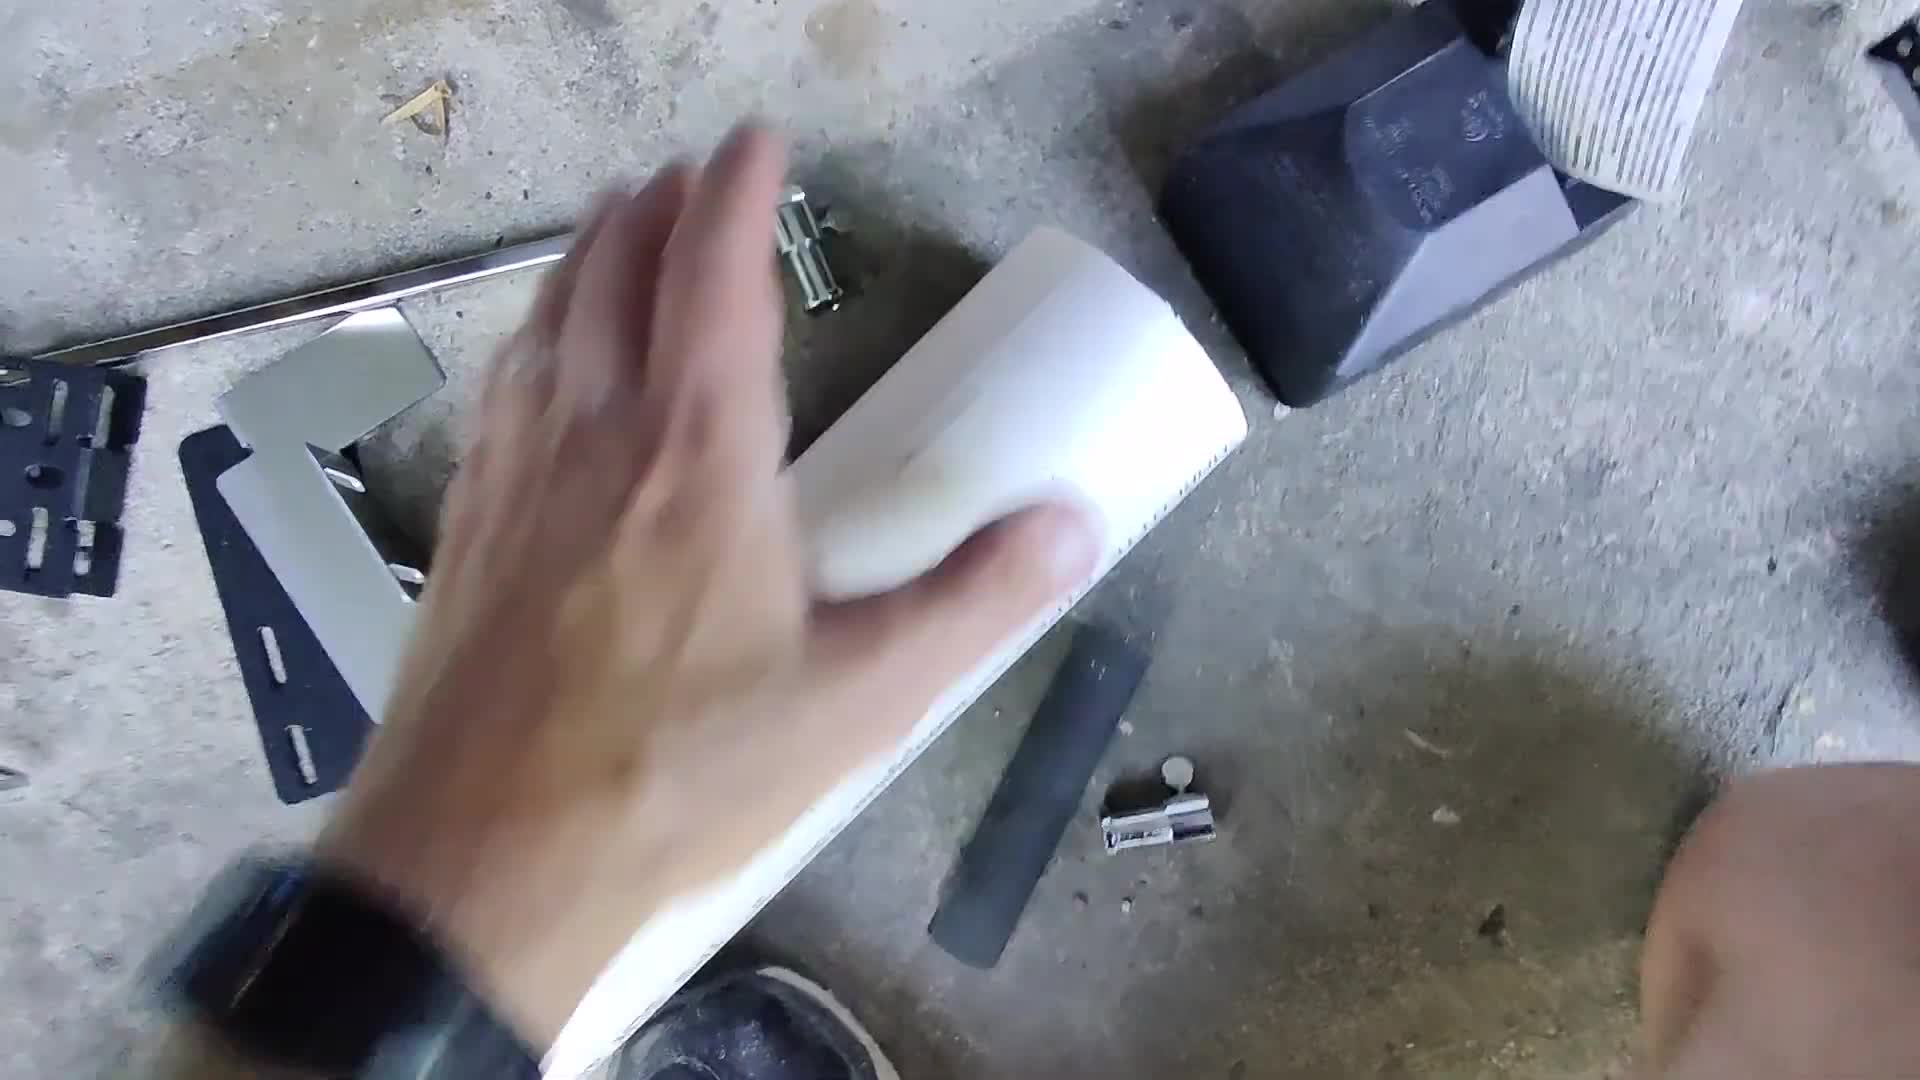
Gathering the Components
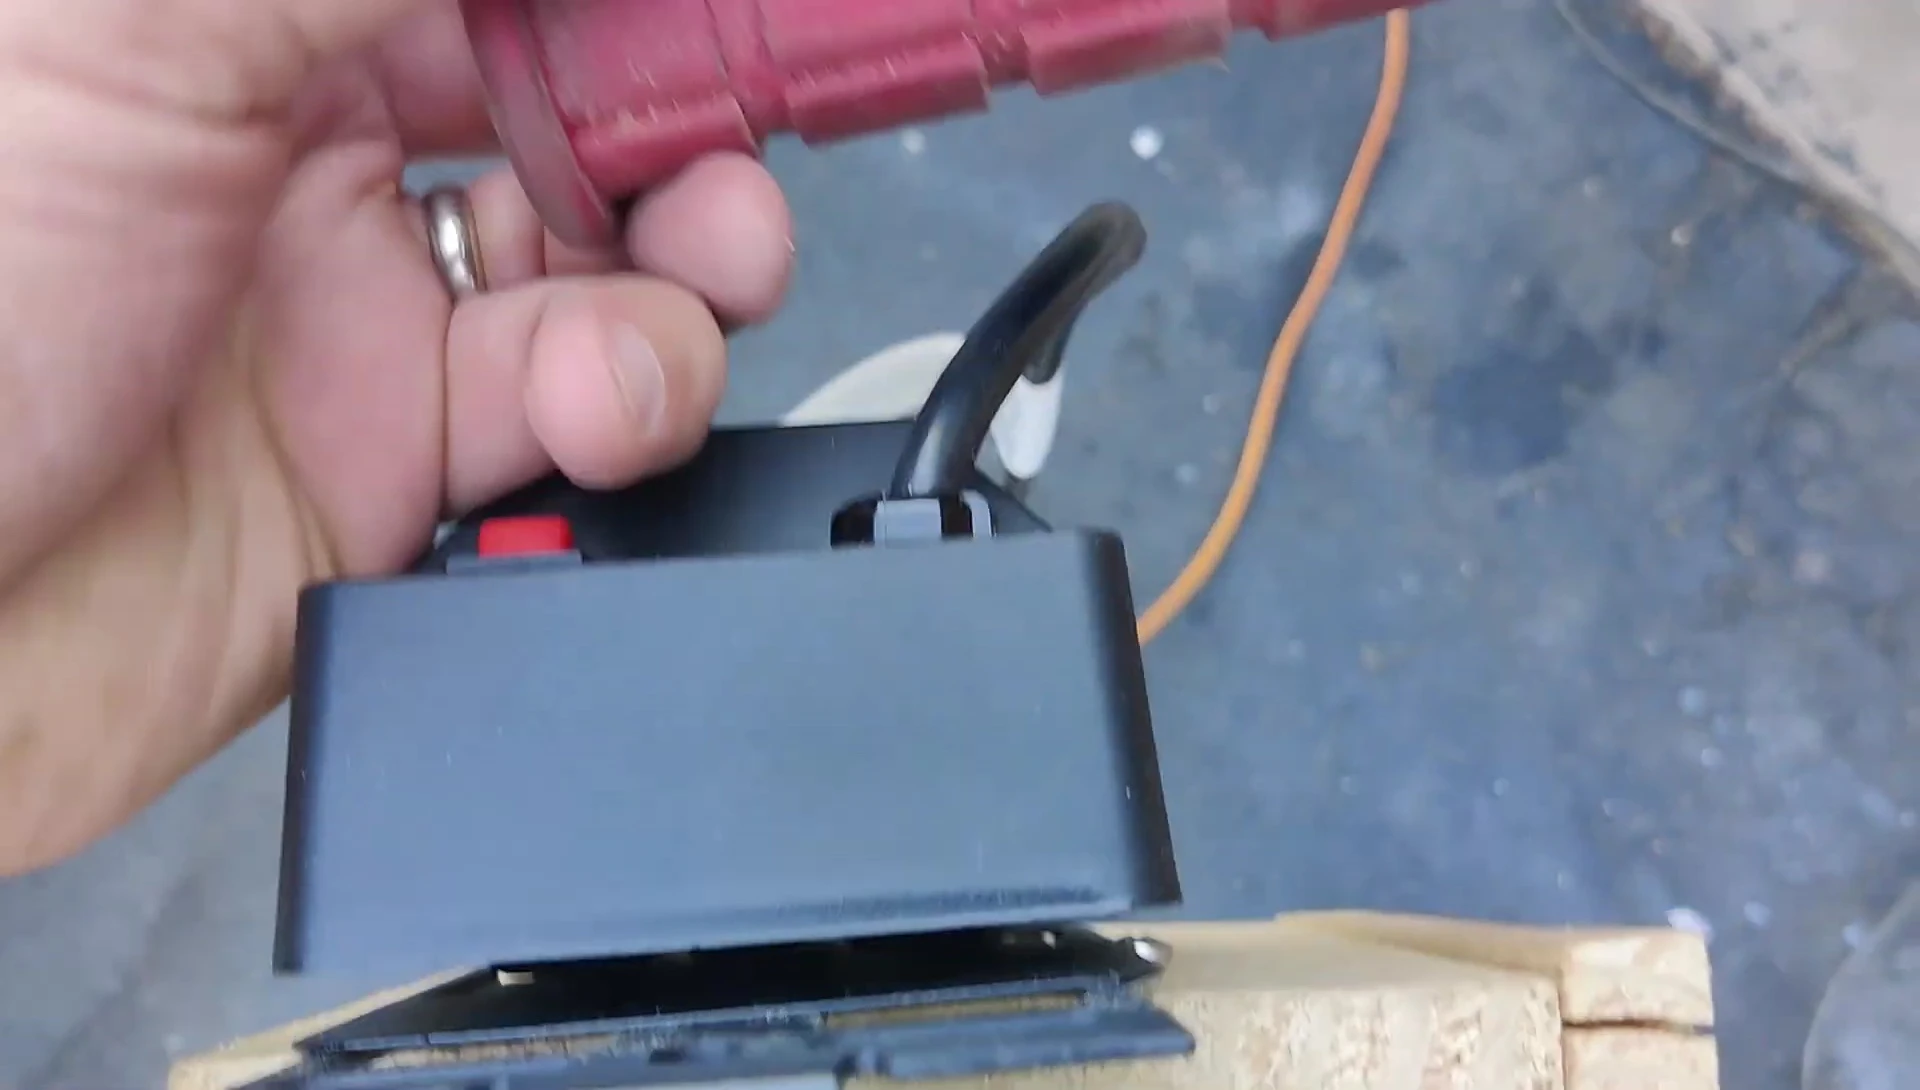
The project begins with sourcing the necessary components. A rotisserie motor serves as the heart of the system, providing the rotational power to feed the baseballs. The kit includes a steak, oddly enough, which isn't used in the final design, and collars which hold the baseballs. The motor will also use a dowel sander, specifically an old one, for an ingenious mounting solution. This seemingly random collection of parts will come together in surprisingly effective ways.

Additional components include a tray for the motor, which is a useful inclusion. The old dowel sander provides a crucial mounting point, ensuring the secure placement of the collars. Machine bearings were fortuitously found and repurposed, showcasing the resourcefulness of this project. These components are essential to the functioning of the entire ball feeder, so careful selection and preparation are key.
Constructing the Ball Feeding Mechanism
The core of the feeder involves a clever arrangement using the collars and the dowel sander. Each collar will be attached to each end of the bar, which fits through the sander. A small hole is cut in the sander to allow the bar to flex and hold the baseballs in place. This flexible design allows the balls to be held securely but released smoothly.
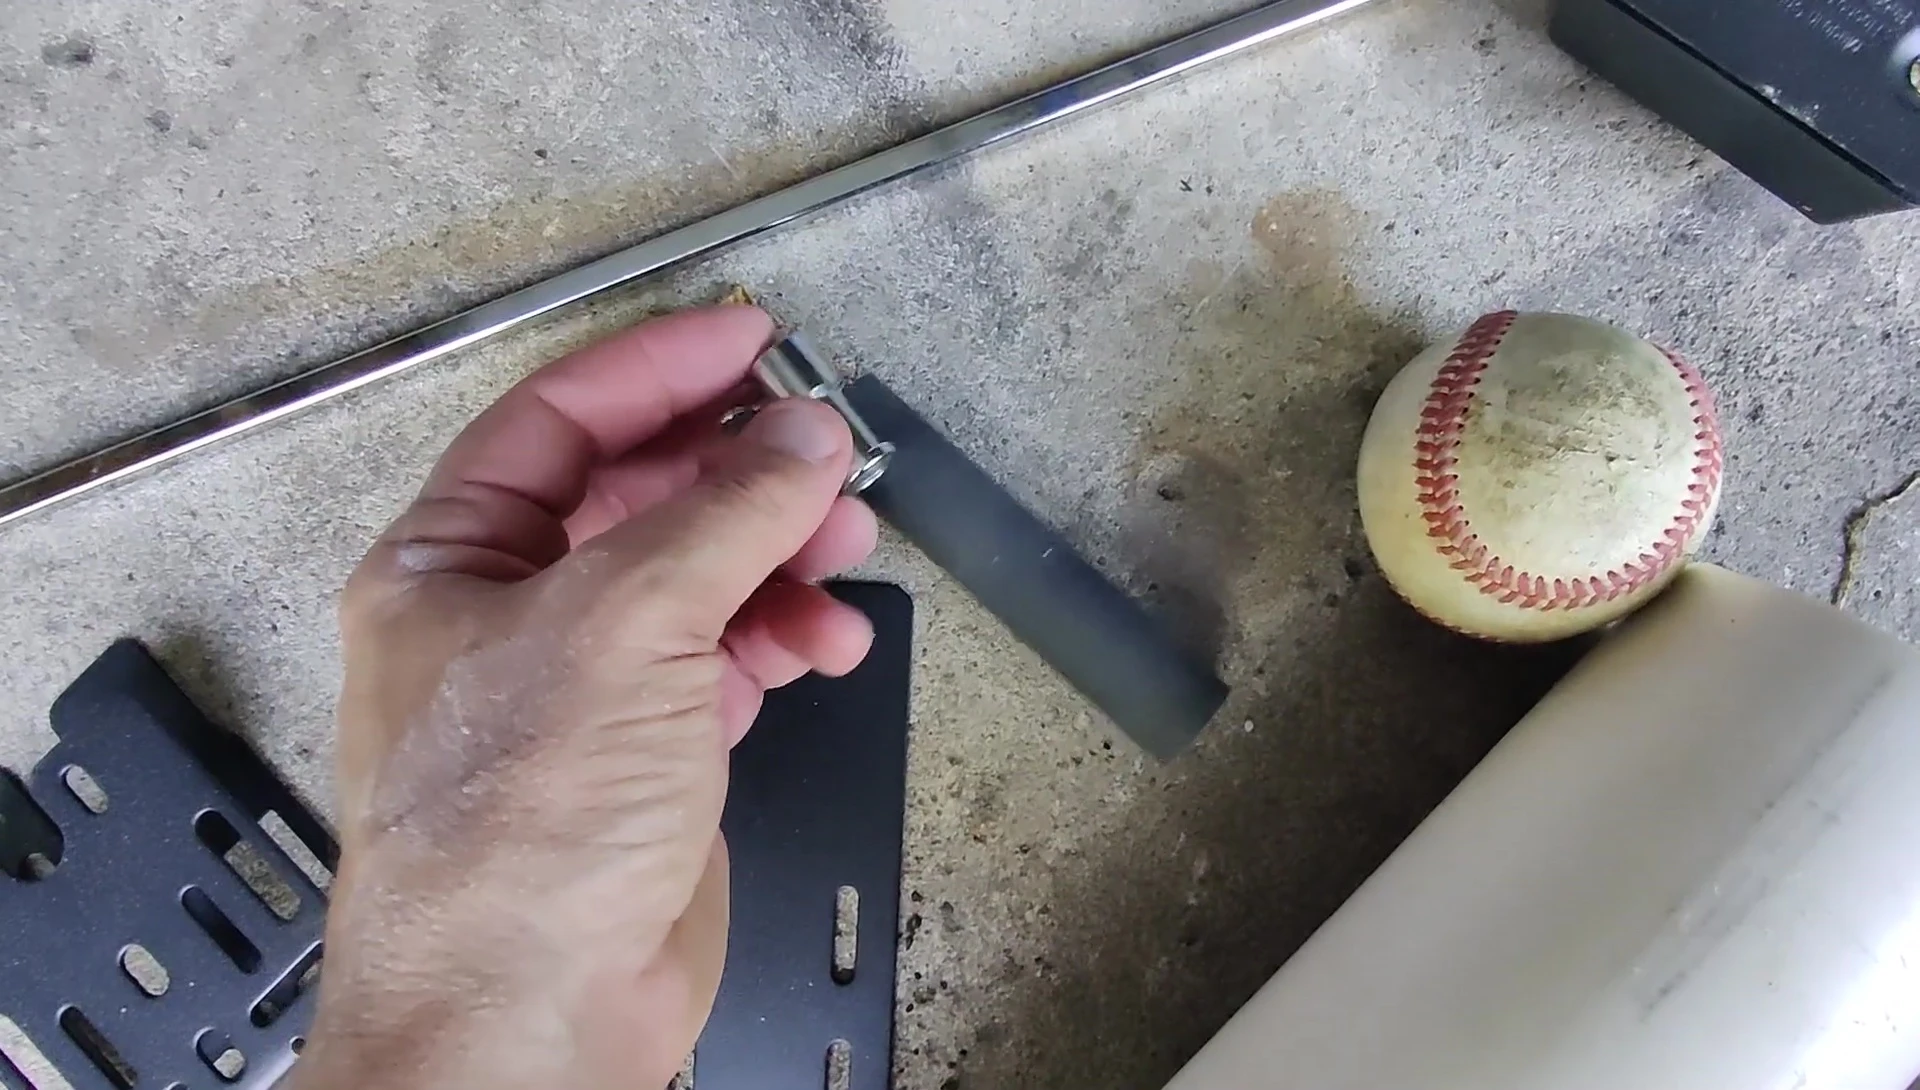
The bar, passing through the dowel sander and the collars, creates a mechanism that holds baseballs. This design relies on the flexibility of the dowel sander to both hold and release the baseballs. This creates the 'pinch and roll' mechanism that releases balls one at a time.
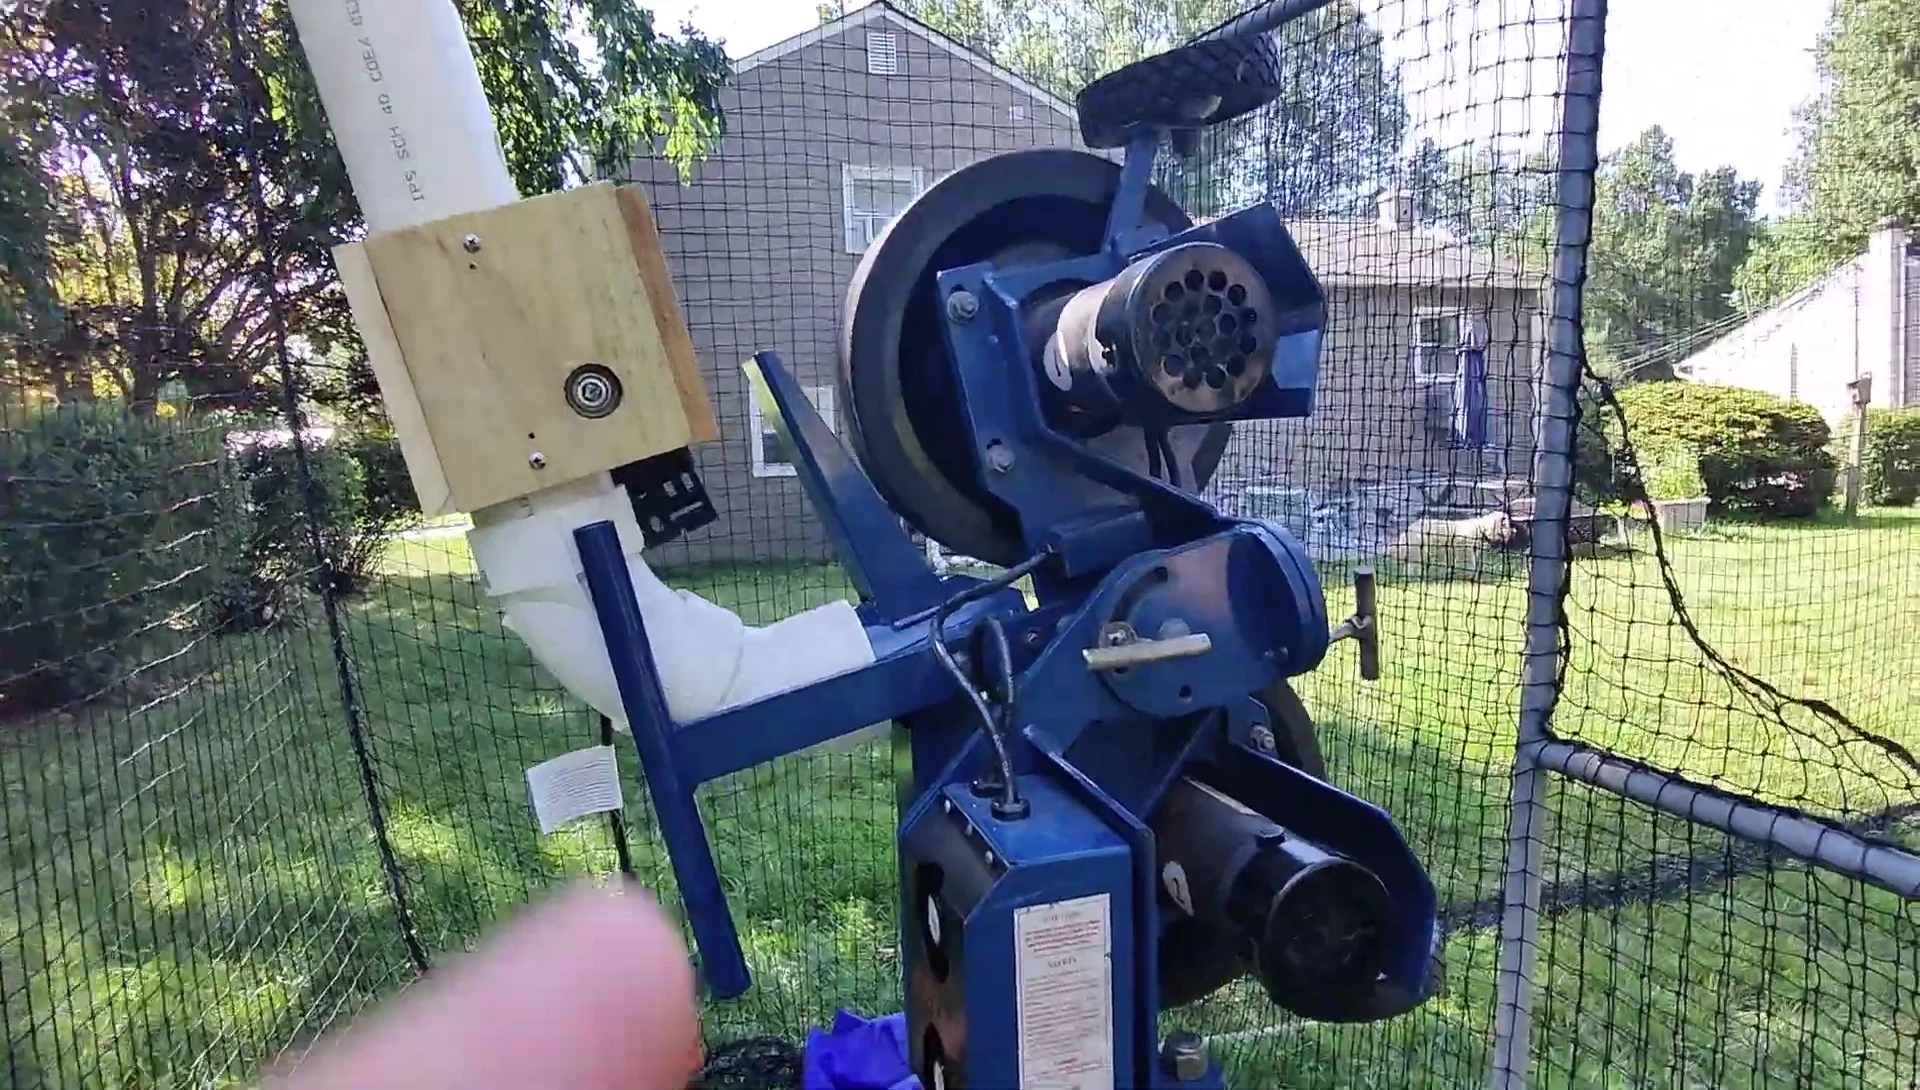
Motor Mounting and Refinements
The rotisserie motor is mounted externally, connected to a custom-made shaft that rides on the repurposed bearings. These bearings ensure smooth rotation and reduce friction. The shaft is securely clamped into place using countersunk wood, completing the robust motor assembly. This setup should allow for smooth, consistent ball feeding.
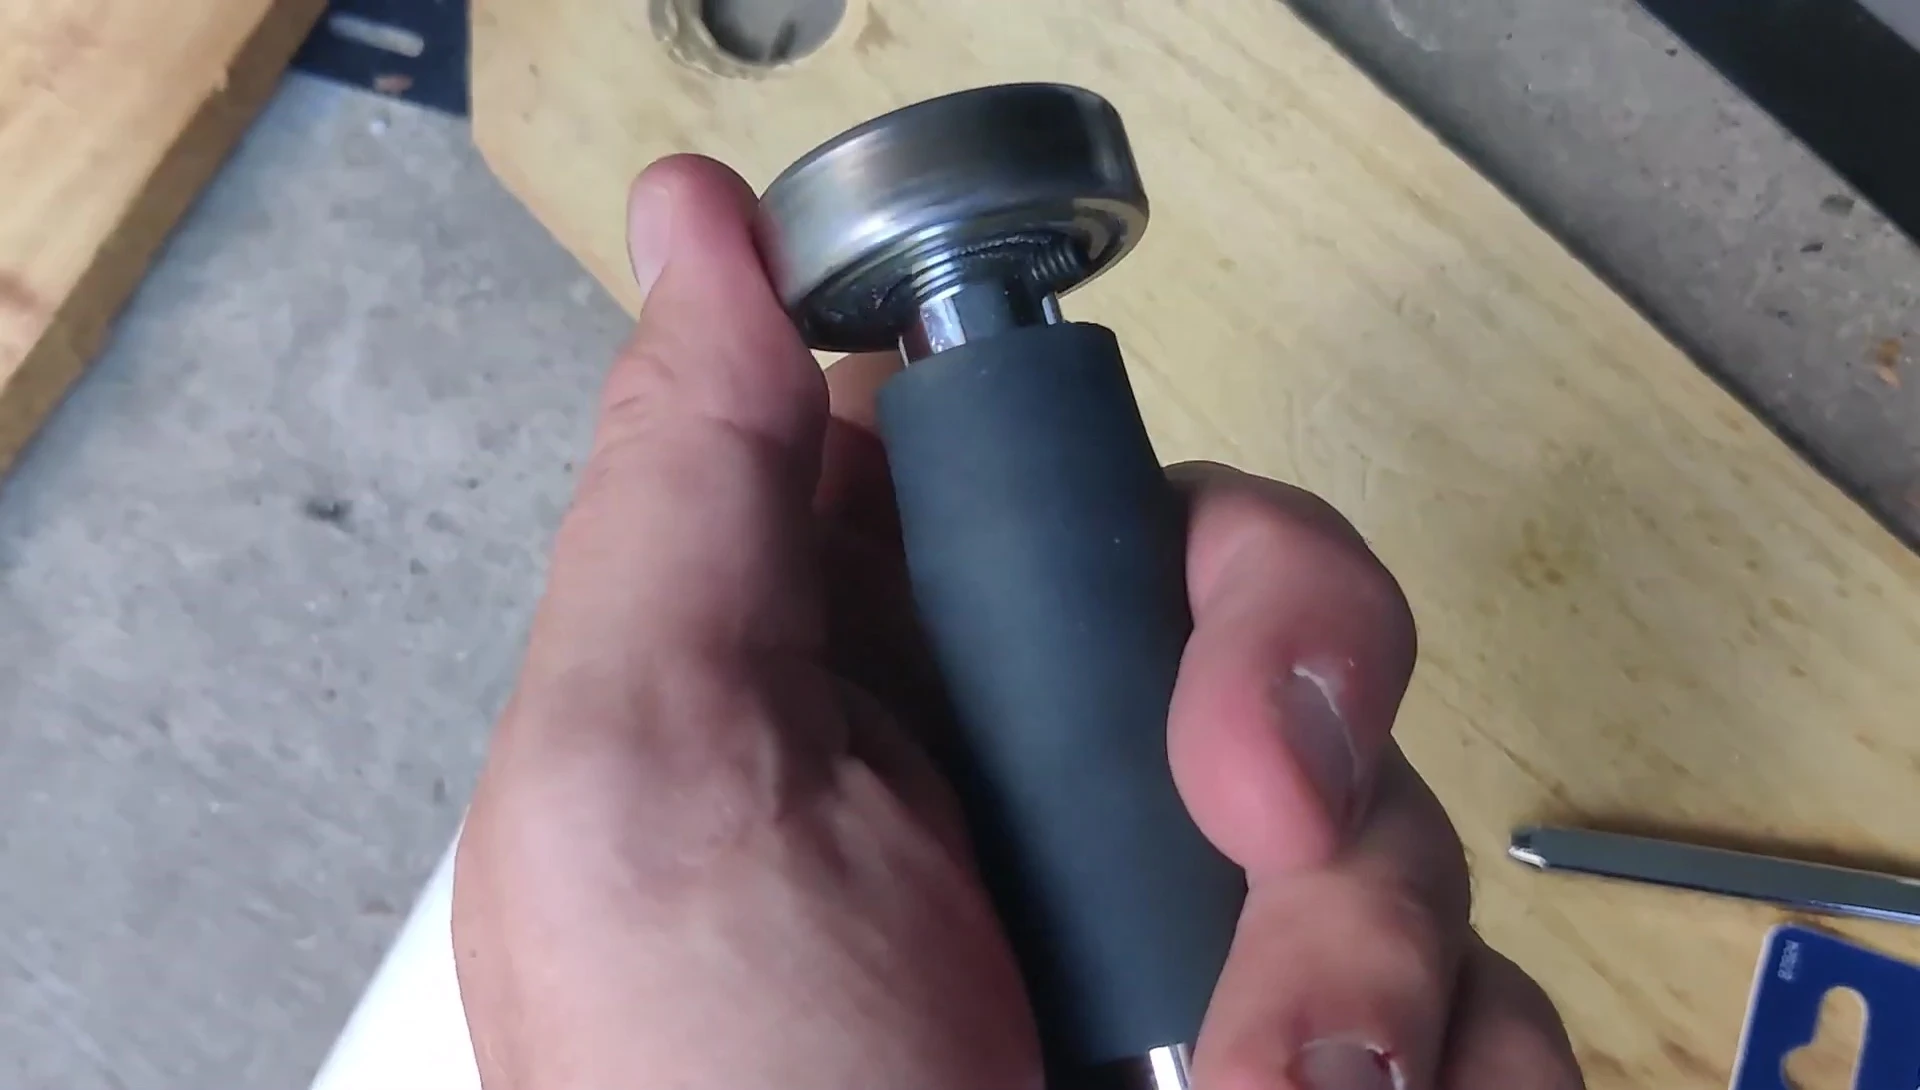
The entire assembly is then mounted to a wooden structure. Set screws provide additional stability and prevent the shaft from slipping. These details contribute to the overall stability and reliability of the pitching machine's ball feeder system. The initial assembly involved a more complex clean-out system; however, this proved unnecessary, and a simpler design was adopted.
Testing and Adjustments
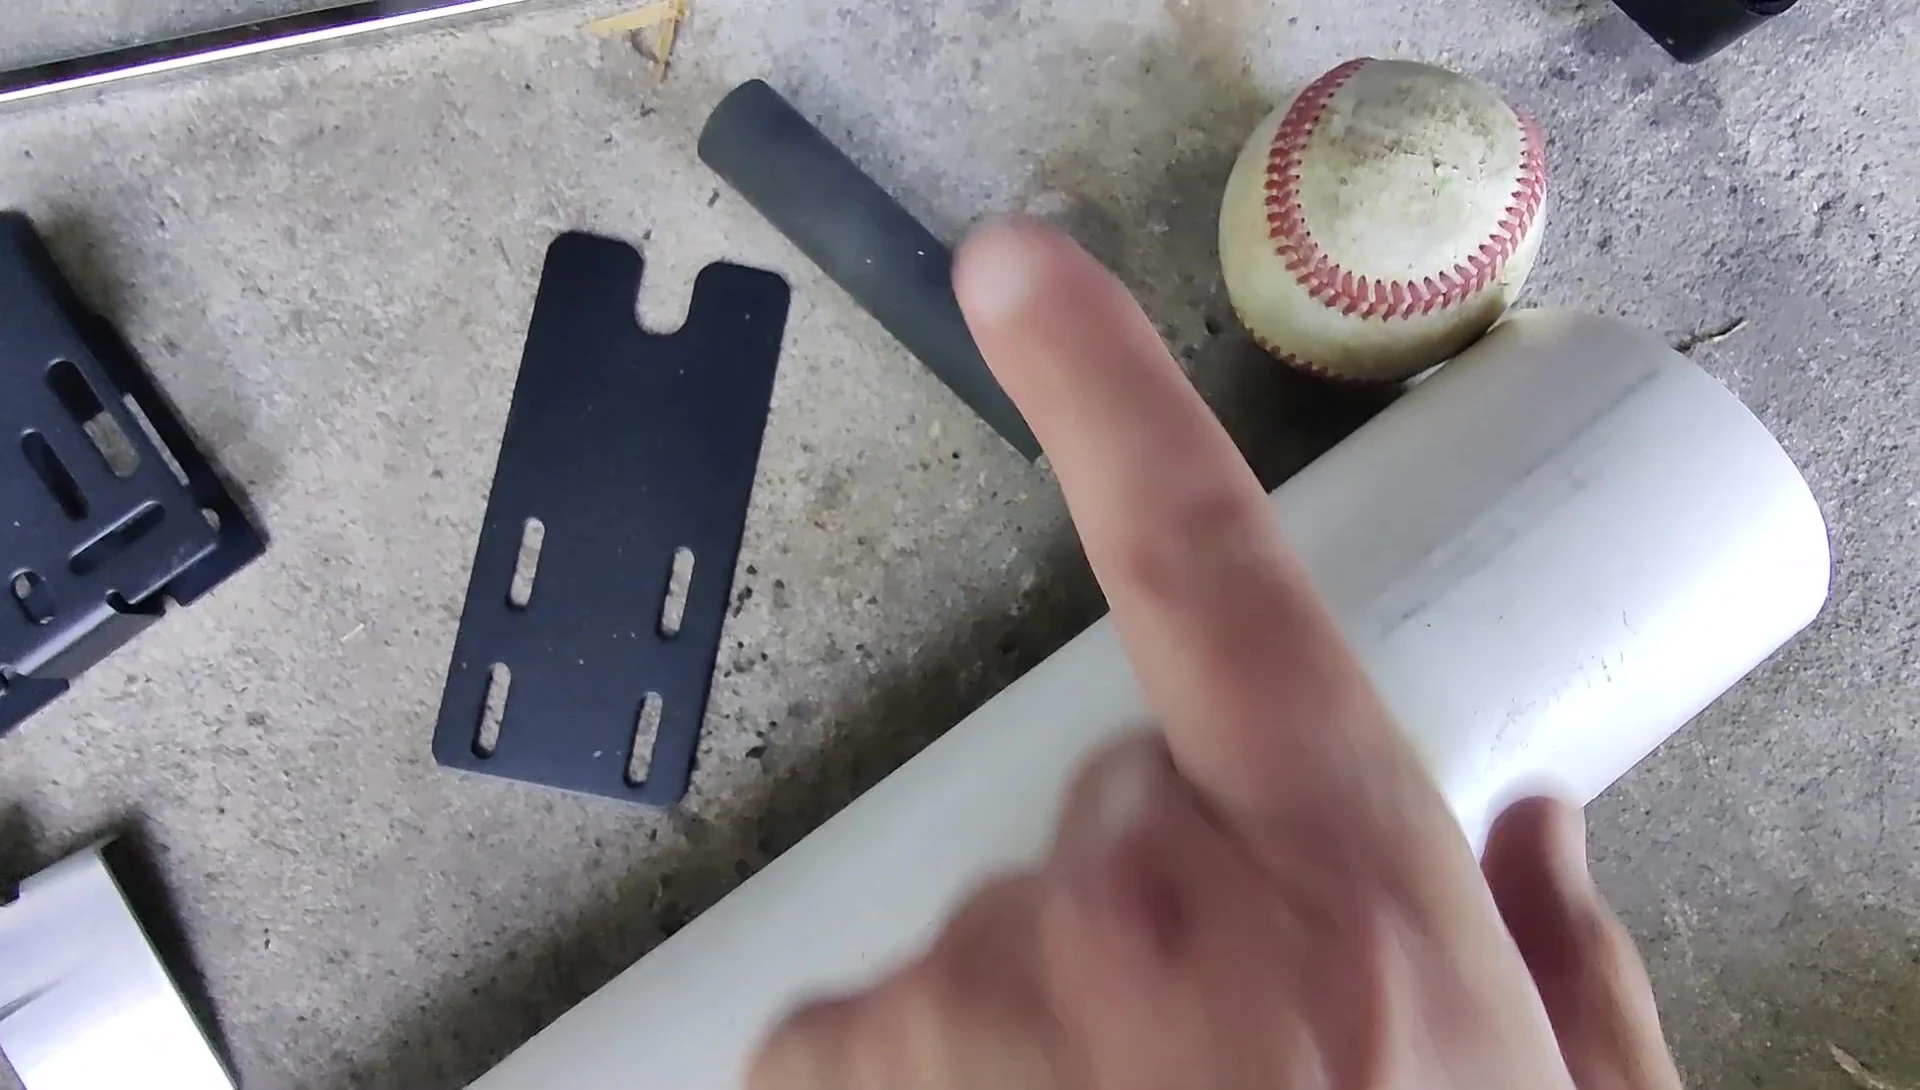
Initial testing revealed the need for adjustments. The feeder was initially dispensing balls too slowly (15-16 seconds). Modifications were made, moving the feeder further from the motor to prevent binding. This necessitated increasing the diameter of the wheel, achieving the desired ball release rate of around 9 seconds.
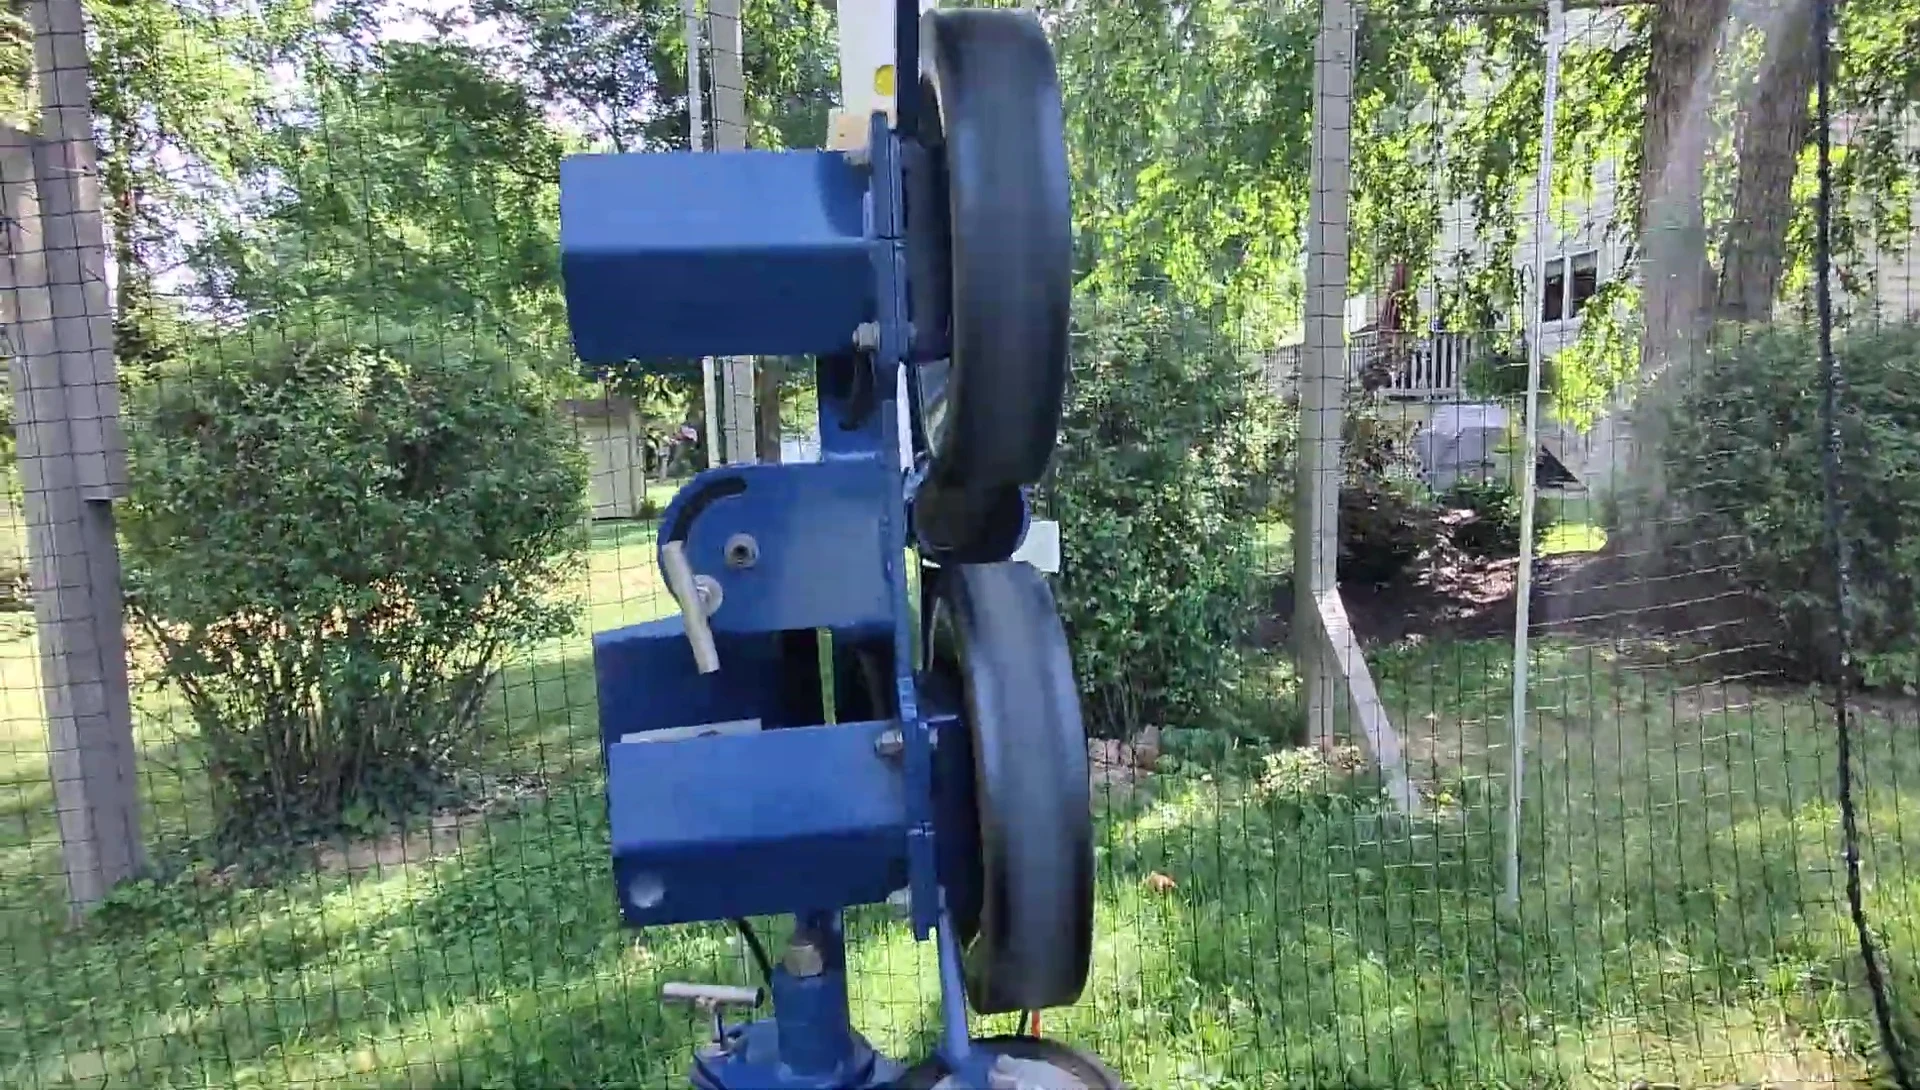
The final design utilizes repurposed mountain bike grips to increase the diameter of the wheel, resulting in a much improved dispensing speed. A simpler, more compact design was adopted after removing the unnecessary clean-out system. These improvements resulted in a much more efficient and reliable ball feeder.
Final Product and Conclusion
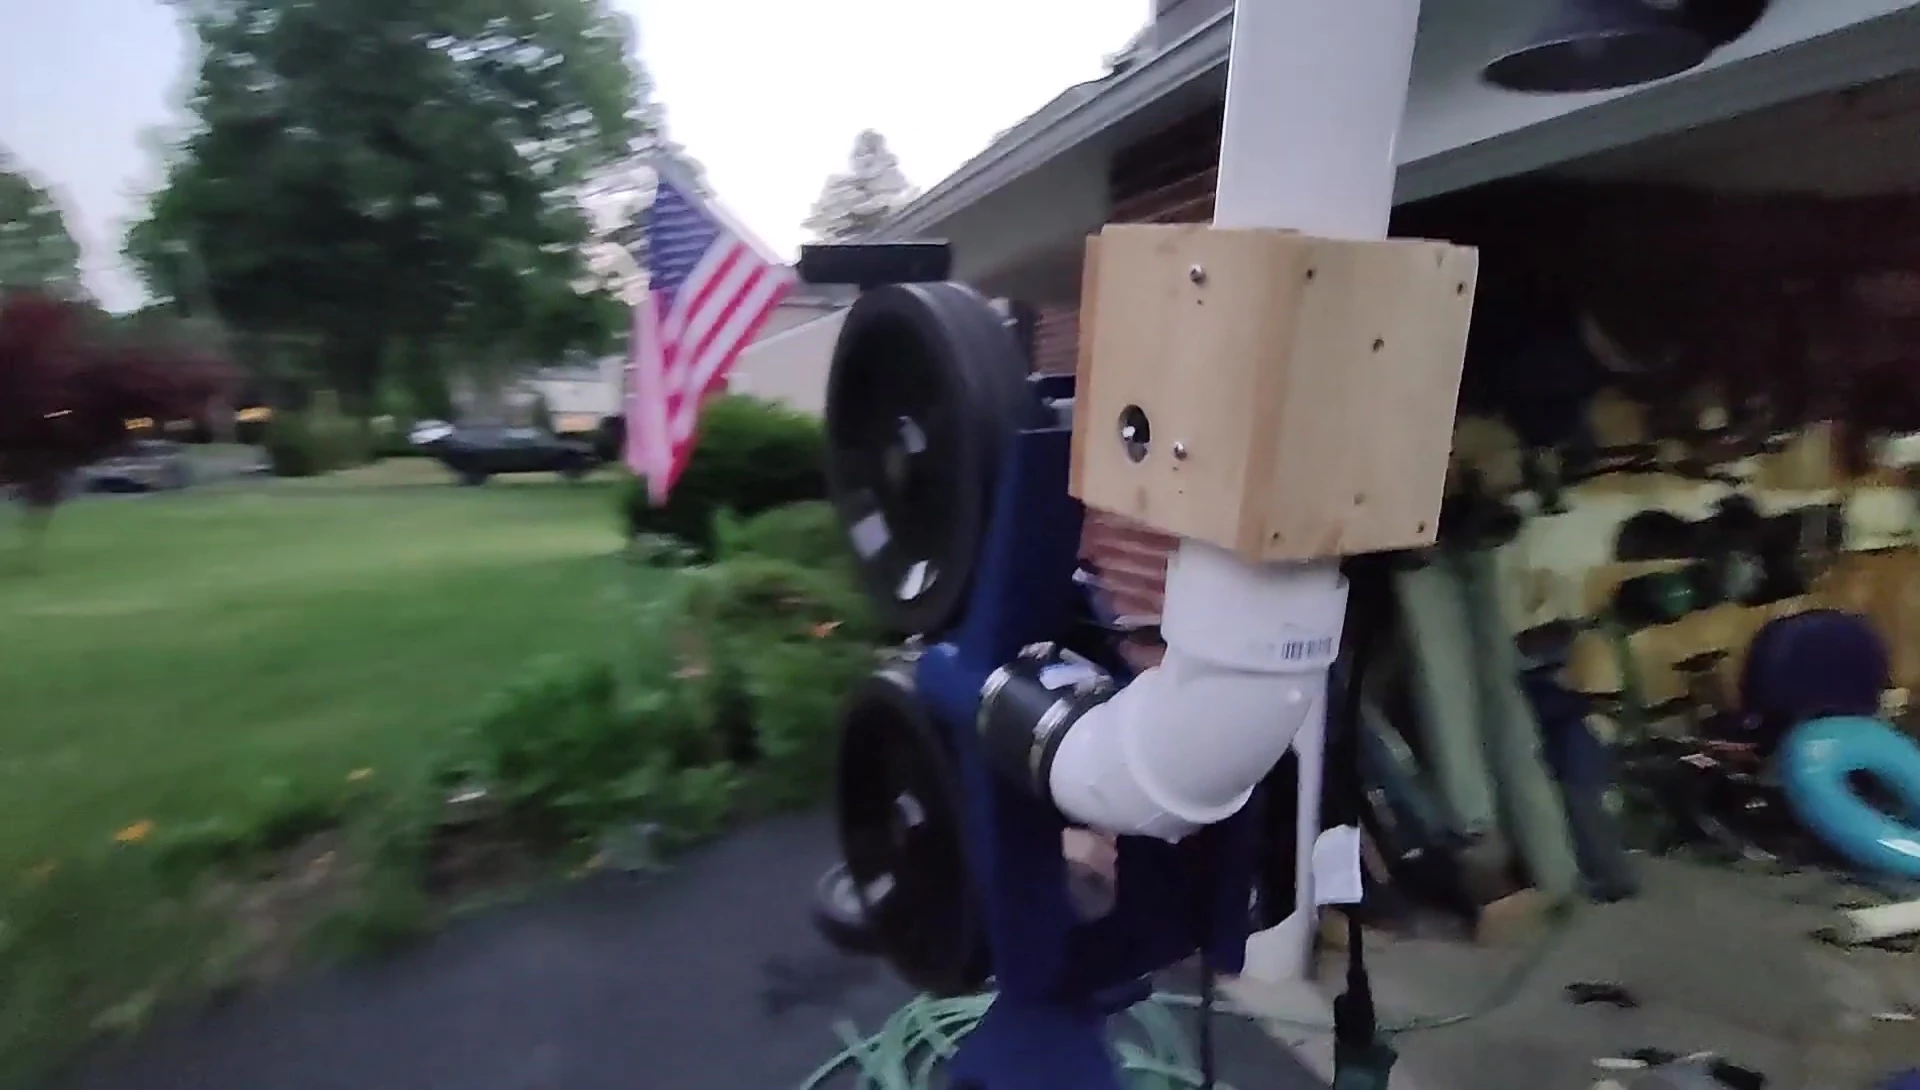
The final design is compact and efficient, dispensing balls at approximately 7-8 seconds intervals. The simplified design eliminates the previous clean-out system, making the assembly cleaner and easier to maintain. Even with a significant tilt, the feeder functions reliably. The tilt test demonstrated the robust nature of the final design. This ensures reliable ball dispensing even under varied conditions.
This DIY pitching machine ball feeder is a testament to creative problem-solving and resourcefulness. While the initial design required refinement, the final product delivers a smooth, reliable ball feed, crucial for consistent pitching practice. The project showcases the possibility of creating a functional pitching machine accessory from readily available materials and demonstrates a clever and adaptable design.