For baseball players, a powerful arm is the key to success. Whether you're a pitcher aiming for that extra mph on your fastball or an outfielder making crucial throws from the warning track, superior arm strength directly translates to better performance on the field. Throwing velocity isn't just about genetics; it's a skill honed through dedicated training, focusing on the specific muscle groups responsible for generating explosive power in your throws. Ignoring arm strength development leaves untapped potential on the field.
This article provides you with the ultimate arm strength workout designed specifically for baseball players, focusing on building the necessary power and endurance for consistently strong throws. We'll guide you through a step-by-step process that combines targeted exercises, proper form, and recovery techniques to help you significantly boost your throwing velocity. Get ready to unlock your arm's full potential and dominate the game!
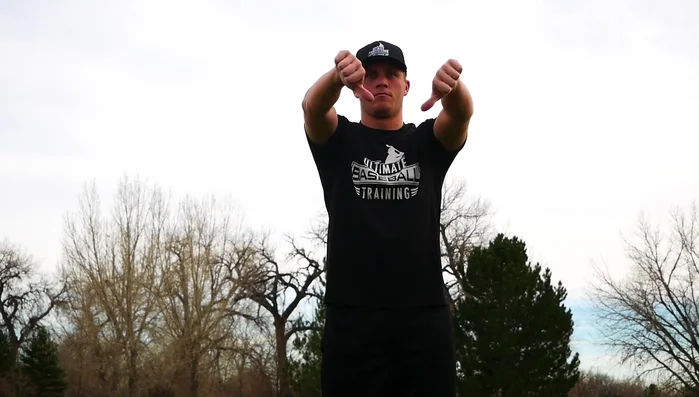
Preparation and Safety Guidelines
- Medicine ball
- Prioritize proper form over weight. Using heavy weights with poor form can lead to injury and hinder your progress. Focus on controlled movements and full range of motion.
- Listen to your body. Rest and recovery are crucial. Don't push through pain. Overtraining can lead to injury and decreased performance.
- Incorporate regular stretching and flexibility exercises. This will improve your range of motion, prevent injury, and enhance your throwing power.
Step-by-Step Instructions
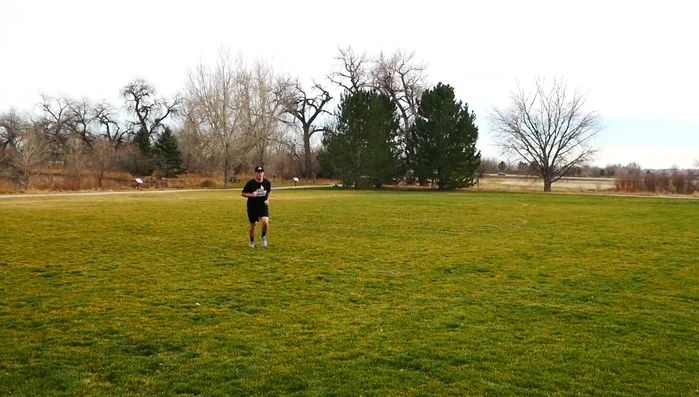
Warm-up
- Jog, backpedal, high knees, butt kicks, shuffles with arm flaps, carioca, knee pulls, ankle pulls, Frankenstein's, lunges with a twist, shuffle slide and stretch, skips for height, arm circles.

Warm-up Rotator Cuff Strengthening
- Perform each letter slowly and controlled, 3 sets of 10 reps each.
Scapular Stability Exercises
- Mimic emptying cans, 3 sets of 10 reps.
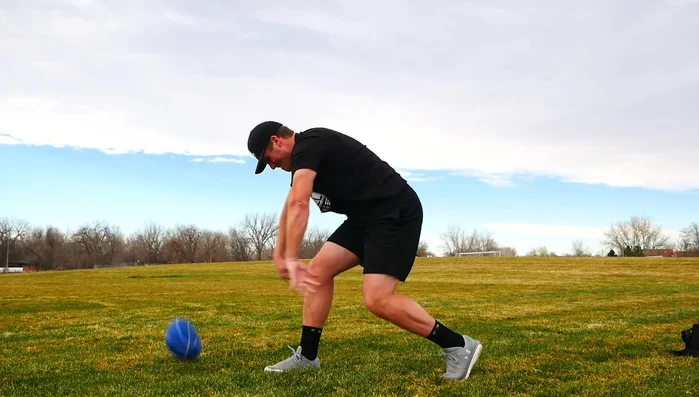
Scapular Stability Exercises Core and Rotational Strength
- Rotational slams (to left and right), rotational throws with a step behind, med ball throws as far as possible behind you. 2 sets of 10 reps for each exercise.
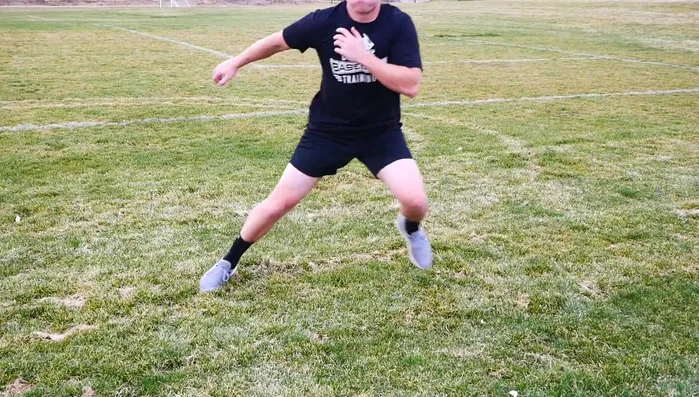
Core and Rotational Strength Lower Body Power Development
- 3 sets of 10 reps.
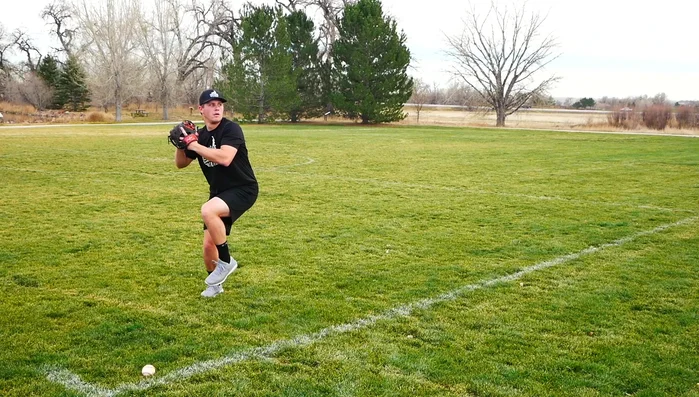
Lower Body Power Development Throwing Mechanics Progression
- Start on a knee, tossing the ball to a partner, then progress to full throwing motion, focusing on consistent chest-level throws. Listen to your arm and body.
Explosive Throwing Mechanics
- Start with front foot slightly open (45 degrees), rock forward and back, then explode and throw. 10 throws.
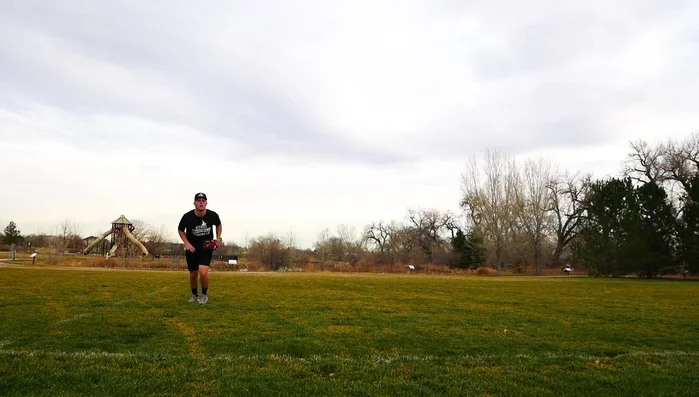
- Hop three times, then throw on the third hop. Long toss distance.
- Sprint 5 yards, crow hop, throw. Long toss distance.
Explosive Throwing Mechanics
Read more: Dynamic Lower Body Blast: Boost Balance & Glute Strength
Tips
- Proper warm-up is crucial before throwing to prepare your body.
- Focus on slow, controlled movements during rotator cuff exercises.
- Be explosive during medicine ball and throwing drills.
- Listen to your body and don't overexert yourself. Stop if you feel pain.
- Maintain consistency in your throws, aiming for the chest.