Baseball and softball demand explosive power, agility, and precision – qualities that can be significantly enhanced through targeted strength training. Resistance bands offer a versatile and accessible solution for athletes looking to improve their performance without the need for heavy weights or expensive gym memberships. They provide consistent resistance throughout the entire range of motion, mimicking the dynamic movements crucial for hitting, throwing, and fielding. This allows for focused muscle engagement, leading to increased strength, flexibility, and injury prevention.
This article outlines ten effective resistance band exercises specifically designed to boost power and performance for baseball and softball players. These exercises target key muscle groups essential for optimal athleticism, and we'll guide you step-by-step through each movement with clear instructions and helpful visuals. Prepare to unlock your full athletic potential and take your game to the next level.
Preparation and Safety Guidelines
- Start with lighter resistance bands and gradually increase the weight as you get stronger. Avoid using too much resistance, which can lead to injury.
- Maintain proper form throughout each exercise. Poor form reduces effectiveness and increases risk of injury. Watch videos and ensure your technique is correct before increasing resistance or repetitions.
- Listen to your body. Stop if you feel any sharp pain. Rest and allow your muscles to recover between workouts.
Step-by-Step Instructions
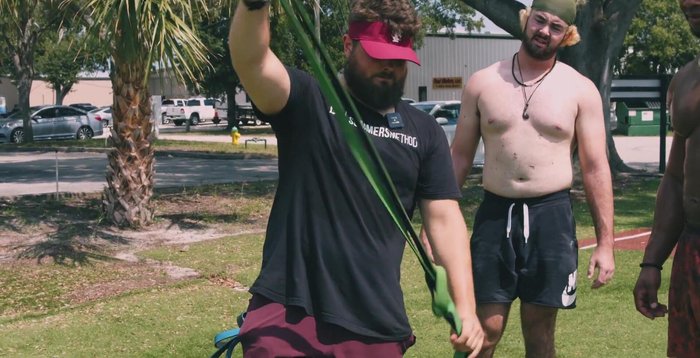
Lower Body Power
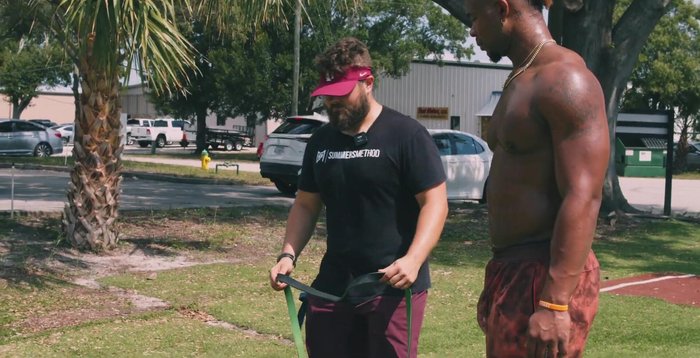
- Put the band around your feet and up around your neck. Keep your chest up, think hips back (like an RDL), squeeze glutes and hamstrings at the top.
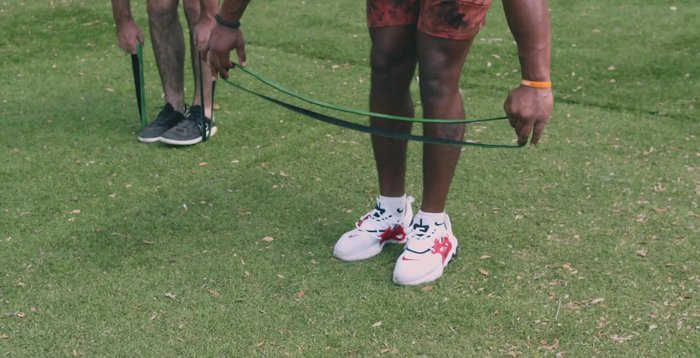
- Double the band and place it under one foot. Backpack the band and perform split squats, focusing on glute and hamstring engagement.
- Single leg at a time. Perform with varying speeds (fast/explosive or slow/eccentric) depending on your training goals.
- Low anchor point. Hinge, then pull the band up through your legs, emphasizing hip extension and glute/hamstring engagement.

Lower Body Power Upper Body Strength
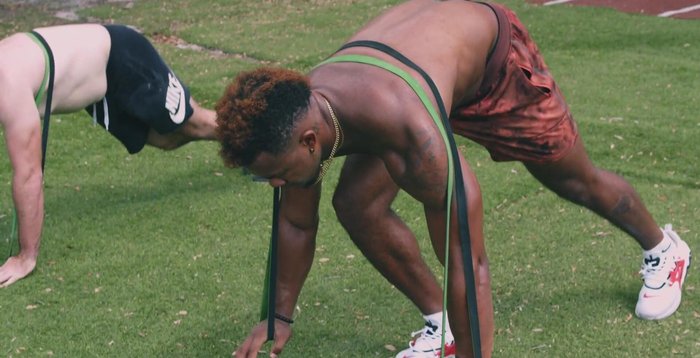
- Cross the band around your back and perform push-ups.
- Double the band on both feet. The further your feet are, the more tension. Hinge down and row, squeezing at the top.
- Anchor the band and perform face pulls, focusing on controlled movement and avoiding rushing.
- High anchor point. Perform with protraction, retraction, and pull for each rep.
Upper Body Strength Rotational Power & Core Stability
- Partner-assisted or anchored to a stable object. Drop step, open up, and rotate forcefully, snapping the band. Can be performed from various stances (including a batting stance).
- Anchor the band as in exercise 6. Perform a pal-off press, then trace the alphabet in the air with large movements.
Rotational Power & Core Stability

Read more: Dynamic Lower Body Blast: Boost Balance & Glute Strength
Tips
- Use various resistance band tensions and speeds to optimize your training.
- If you don't have a partner, anchor the bands to a sturdy object like a rack, tree, or fence.
- For face pulls, avoid doing them too quickly. Controlled movements are key.