Owning a brand new baseball glove is exciting, but its stiff leather requires breaking in before it becomes a reliable partner on the field. A stiff glove can lead to misplayed catches and frustrating experiences, hindering your performance. The process of breaking in a glove, often referred to as "seasoning," softens the leather, allowing for a more comfortable and secure grip, ultimately improving your fielding abilities. Different methods exist, but one of the most effective and time-tested techniques is the hot water method. This method, when done correctly, can dramatically accelerate the break-in process without damaging your valuable equipment.
This ultimate guide will walk you through each step of the hot water method, ensuring your glove is game-ready in no time. We'll cover everything from preparing your glove to the crucial post-treatment care that ensures its longevity and optimal performance. Ready to transform your stiff, new glove into a supple fielding machine? Let's dive into the step-by-step process.
Preparation and Safety Guidelines
- Boiling water
- Cup
- Rag
- Conditioner (e.g., Vaseline)
- Soft ball
- Towel
- Glove oil (e.g., Nocona)
- Never boil the glove. High heat can damage the leather, causing irreversible shrinking or cracking.
- Avoid prolonged soaking. Excessive water exposure can weaken the leather and stitching. Aim for a brief immersion, typically 1-2 minutes.
- Allow the glove to air dry completely away from direct sunlight or heat sources. Forced drying can distort the glove's shape.
Step-by-Step Instructions
Prepare Hot Water and Workspace
- Boil water and let it cool slightly.
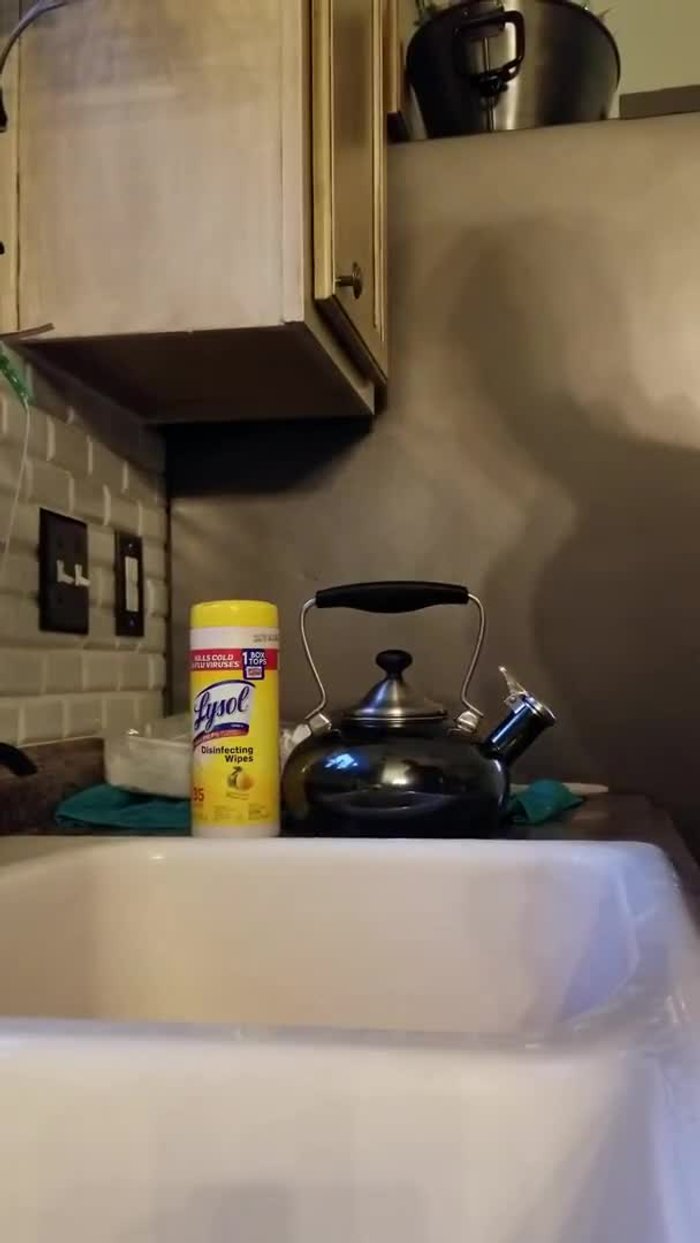
- Clean your sink and place a rag at the bottom.

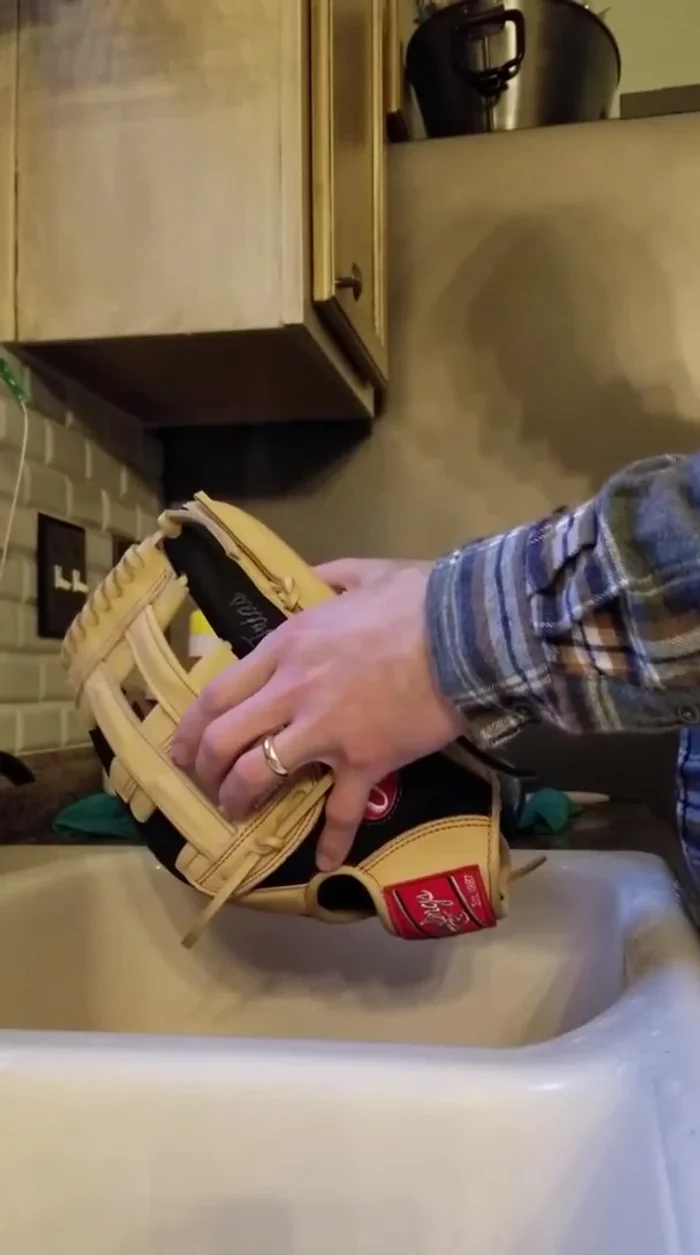
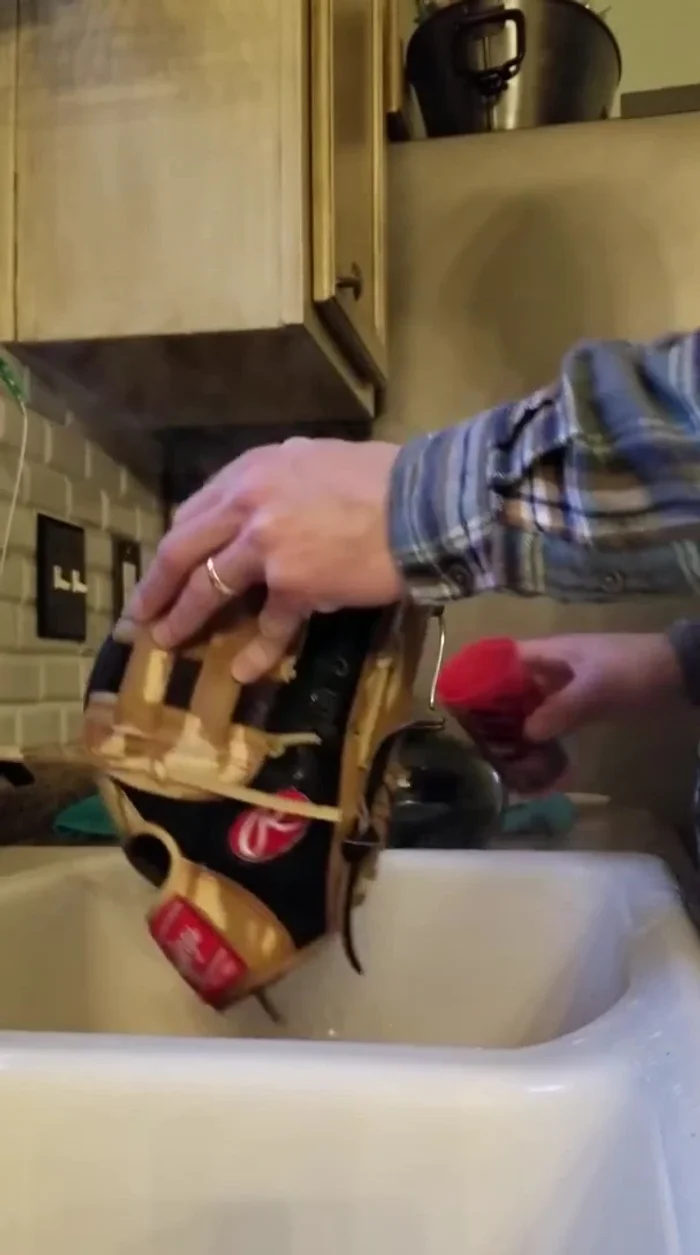
Prepare Hot Water and Workspace Soak the Glove Inside
- Submerge the glove in hot water, focusing on the inside (palm area).
- Allow the water to drain; avoid letting it puddle.
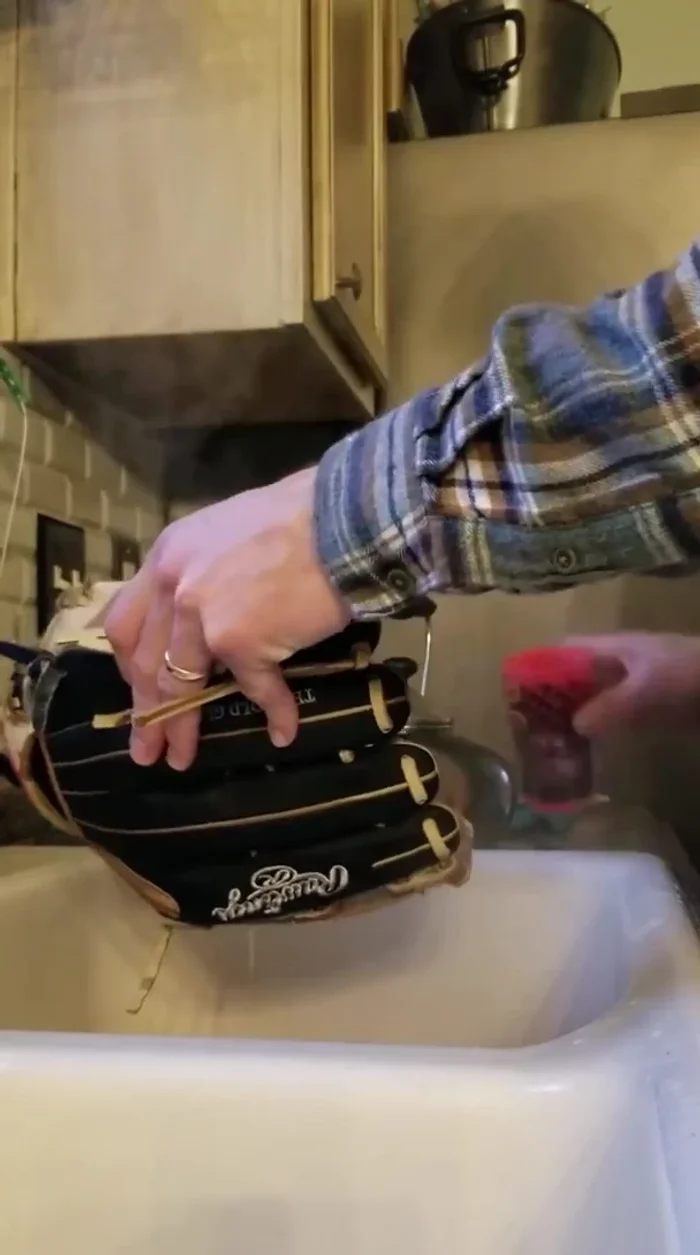
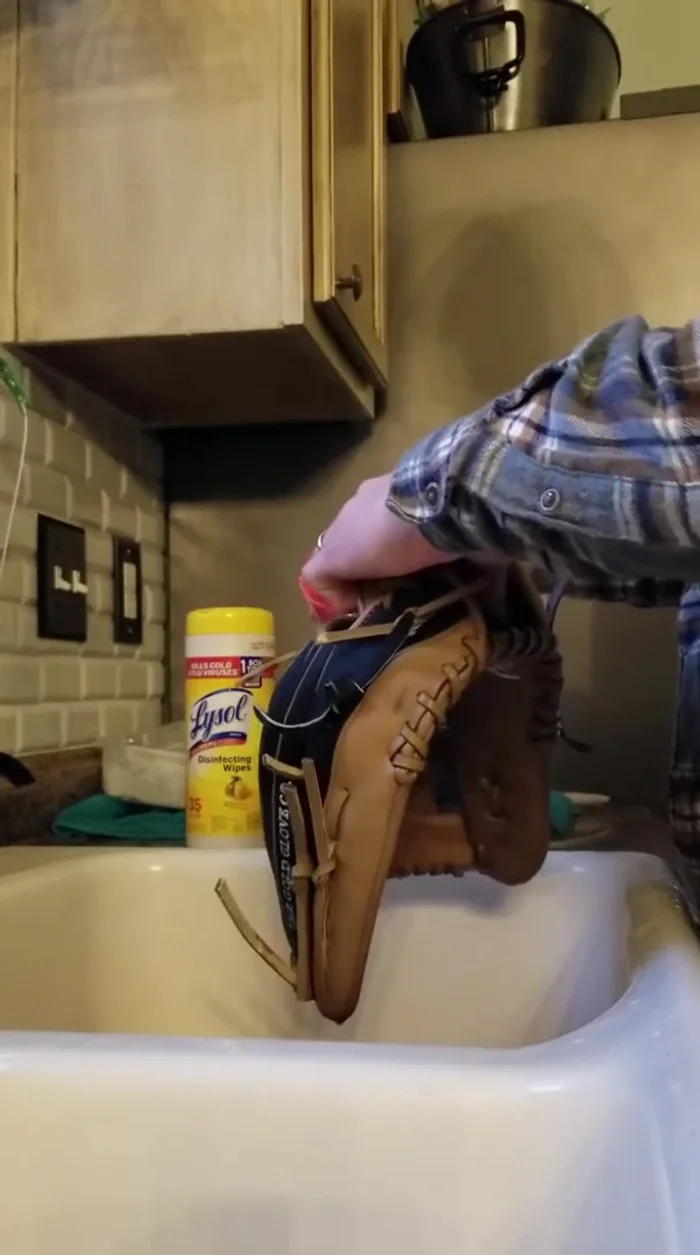
Soak the Glove Inside Condition and Prepare Laces
- After the glove dries, condition the laces with Vaseline to prevent darkening of the leather.
- To stretch the laces, wet them and stretch them between your fingers or use the whole glove.
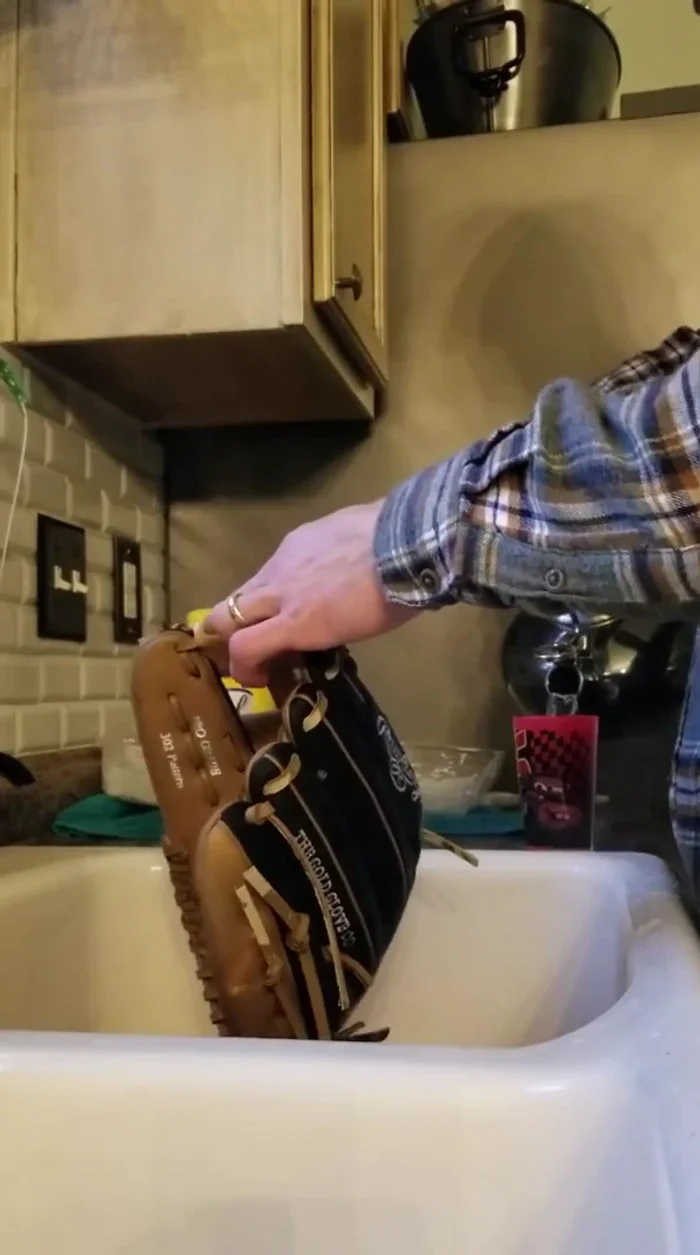
Condition and Prepare Laces Soak the Glove Outside
- Apply less hot water to the outside of the glove, focusing on the areas you'll be forming.
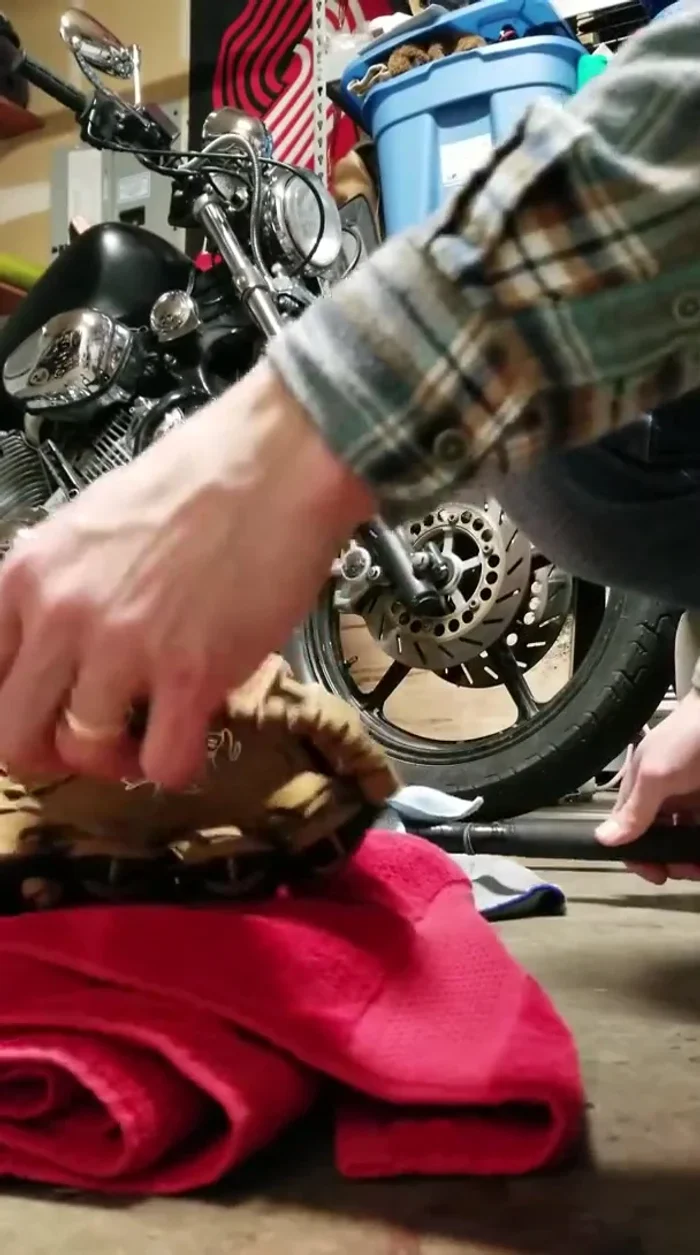
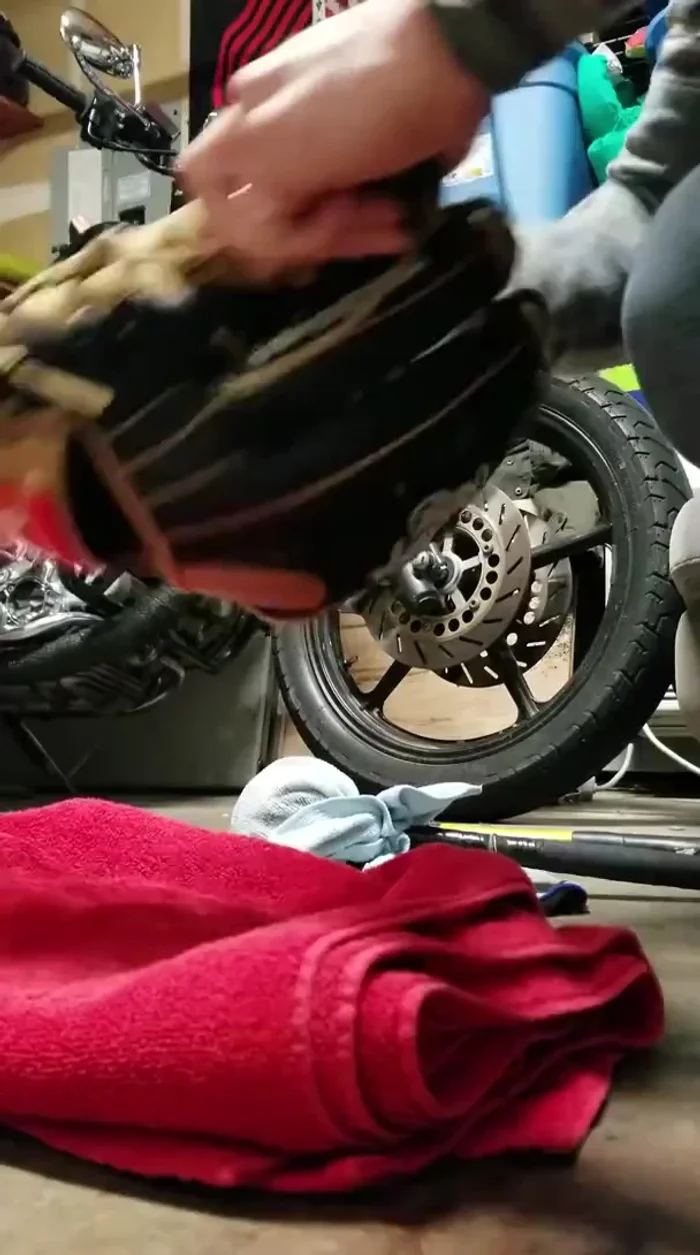
Soak the Glove Outside Initial Glove Pounding
- Using a soft ball wrapped in a towel, pound the glove to loosen it up. Focus on the sides and edges.
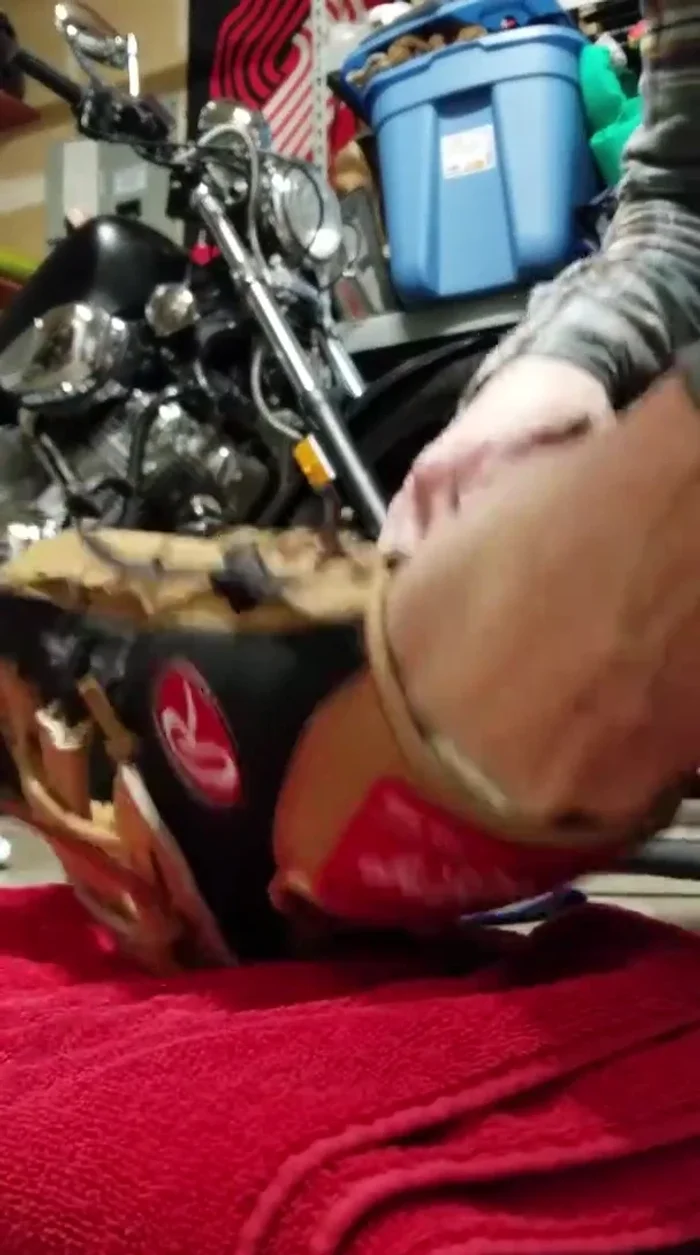
Forming and Shaping
- Establish a break point by pounding the glove in a specific area.
- Form the pocket of the glove while it's still damp.
- Continue forming and working the glove until it reaches your desired shape. Let it sit overnight.
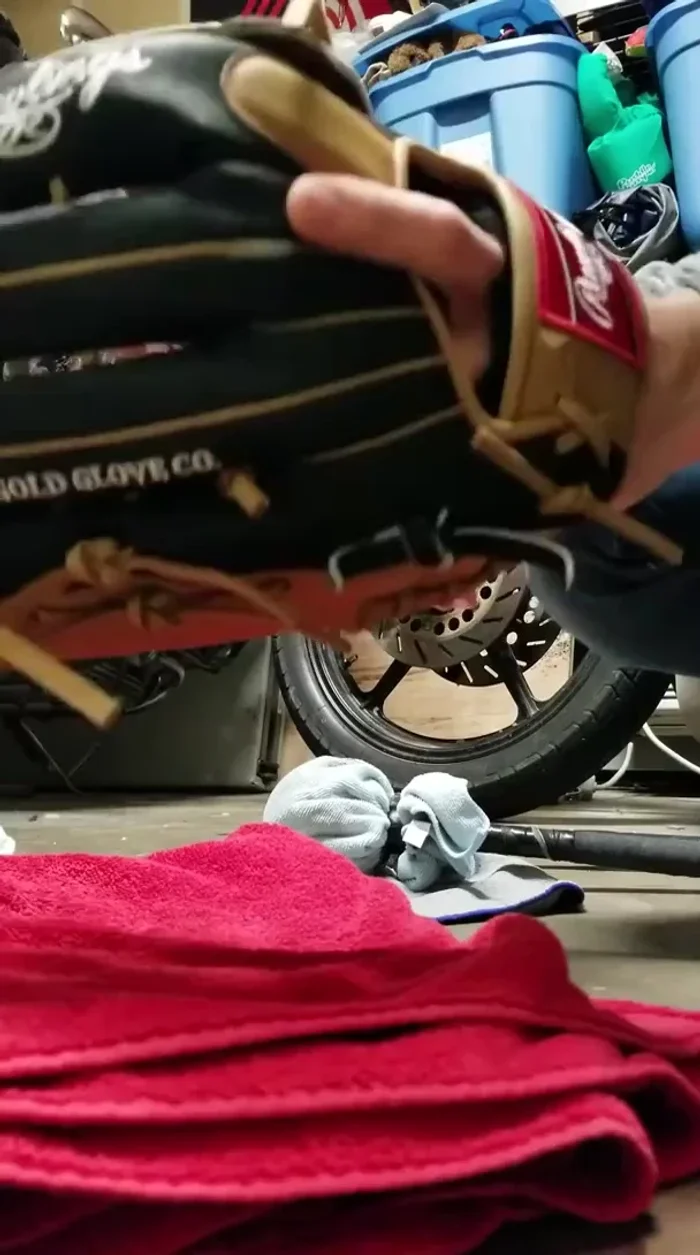
Forming and Shaping Final Conditioning and Drying
- Once dry, apply a light coat of glove oil (like Nocona) to loosen it up further.
Final Conditioning and Drying
Read more: Ultimate Guide to Staying Warm While Playing Baseball in Cold Weather
Tips
- Focus on the inside of the glove, especially the palm area, when applying hot water. This is crucial for breaking it in.
- Avoid soaking the glove completely; excess water can damage the leather.
- Conditioning the laces with Vaseline is important, especially with camel leather gloves, to prevent darkening.
- Use a soft ball wrapped in a towel to avoid dirt from transferring to your glove.
- Let the glove dry overnight to allow for better retention of its final shape.