The satisfying thwack of a ball meeting bat, the precision of a perfectly placed pitch – these are the sounds and sights that define baseball. For coaches, parents, and players alike, mastering the pitching machine is key to unlocking consistent, effective practice. Whether you're aiming to improve batting accuracy, hone fielding skills, or simply increase the volume of pitches thrown during training, a well-utilized pitching machine is an invaluable tool. It can significantly elevate the quality and efficiency of your practice sessions, leading to tangible improvements in your game.
This guide will demystify the often-intimidating pitching machine, transforming it from a complex piece of equipment into a reliable training partner. From understanding its different settings and functions to troubleshooting common problems, we'll take you through a step-by-step process to ensure you get the most out of your pitching machine, ultimately maximizing your performance on the field. Let's get started!
Preparation and Safety Guidelines
- Always wear safety glasses or a face shield to protect your eyes from errant balls.
- Never point the pitching machine at yourself or others. Ensure a clear and safe area behind and to the sides of the machine before operation.
- Before each use, inspect the pitching machine for any damage or loose parts. Do not operate a damaged machine.
Step-by-Step Instructions
Setting Up the Machine
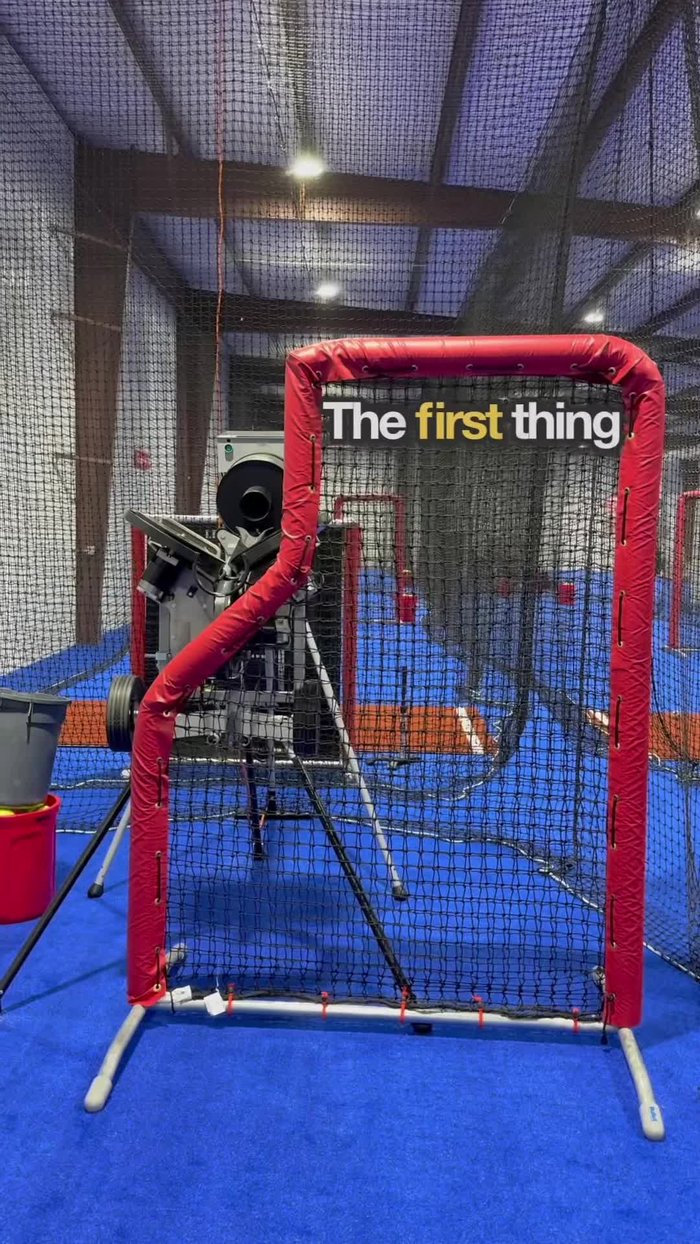
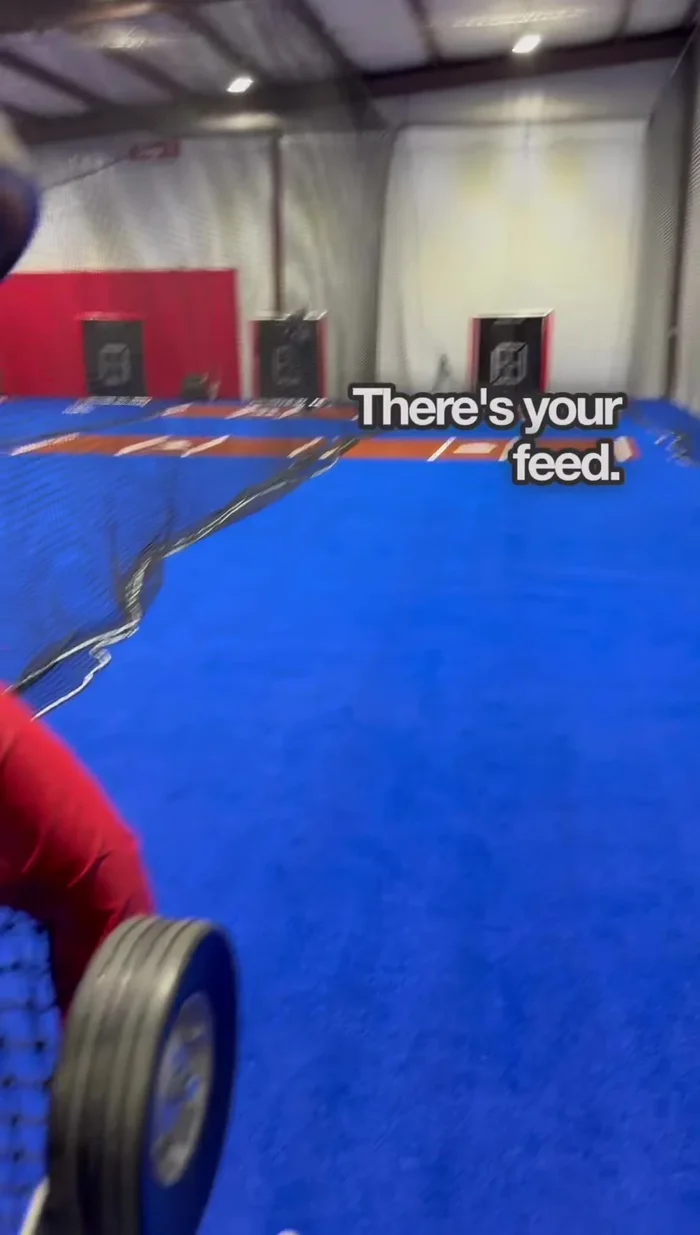
- Set up your L-screen for a clean pass of the ball.
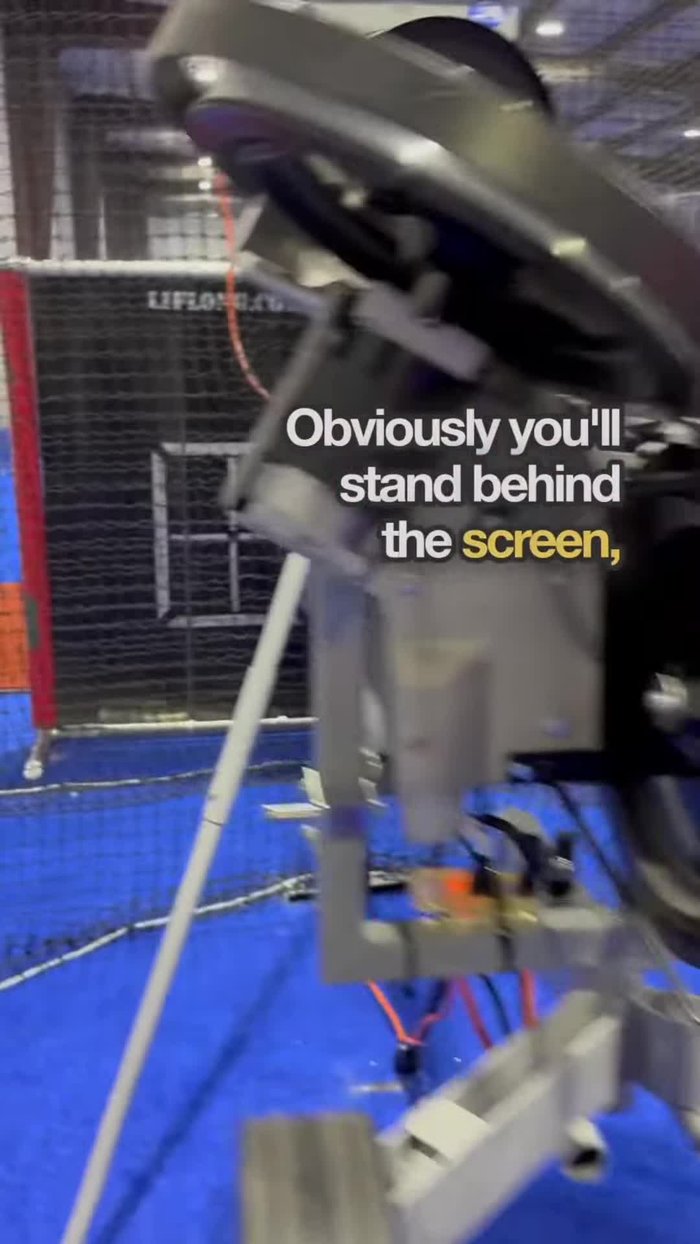
- Position yourself behind the screen (or to the side, as demonstrated in the video).
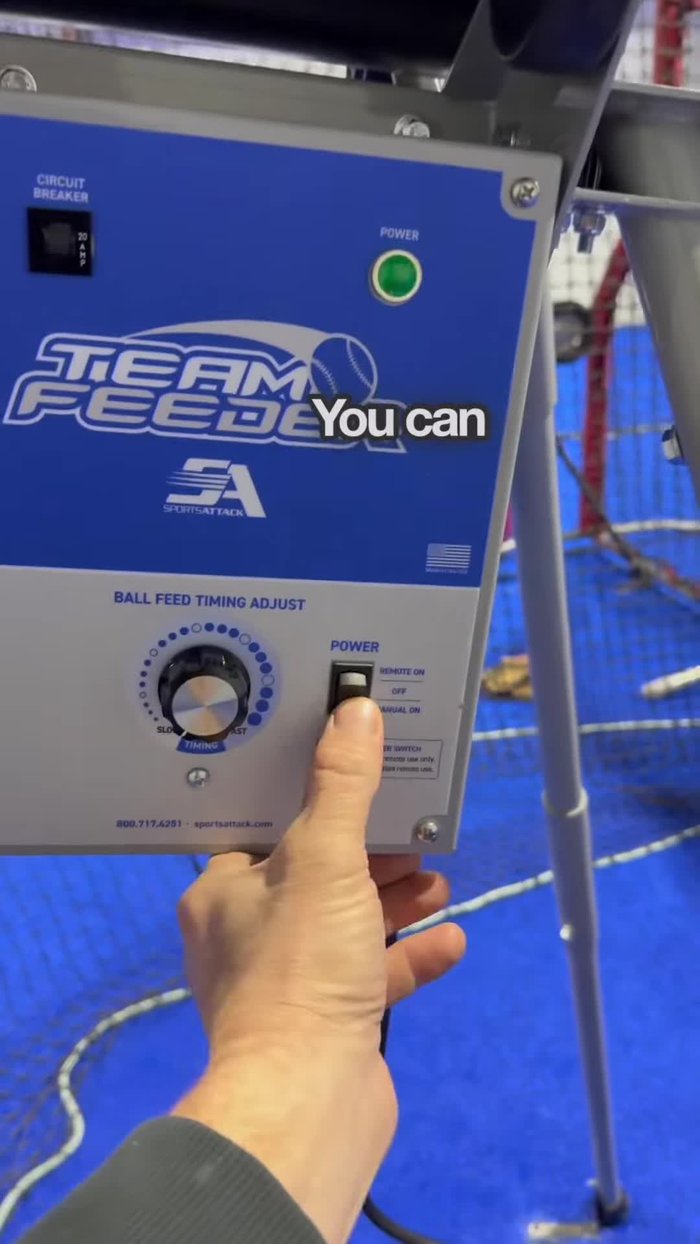
- If using a team feeder, load the balls and adjust the dial to control the speed and spin of the ball delivery.
- Turn the pitching machine on. Set the bottom wheel two numbers higher than the top wheel (e.g., 3 and 5) to achieve optimal backspin for ball flight.

Setting Up the Machine Preparing for Pitching
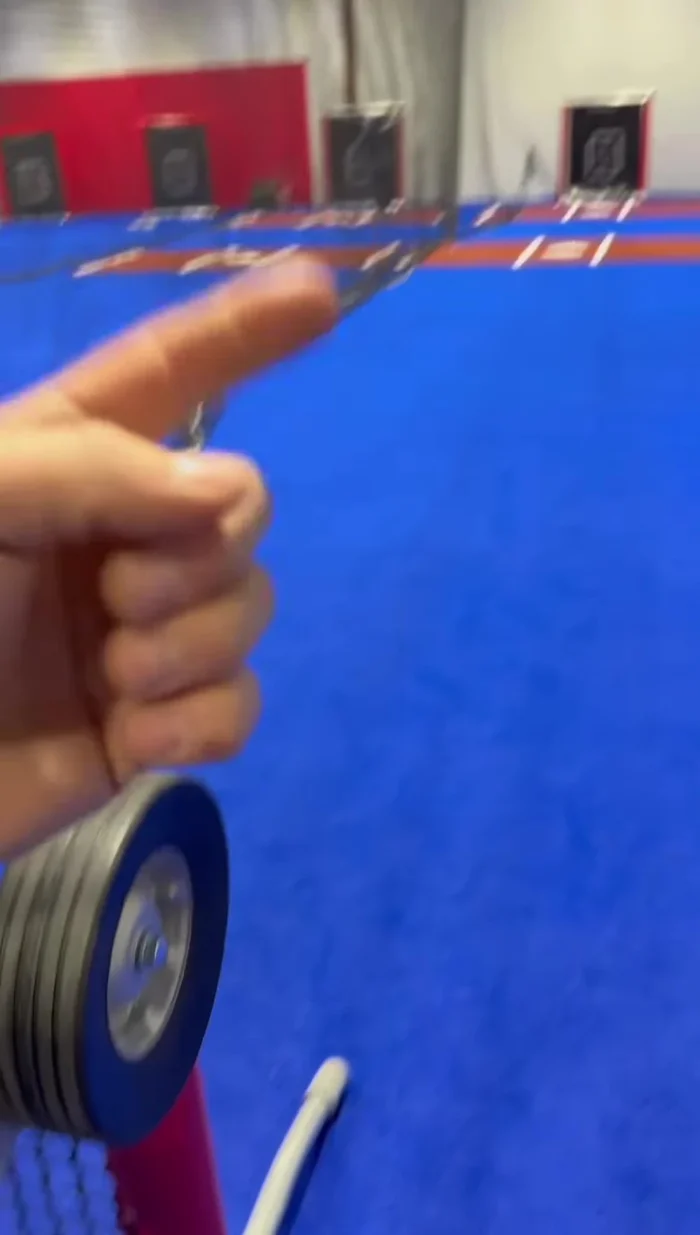
- Wait for the green light to indicate the machine is ready to feed the ball.
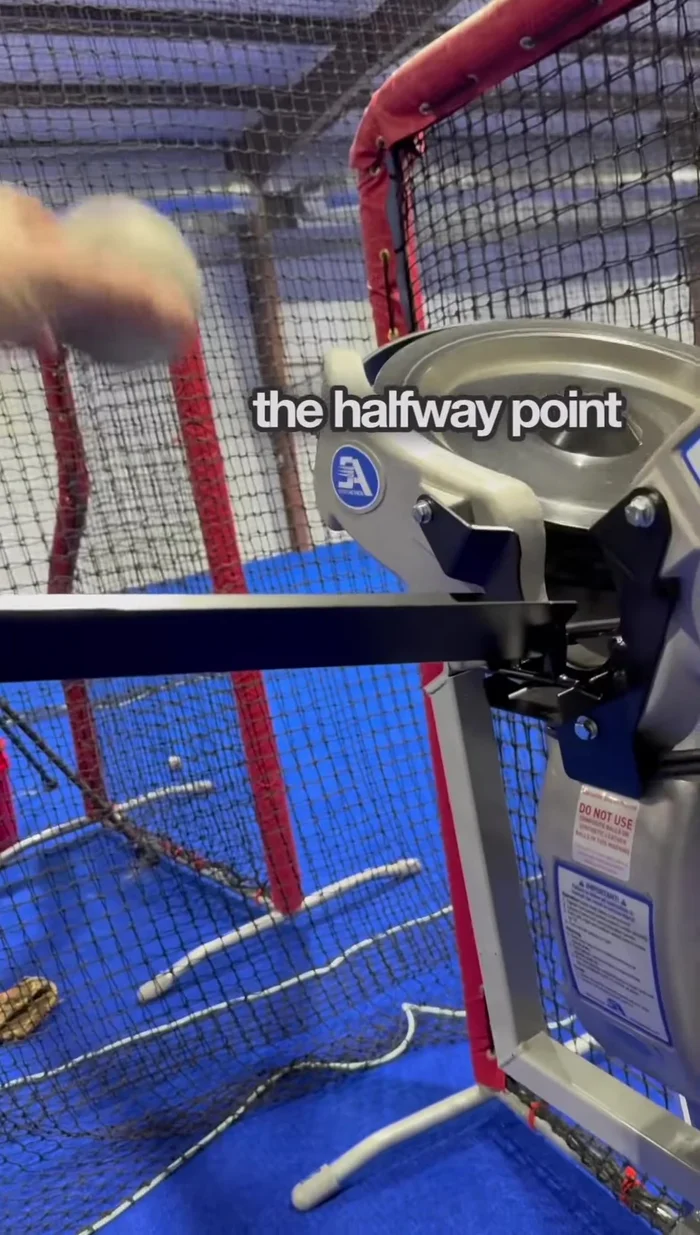
- Feed the ball, aiming for a four-seam grip and a smooth roll into the machine's feeding mechanism (around the halfway point of the feeder).
Preparing for Pitching Fine-Tuning the Pitch
- Adjust the bottom wheel to increase speed and backspin if the ball drops too much.
- Adjust the top and bottom wheels to correct any ball hook (left or right). Add a click to the slower wheel or reduce power from the faster one to straighten the pitch.
Fine-Tuning the Pitch Adjusting Machine Position
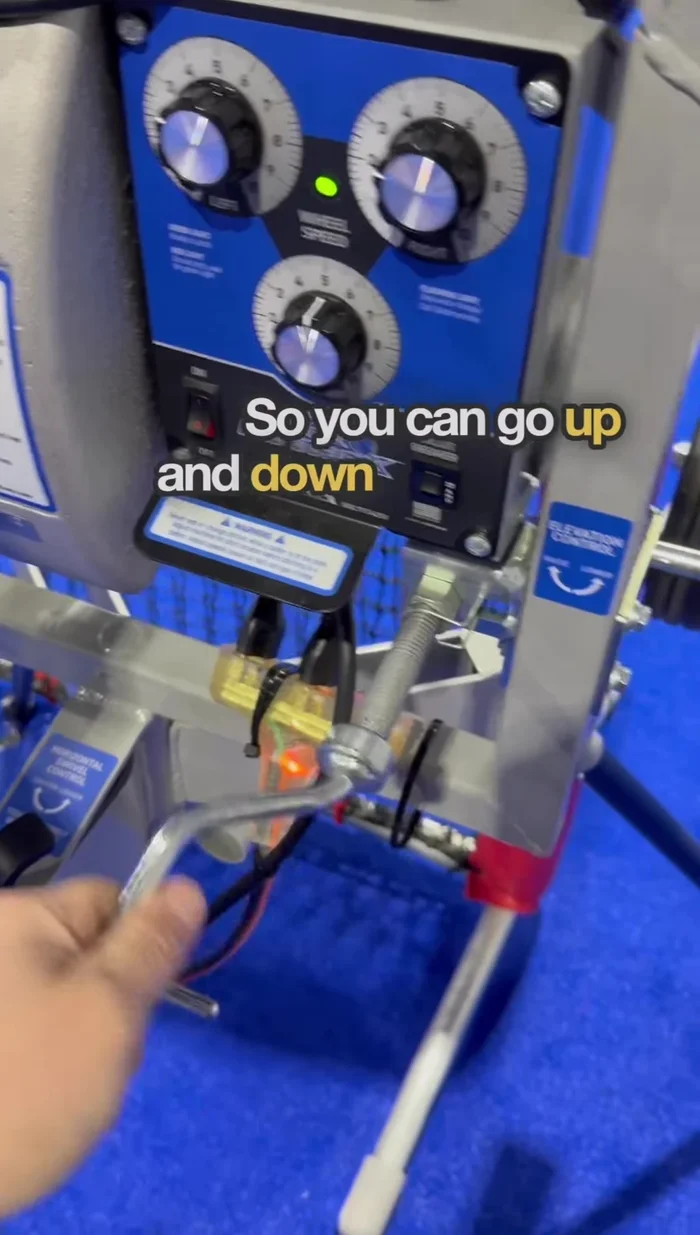
- Adjust the height and left/right positioning of the machine as needed.
Adjusting Machine Position Shutting Down the Machine
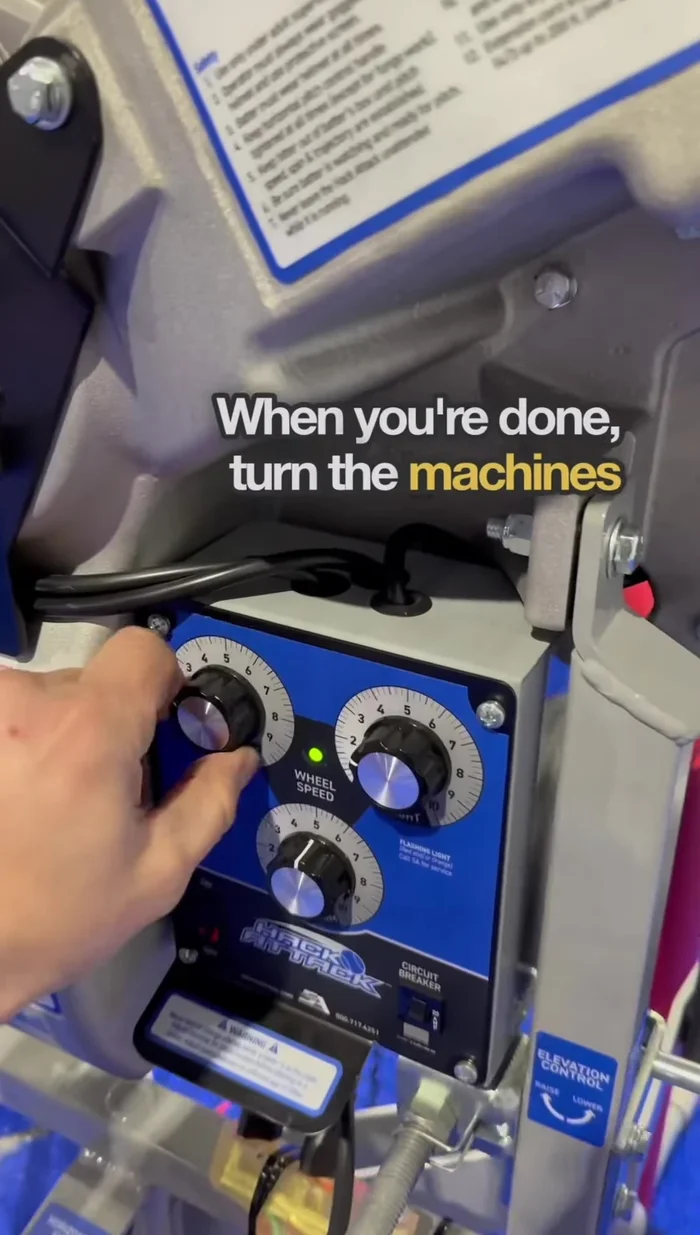
- Turn the machine to zero and shut it off when finished.
Shutting Down the Machine


Read more: String Line Method for Perfect Batting Cage Alignment
Tips
- A setting of 3 and 5 on the top and bottom wheels respectively provides a good starting point for a 55-60 mph pitch.
- Fine-tune the machine's settings to achieve the desired speed, backspin, and accuracy.
- Adjusting the wheels can correct any deviation in the pitch trajectory.