Land clearing and land smoothing are often time-consuming and laborious tasks, demanding significant effort and specialized equipment. For those tackling smaller projects or seeking a more economical solution, a DIY ATV drag offers a compelling alternative. This adaptable tool, easily constructed and attached to an all-terrain vehicle, allows for efficient leveling of uneven terrain, preparing land for various purposes, from creating garden plots to establishing smoother pathways. This significant cost saving is coupled with the added benefit of increased control and maneuverability over larger, more expensive equipment.
This article presents two distinct designs for constructing a DIY ATV drag, catering to different skill levels and material availability. Each design will be detailed with comprehensive step-by-step instructions, diagrams, and material lists, guiding you through the entire construction process from start to finish, allowing you to build the perfect drag for your specific needs.
Preparation and Safety Guidelines
- Steel tubing
- Angle iron
- 5/8 inch bolts
- Harbor Freight wheelbarrow tires
- 2x2x1/4 inch steel tubing
- 2 inch coupler
- Cinder blocks
- Welding equipment
- Washers
- Barbecue grill wheels
- Always wear appropriate safety gear, including a helmet, eye protection, gloves, and sturdy clothing. ATV operation can be dangerous, and protecting yourself is paramount.
- Never operate the ATV drag at speeds exceeding what is safe and controlled for the terrain and conditions. Sudden changes in terrain or unexpected obstacles can easily cause accidents.
- Ensure the ATV and drag are properly maintained and in good working order before each use. A malfunctioning machine can lead to serious injury or damage.
Step-by-Step Instructions
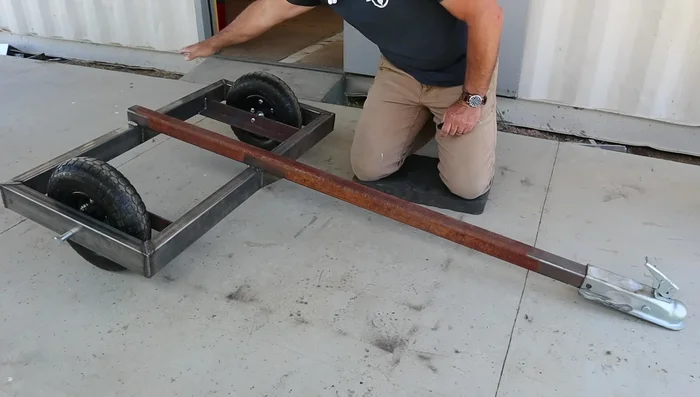
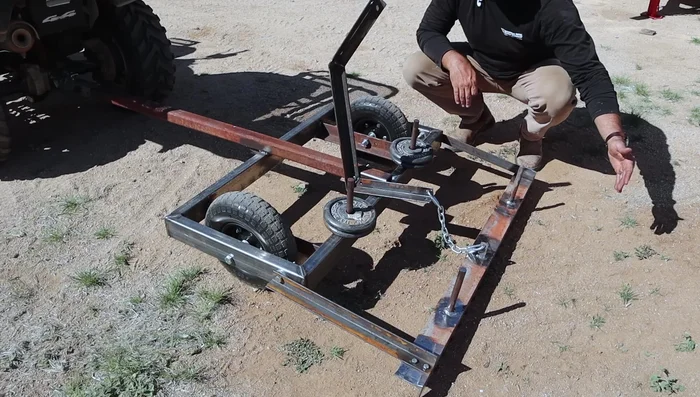
Build Basic Drag Trailer
- Construct a basic trailer foundation using steel and wheelbarrow tires.

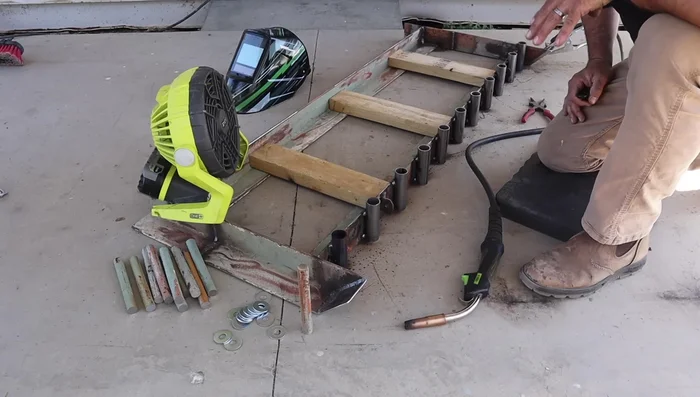
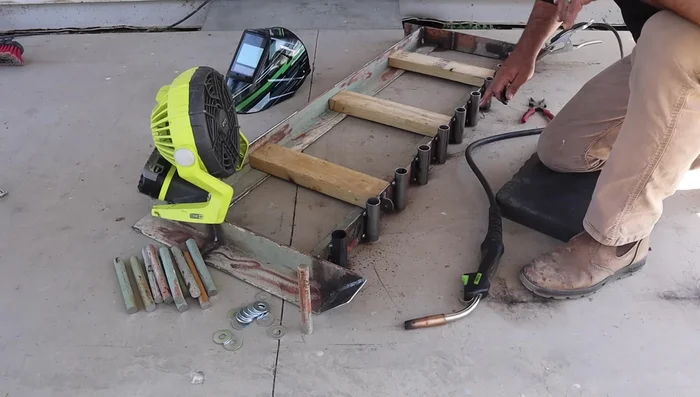
Build Basic Drag Trailer Fabricate and Secure Rake Mechanism
- Fabricate the rake mechanism, attaching it to the back of the trailer. Include a handle for operation.
- Weld the rake mechanism components securely, using a staggered welding technique to prevent warping.
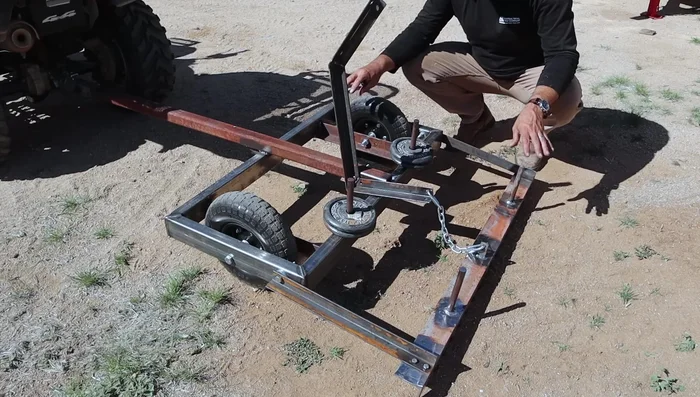
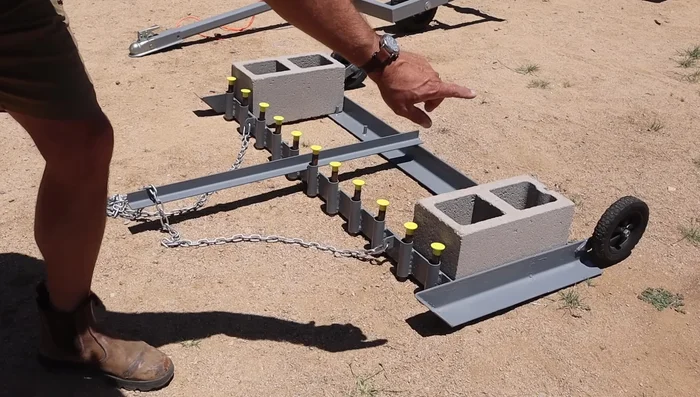
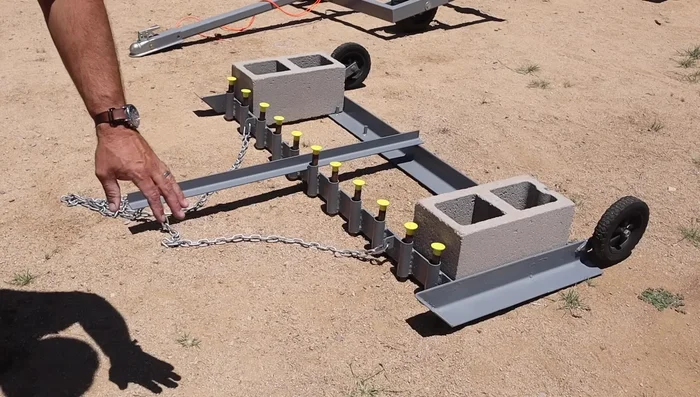
Fabricate and Secure Rake Mechanism Weight and Test Initial Rake Drag
- Attach weights (cinder blocks) to the rake for increased effectiveness. Consider adding small bars to prevent the blocks from shifting.
- Test the rake in the desired area (round pen initially).
Weight and Test Initial Rake Drag Construct Heavy-Duty Smoothing Drag
- Construct a separate, heavier smoothing drag (a 'Ganon box') for use on rougher terrain. This will attach to existing posts.
Construct Heavy-Duty Smoothing Drag Enhance Smoothing Drag
- Add wheels from a barbecue grill to the back of the main drag for easier maneuverability.
- Attach a handle to the main drag to aid in lifting and moving it around obstacles.
Enhance Smoothing Drag

Read more: DIY Drag Mat: Level Your Lawn for Under $160!
Tips
- Use a staggered welding pattern to avoid warping the metal during construction.
- Grind off old paint from pins to prevent locking during operation.
- Consider adding a fan to improve airflow and reduce the smell of burnt paint during welding.
- Paint the pins for easy retrieval if they pop out.