Uneven lawns are a common eyesore, often leading to frustrating mowing and an overall unkempt appearance. Professional lawn leveling can cost a fortune, but achieving a perfectly smooth surface is entirely within reach for the DIY enthusiast – and for significantly less! This guide will demonstrate how to construct a highly effective drag mat for leveling your lawn, a project that will leave your grass looking pristine and significantly improve your lawn care routine, all for under $160. Forget expensive landscaping services and reclaim the pride of a perfectly manicured yard.
This surprisingly simple project utilizes readily available materials and requires minimal specialized tools. We'll walk you through each step, from gathering the necessary supplies to the satisfying final result of a level, even lawn. Ready to transform your uneven patch of grass into a lush, level paradise? Let's dive into the detailed step-by-step instructions to build your own DIY drag mat.
Preparation and Safety Guidelines
- C-channel
- Angle iron
- Chains
- Welding equipment
- Always wear appropriate safety gear, including safety glasses and sturdy work gloves, when operating power tools and handling materials.
- Before beginning any digging or excavation, contact your local utility companies to locate underground lines to prevent accidental damage. This is crucial to avoid injury and potential fines.
- Ensure the ground is properly compacted after leveling to prevent settling and future unevenness. This might require specialized compaction tools or multiple passes with a heavy roller, depending on the scale of the project.
Step-by-Step Instructions
Design and Planning
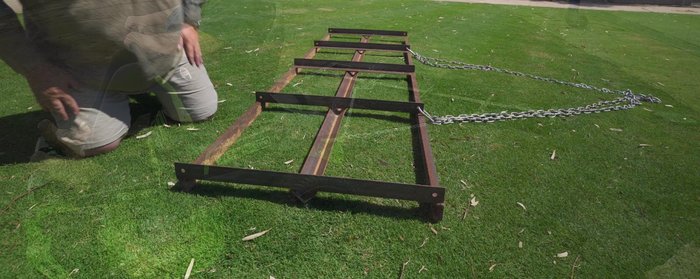
- Obtain design inspiration (from a YouTube channel). Modify design to fit your needs (8ft wide, 30 inches long).

Design and Planning Frame Construction
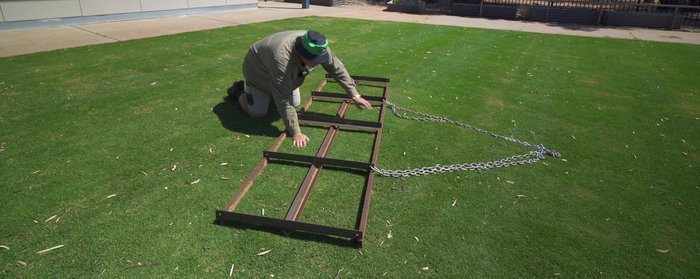
- Construct the frame using C-channel and angle iron. Ensure the frame is square and properly clamped before welding.
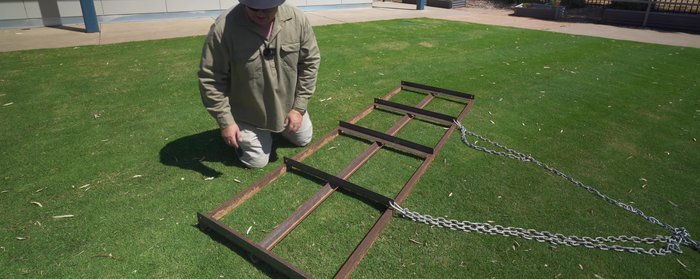
- Add center sections (slightly longer to prevent flipping).
Frame Construction Reinforcement and Detailing
- Attach angle iron to the frame. Ensure a 20mm gap between the C-channels for debris passage.
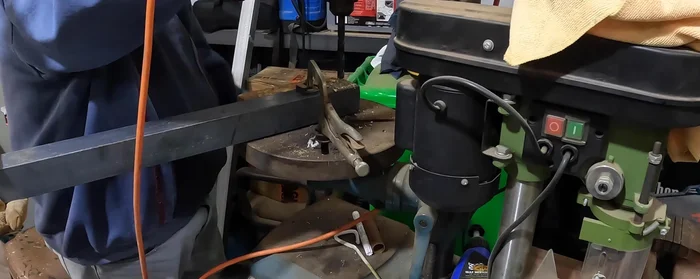
- Drill holes in the center sections for chain attachment.
Reinforcement and Detailing Welding and Finishing
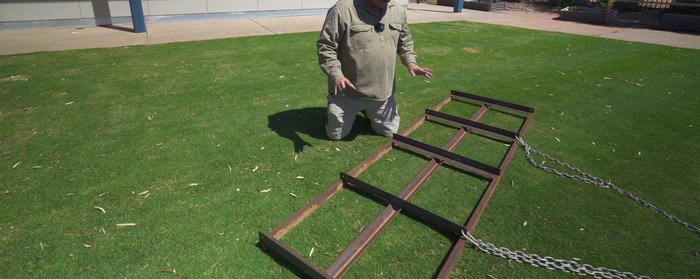
- Weld all crossing points and smooth off any burrs.
Welding and Finishing Testing and Adjustments
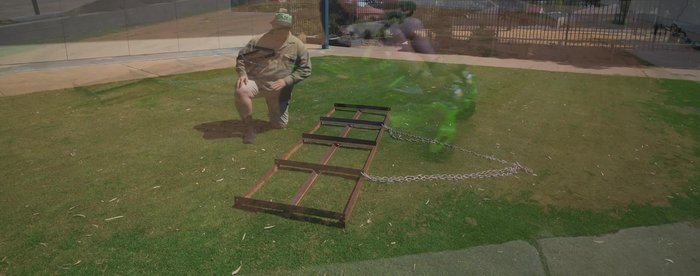
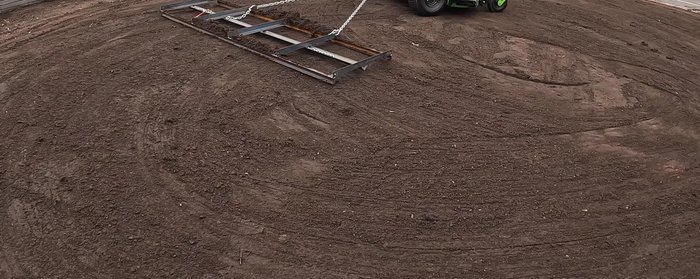
- Test the drag mat and make adjustments as needed.
Testing and Adjustments
Read more: DIY ATV Drag for Land Clearing and Smoothing: A Two-Design Approach
Tips
- Make center sections slightly longer than the original design to prevent flipping.
- Ensure a 20mm gap between the C-channels to allow debris to pass through.
- Smooth off all burrs after welding for safety.