A torn fishing net is more than just a frustrating inconvenience; it's a direct threat to a fisherman's livelihood. A single hole can lead to lost catches, wasted time, and ultimately, reduced income. Knowing how to effectively mend nets is a crucial skill, passed down through generations of experienced seafarers and vital for maintaining both productivity and profitability. This isn't just about patching up a few snags; it's about preserving a valuable tool and understanding the intricate craftsmanship involved in creating and maintaining a strong, reliable net. The longevity and effectiveness of your fishing gear directly impact your success.
This guide provides a comprehensive, step-by-step approach to repairing your fishing nets, covering various repair techniques suited to different types of damage and materials. Whether it's a small tear or a more substantial rip, we'll equip you with the knowledge and skills to get your net back in top working condition quickly and efficiently. Let's dive into the essential techniques that will ensure your nets remain a productive part of your fishing operation for years to come.
Preparation and Safety Guidelines
- Fishing net
- Needle
- Halfers (net mending pieces)
- Always inspect your net thoroughly before starting repairs. Identify the extent of the damage to avoid missing smaller holes or weak areas.
- Use appropriate safety gear when handling sharp needles or tools. Protect your hands with gloves and your eyes with safety glasses.
- Work in a well-lit and organized space to prevent accidents and ensure precise repairs. Avoid distractions.
Step-by-Step Instructions
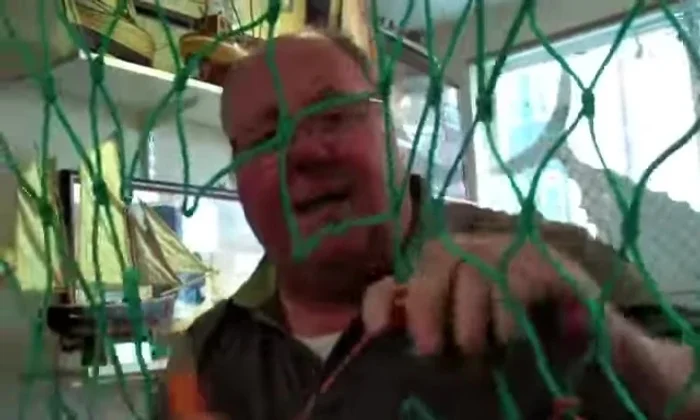
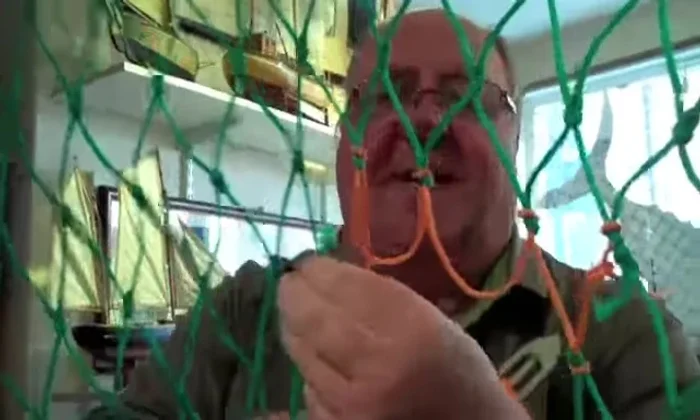
Prepare to Mend
- Start with a halfer. No matter the size of the hole, begin and end with a halfer.
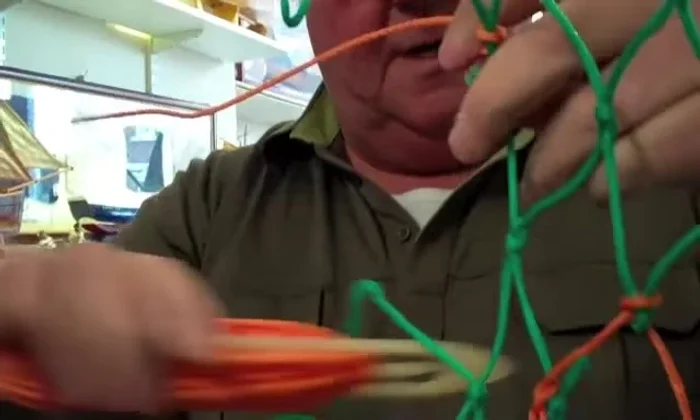
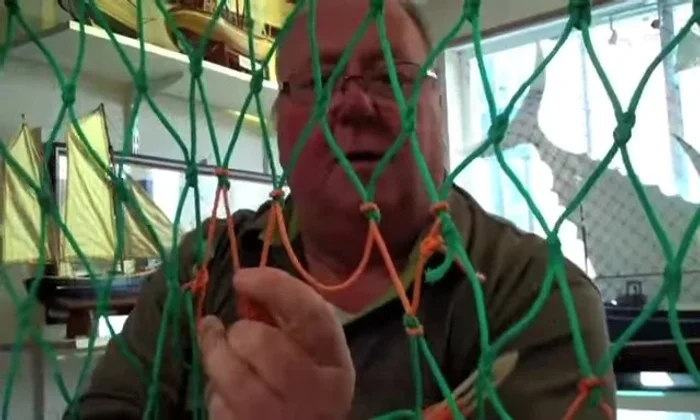
Mend to the Right
- Identify the next mesh. (The speaker uses the term 'mash'.)
- Pick up the mesh. Hitch it over to the right, securing it with your finger and thumb.
- Make the first line, keeping it taut with your fingers.
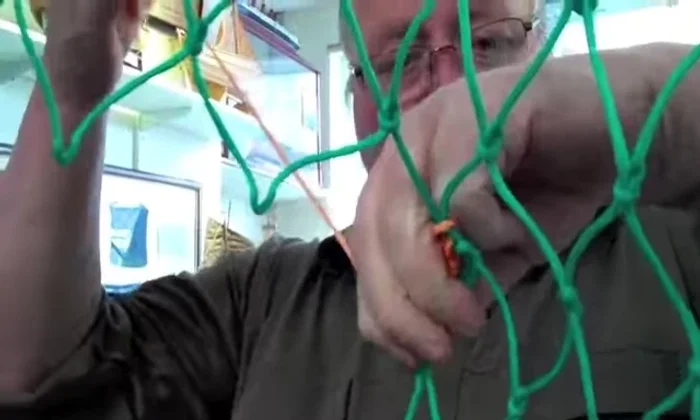
- Continue picking up meshes to the right, securing each one with a hitch around the back.

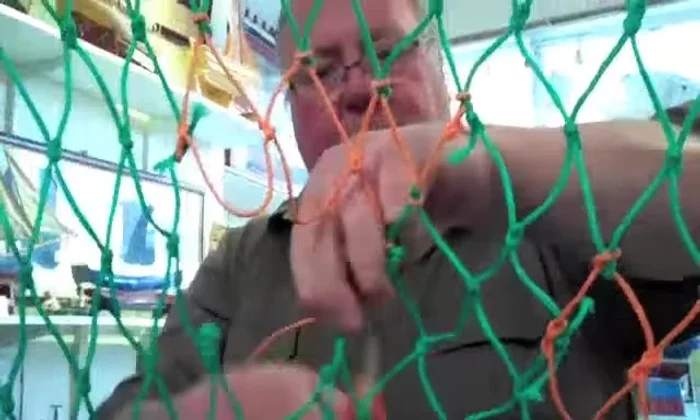
Mend to the Right - When you reach the end of a row, use a side knot to secure the end.
Mend to the Right Mend to the Left
- Repeat steps 2-6, now working to the left, until the hole is closed.
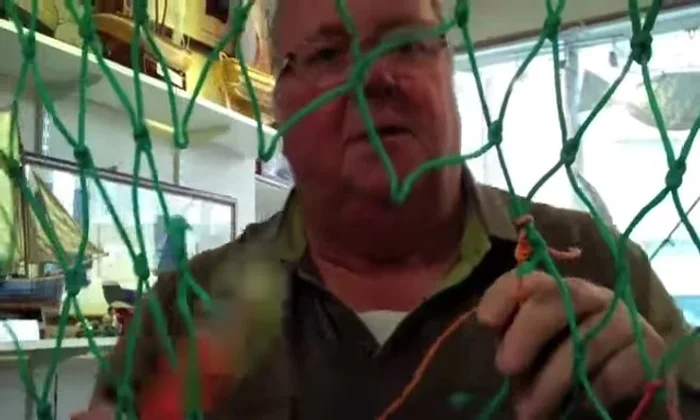
Mend to the Left Final Touches and Inspection
- Check your work regularly. Pick up any loose meshes.
- Finish with a double hitch to secure the final halfer.
Final Touches and Inspection

Read more: String Line Method for Perfect Batting Cage Alignment
Tips
- Always start and finish with a halfer.
- Keep the stitches tight.
- Check your work frequently to ensure all meshes are secure.