New baseball gloves, while pristine and promising, often feel stiff and unforgiving, hindering performance. That frustratingly long break-in period can feel like an eternity before you can confidently field a grounder or make a crucial catch. Many players resort to cumbersome and time-consuming methods, leaving their gloves feeling less than optimal. But what if there was a faster, more effective way to achieve that perfectly supple glove? We're talking about a method that significantly reduces break-in time without sacrificing the integrity of your leather.
This guide unveils the ultimate glove break-in method – a fast and effective process designed to transform your stiff new mitt into a reliable, game-ready companion in a fraction of the traditional time. Forget waiting weeks; prepare to hit the field with confidence sooner than you ever thought possible. Ready to learn the secrets? Let's dive into our step-by-step guide to achieving the perfect break-in.
Preparation and Safety Guidelines
- Glove
- Glove Mallet
- Weight (3-10 lbs)
- Avoid using harsh chemicals or excessive heat. These can damage the leather and shorten the glove's lifespan.
- Be patient! Proper glove break-in takes time. Rushing the process can lead to uneven wear and potential injury.
- Always prioritize safety. Never use sharp objects or excessive force that could tear or puncture the leather.
Step-by-Step Instructions
Preparation
- Find your glove and decide how you want to wear it (traditional or two in the pinky).
Initial Break-in with Mallet
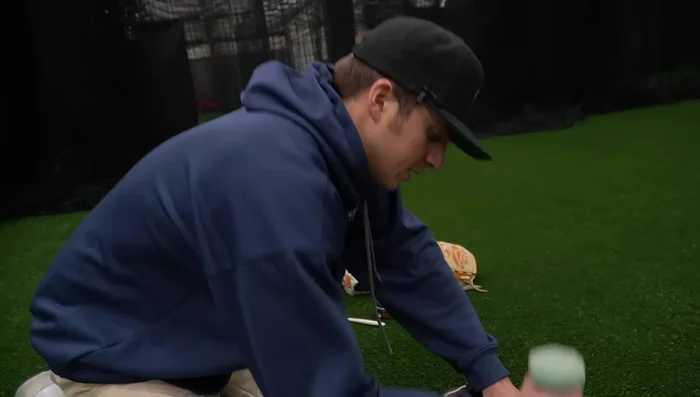
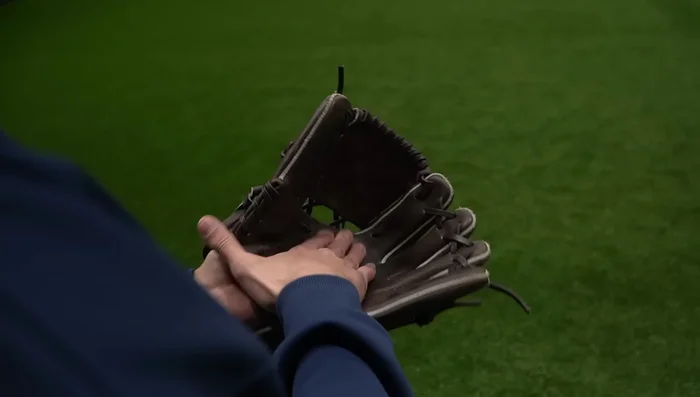
- Use a glove mallet and weight to hit the heel of the glove repeatedly. Focus on areas with a lot of leather, like the heel.
- Hit the glove with varying intensity. Start softer, then increase force to break in the leather thoroughly. Avoid hitting your fingers!
- Pay attention to the pinky side and hinge area. Use the mallet to loosen this area.
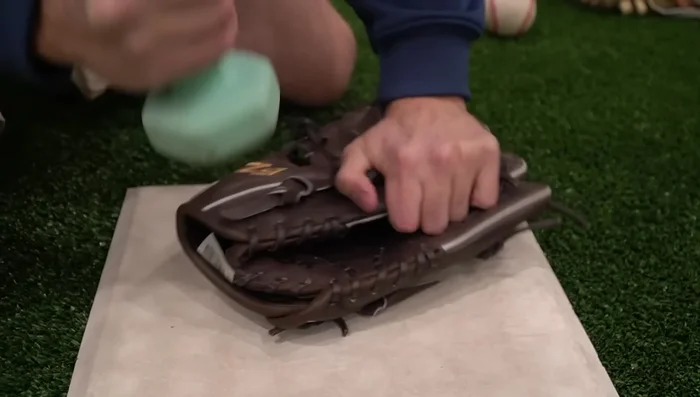
- Hit the palm area focusing on the pocket area. Aim for consistent hitting around your pocket area to form a natural shape.

Initial Break-in with Mallet - For infielders, don't neglect the area where your two hands meet when fielding a ball. This area should be broken in to allow for a comfortable two-handed grip.
- Loosen the web area by rolling it back and forth with the mallet. Don't overdo this, as some stiffness in the web is desirable.
Initial Break-in with Mallet Pocket Shaping and Refinement
- Hit the glove and roll it over a baseball (or other rounded object). This helps form a deeper pocket and gets the glove used to closing smoothly.
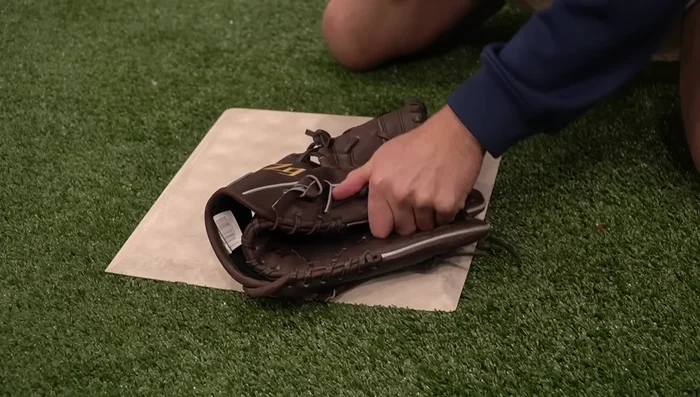
- Shape the glove by rolling your fingers to create the desired pocket shape. Experiment to find what works best for your playing style.
Pocket Shaping and Refinement Maintenance
- Condition your glove with leather conditioner after breaking it in to keep it soft and supple.
Maintenance

Read more: Choosing the Perfect Baseball Bat: A Step-by-Step Guide
Tips
- Don't be afraid to hit the glove hard. This will break in the leather effectively.
- The ability to easily close the glove doesn't mean it's fully broken in. Focus on hitting the leather to loosen it completely.
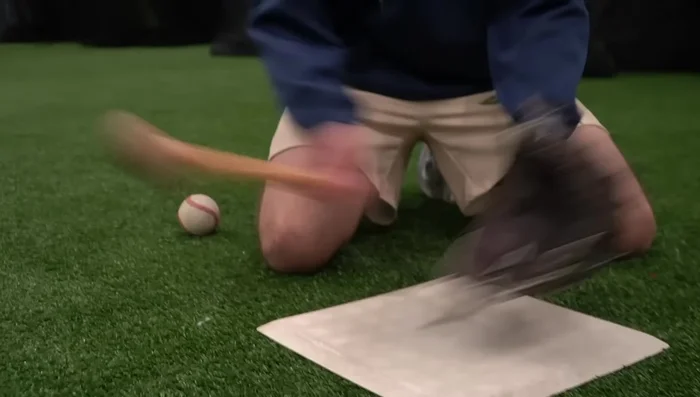
- After breaking in, use the glove regularly to complete the process. Play catch, field ground balls, etc.
- Consider hot water treatment to aid in shaping the glove, especially for adjusting finger placement.
- Regular conditioning will significantly prolong the life of your glove.