The crack of the bat, the roar of the crowd, the satisfying thud of a perfectly caught fly ball – baseball is a game of passion and precision. But even the most dedicated player can face a disheartening setback: a soggy, waterlogged baseball glove. A damp glove not only feels uncomfortable but also significantly impacts its performance, leading to poor catches and potentially even damage to the leather. Losing your grip, facing stiff leather, and worrying about mold growth are all very real concerns when your trusty glove gets drenched. Don't despair! A soaked glove doesn't mean the end of the game.
This article provides the ultimate drying guide to rescue your beloved baseball glove from a watery grave, restoring it to its peak condition. We'll walk you through a step-by-step process, ensuring your glove is not only dry but also properly cared for to prevent future damage and extend its lifespan. Ready to get started and bring your glove back to life? Let's dive into the detailed instructions.
Preparation and Safety Guidelines
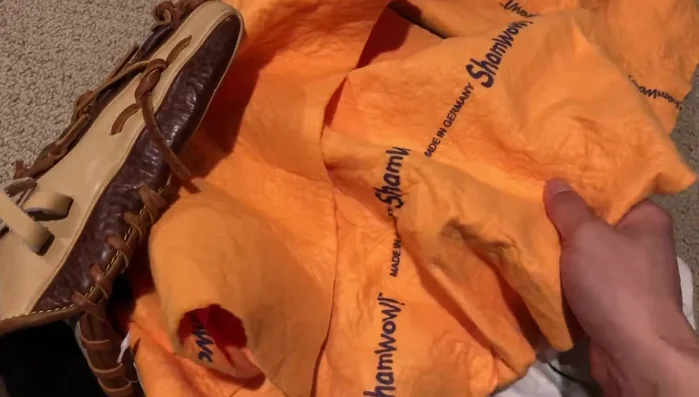
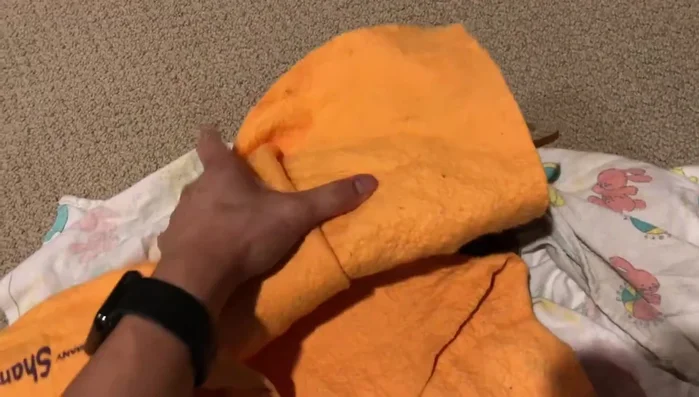
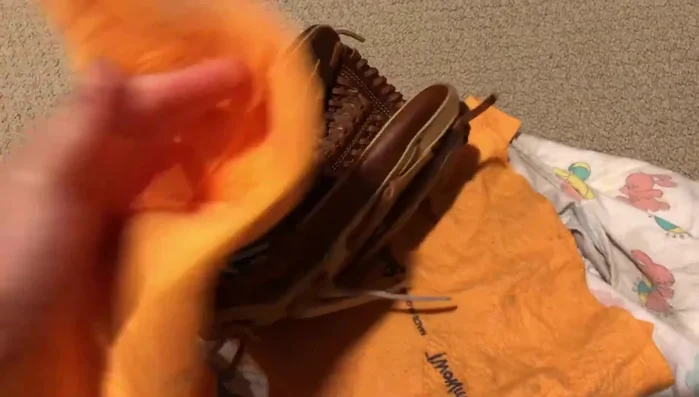
- Absorbent towels (ShamWow recommended)
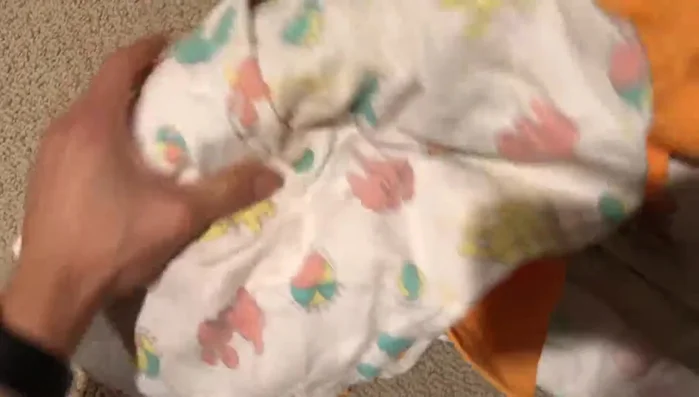
- Clean cloths
- Softball or similar
- Fan (no heat)
- Electric blanket (low heat setting)
- High-quality glove conditioner (Mizuno, Wilson, etc.)
- Postal scale (optional)
- Softball
- Never put your glove in a dryer, oven, or direct sunlight. High heat can permanently damage the leather.
- Avoid using harsh chemicals or excessive water when cleaning. Use a soft cloth and mild soap if necessary.
- Stuffing your glove with newspaper helps absorb moisture, but replace the newspaper regularly as it becomes damp.
Step-by-Step Instructions
Initial Water Removal
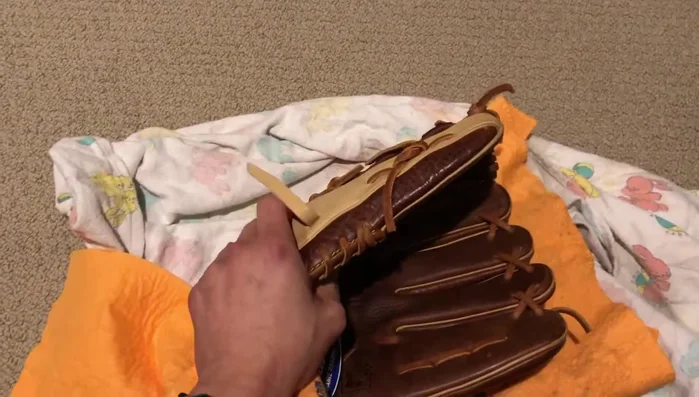
- Stuff the glove with absorbent towels to soak up excess water.
- Use clean cloths to remove water from the finger pockets.

Initial Water Removal Accelerated Drying with Pressure
- Wrap the glove in towels and blankets, applying pressure to help absorb moisture.
Accelerated Drying with Pressure Air Circulation and Gentle Heat
- Use a fan (no heat) to create airflow and further dry the glove.
- Alternately use gentle heat from an electric blanket (low setting) to encourage moisture evaporation.
Air Circulation and Gentle Heat Repeat Drying Process
- Repeat steps 3-5 for several days, changing towels frequently, until the glove is nearly dry.
Repeat Drying Process Conditioning
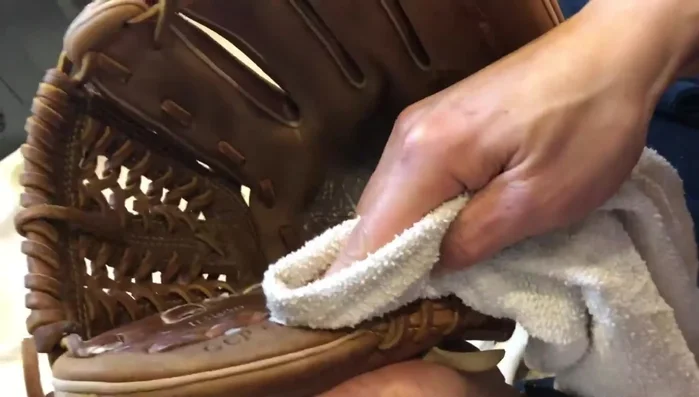
- Apply a generous amount of high-quality glove conditioner.
Conditioning

Read more: Ultimate Glove Break-In Guide: The Fast & Effective Method
Tips
- Weigh the glove daily to track progress. This helps to monitor the moisture removal.
- Don't use harsh heat sources like hair dryers or ovens; these can damage the leather.
- Work the glove by flexing and massaging the leather while drying to improve its flexibility.
- If using a thick glove conditioner like Mizuno Strong Oil, warm it slightly to make it easier to apply and absorb.