Retractable safety nets offer a versatile and effective solution for a variety of applications, from protecting children at playgrounds to securing construction sites. Their ability to be easily deployed and retracted makes them a popular choice, but improper installation can compromise their effectiveness and even create hazards. Choosing the right net for your specific needs is the first crucial step, considering factors like area size, weight capacity, and the type of anchoring system required. Understanding the intricacies of installation is equally vital to ensure optimal safety and longevity of the net.
This comprehensive guide will walk you through the process of installing a retractable safety net, providing clear and detailed instructions for each stage. From preparing the installation area and anchoring points to correctly tensioning and securing the net itself, we’ll equip you with the knowledge to complete the task safely and efficiently. Let's dive into the step-by-step process to ensure your retractable safety net is installed correctly and provides the protection you need.
Preparation and Safety Guidelines
- Bracket
- Level
- Drill
- Lag screws
- Ratchet
- Cables
- Cable clamps
- Turnbuckle
- Adjustable wrench
- Grinder
- Tape
- Always ensure the net is installed according to the manufacturer's instructions. Improper installation can compromise safety.
- Use appropriate anchoring points capable of withstanding the net's weight and potential impact forces. Weak anchors can lead to failure.
- Regularly inspect the net and its anchoring system for wear and tear. Replace any damaged components immediately.
Step-by-Step Instructions
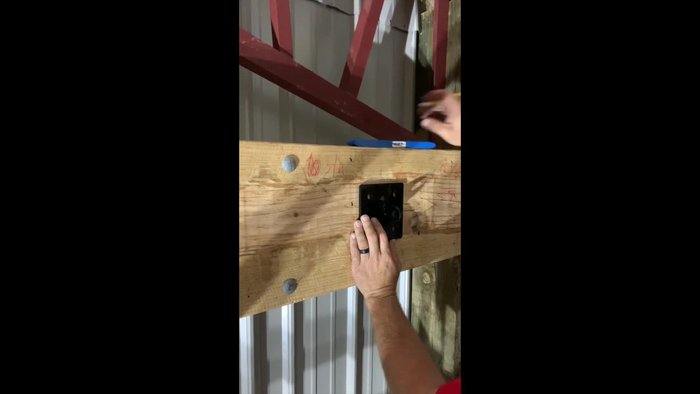
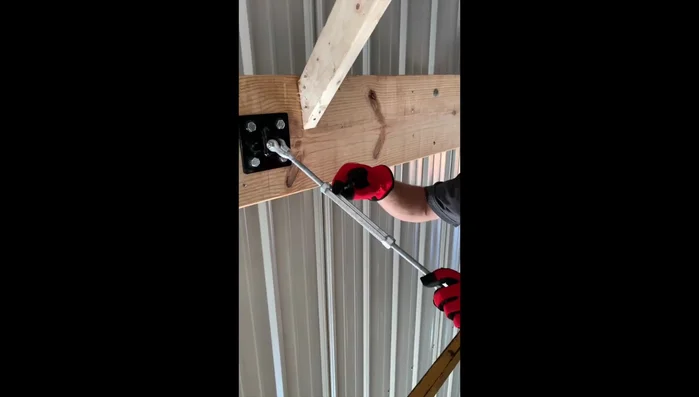
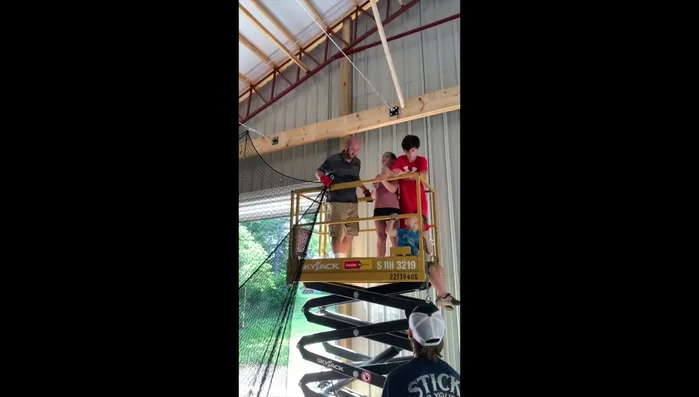
Mounting the Bracket
- Position and secure the bracket.
- Center the bracket two feet off the wall and ensure it's level using a level.
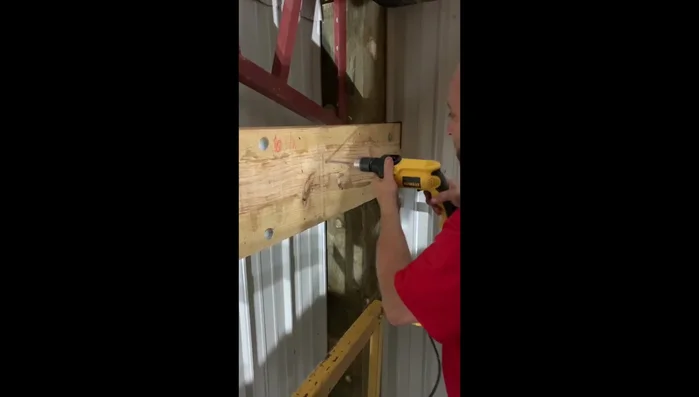
- Mark and drill holes for the bracket.
- Attach the bracket to the header using lag screws and a ratchet.

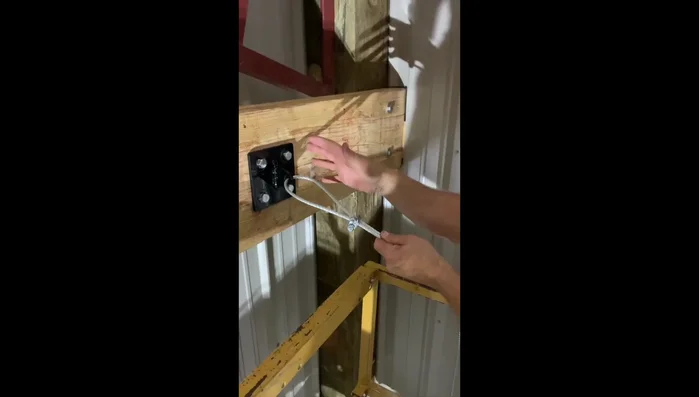
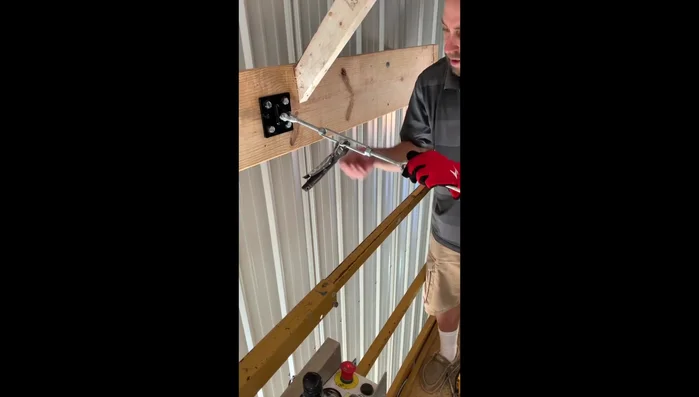
Mounting the Bracket Securing the Dead End
- Prepare the dead end of the net.
- Loop the cable through the dead end and attach two cable clamps.
- Extend the turnbuckle fully to remove slack before tightening.
- Ensure all slack is removed from the cable before clamping to allow for adjustments with the turnbuckle.
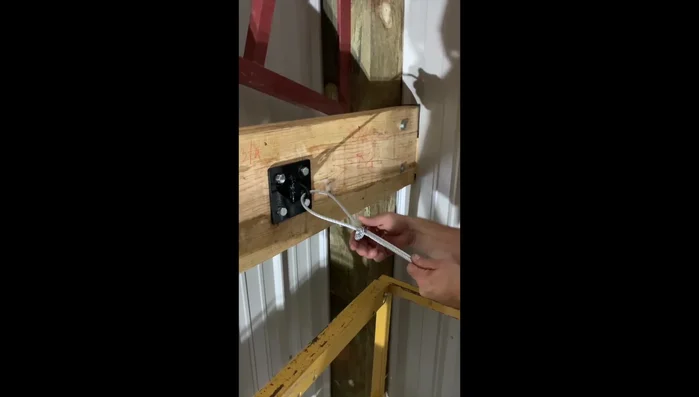
Securing the Dead End - Route the cable through the turnbuckle. Keep the wheels down to reduce cable weight.
- Attach the second cable clamp and tighten.
- Cut off excess cable and tape the end.
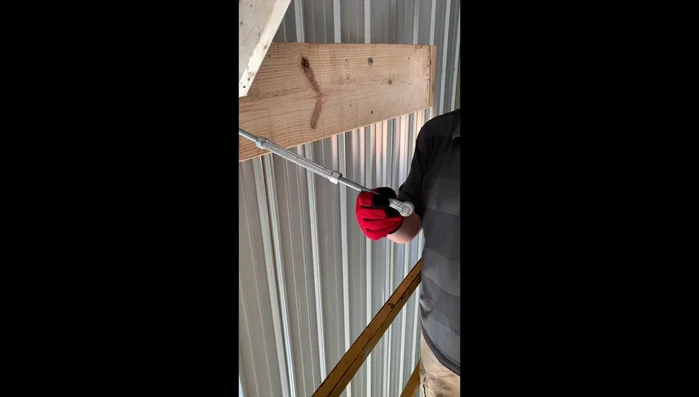
Securing the Dead End Tensioning the Cable
- Tighten the turnbuckle using an adjustable wrench.
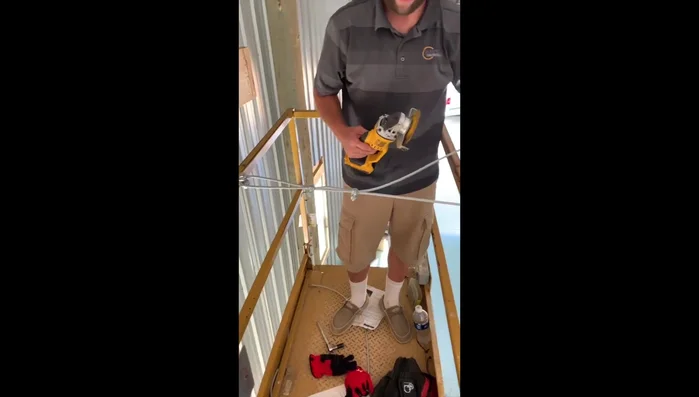
Tensioning the Cable Hanging the Net
- Hang the net.
- Hook the corners and attach each roller to the cable.
Hanging the Net


Read more: String Line Method for Perfect Batting Cage Alignment
Tips
- Use a level to ensure the bracket is perfectly level before drilling holes.
- Extend the turnbuckle fully before tightening to remove all slack from the cables.
- Remove all slack from the cable before clamping to ensure sufficient adjustment room on the turnbuckle.
- Keep the wheels of the net down to reduce weight on the cable during tightening.
- Tape the end of the cut cable to prevent fraying.