Tanner flex tops, those crucial components of your tanning bed, are vital for ensuring even and effective tanning. Over time, wear and tear, or even accidental damage, can necessitate their replacement. A worn-out or damaged flex top can lead to inconsistent tanning results, potential skin damage, and even compromise the overall lifespan of your tanning equipment. Knowing how to replace one efficiently is therefore a valuable skill for anyone owning or maintaining a tanning bed. This is especially true considering the often-high cost of professional repairs.
This guide provides a comprehensive, step-by-step process for replacing your tanning bed's flex top, empowering you to tackle this maintenance task with confidence and save money. Let's dive into the detailed instructions and learn how to restore your tanning bed to peak performance, ensuring safe and effective tanning sessions for years to come.
Preparation and Safety Guidelines
- Phillips screwdriver
- Tanner flex top replacement
- Clean cloth
- Adhesive strip
- Always disconnect the power supply to the tanning bed before starting any repair work. Failure to do so could result in serious electric shock.
- Wear appropriate personal protective equipment (PPE), including gloves and eye protection, to prevent injury from sharp edges or exposure to dust and debris.
- If you are unsure about any step of the process, consult a qualified tanning bed technician or refer to the manufacturer's instructions. Improper installation can damage the unit and void warranties.
Step-by-Step Instructions
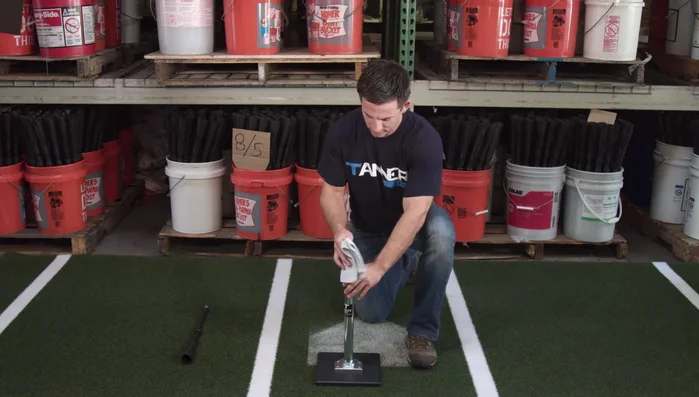
Remove Old Flex Top
- Remove the old flex top by grabbing the small rubber tip, twisting it, and pulling upwards.
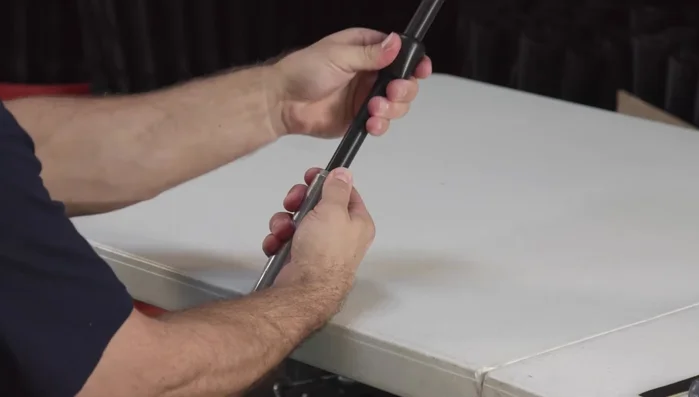
Clean the Pipe
- Wipe away any dirt or residue from the top of the metal pipe.

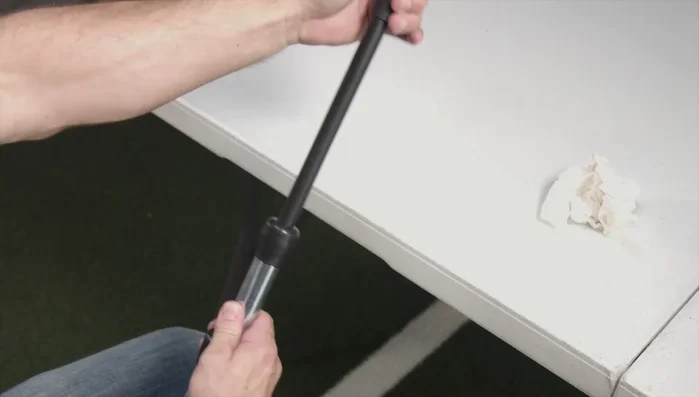
Clean the Pipe Prepare the Base
- Unscrew the stem from the base and set the base aside.
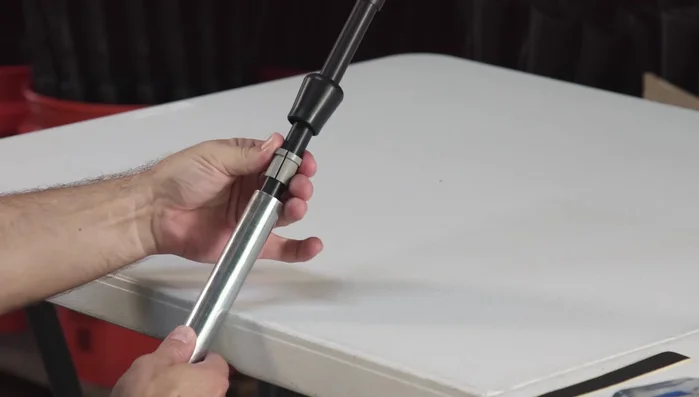
Insert New Flex Top and Adjust Friction
- Insert the replacement flex top into the metal pipe. Check the friction by sliding it up and down. Adjust the screw at the base if necessary (one-quarter turn left to loosen, one-quarter turn right to tighten).
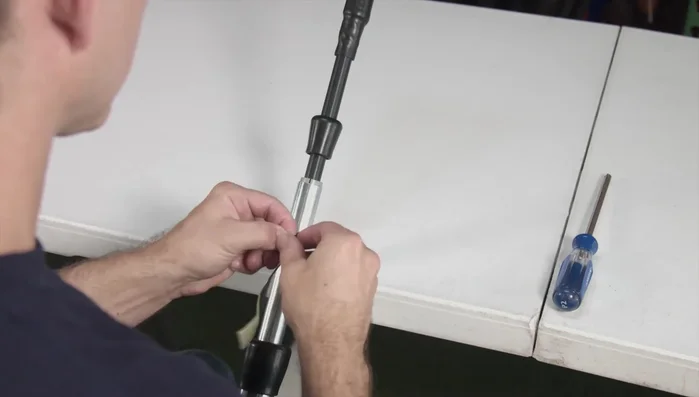
Insert New Flex Top and Adjust Friction Secure the Gray Ring
- Slide the gray ring down into the metal pipe to form a lip.
Secure the Gray Ring Apply Adhesive Strip
- Apply the adhesive strip around the metal pipe and gray ring (halfway up the gray ring, but not covering the top).
Apply Adhesive Strip Attach and Secure New Flex Top
- Push the rubber tip over the gray ring and tape, using your hands and twisting in the same direction as adhesive application. Push and twist several times to get it flush.
Attach and Secure New Flex Top Final Adjustments
- Tap the T against the table to assist in securing the flex top. Set the friction to your preferred tightness.
Final Adjustments

Read more: DIY Batting T-Stand: A Cost-Effective Guide
Tips
- It is recommended to be seated at a desk or table for the installation.
- If the friction becomes loose, tighten the screw inside the metal pipe with a Phillips screwdriver.
- Allow your Tanner T to sit for 24 hours to complete the bonding application.