The crack of the bat, the roar of the crowd – these iconic sounds of baseball are often accompanied by the sight of perfectly manicured grass. However, more and more baseball organizations, from Little League to professional teams, are opting for a more durable and consistent playing surface: artificial turf. Converting a baseball field to turf is a significant undertaking, requiring careful planning and execution to ensure a safe and high-performing playing area. This shift offers advantages like reduced maintenance, increased playability in diverse weather conditions, and potentially even a longer playing season. But it’s not a simple swap of surfaces.
This comprehensive guide will walk you through every stage of the conversion process, from initial assessment and planning to the final installation and post-installation care. We'll delve into the specifics of choosing the right turf, preparing the existing field, managing the installation process effectively, and ensuring the long-term success of your new synthetic surface. Let's begin with a step-by-step approach to transforming your baseball diamond.
Preparation and Safety Guidelines
- Excavator
- Compactor
- Roller
- Trucks
- Spreader
- Turf Installation Equipment
- Always prioritize safety. Ensure all existing utilities (water lines, electrical conduits, etc.) are located and marked before any excavation or demolition begins. Unmarked utilities can cause serious injury or damage.
- Comply with all local building codes and regulations. Permitting and inspections are crucial for a legal and safe conversion. Failure to do so can result in fines or legal repercussions.
- Use appropriate personal protective equipment (PPE) throughout the entire process. This includes hard hats, safety glasses, gloves, and proper footwear to protect against injuries from heavy equipment, sharp objects, and potential hazardous materials.
Step-by-Step Instructions
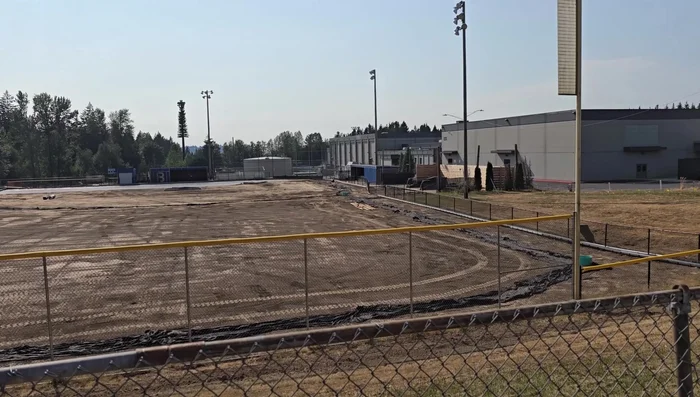
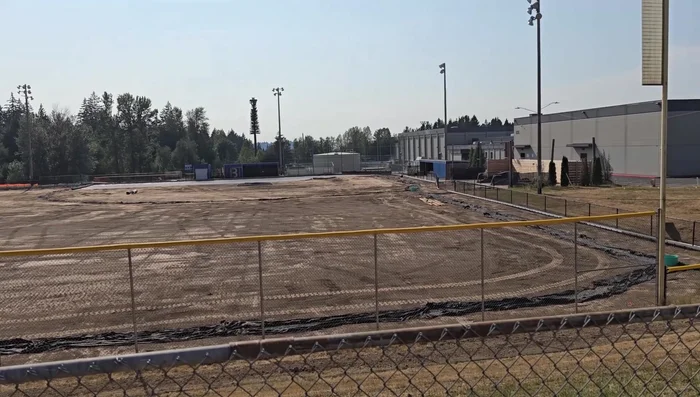
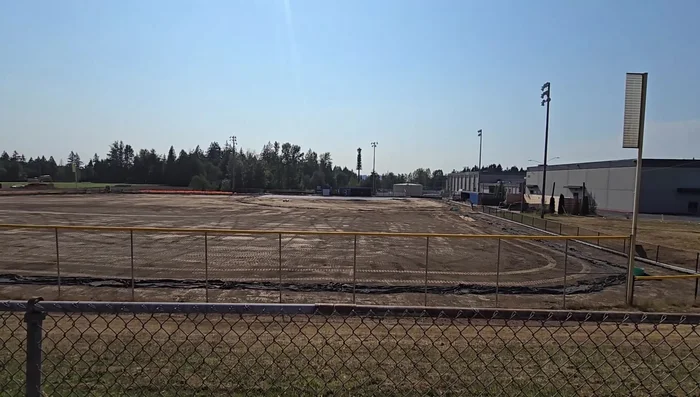
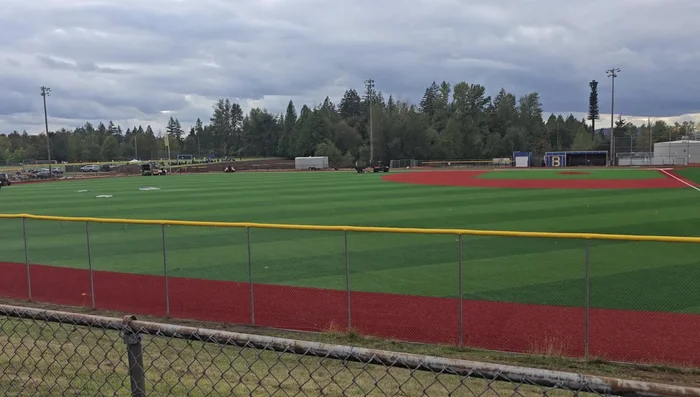
Site Preparation
- Remove existing dirt and grass. Approximately 2 feet of dirt was removed from the outfield and 1.5 feet from the infield.
- Install drainage system. Ditches were dug and a drain system was installed.
- Compact and level the ground. The soil was compacted and leveled using heavy machinery.

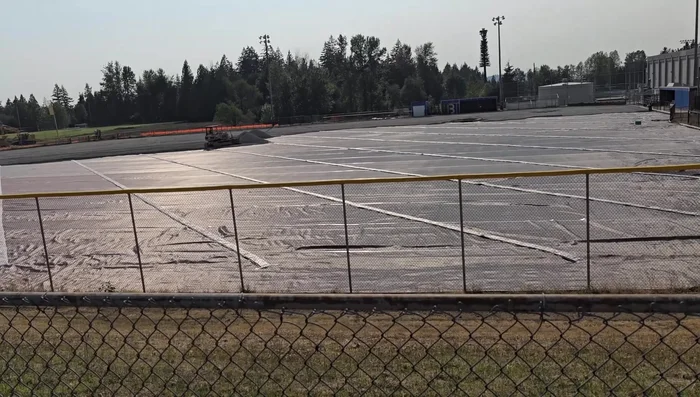
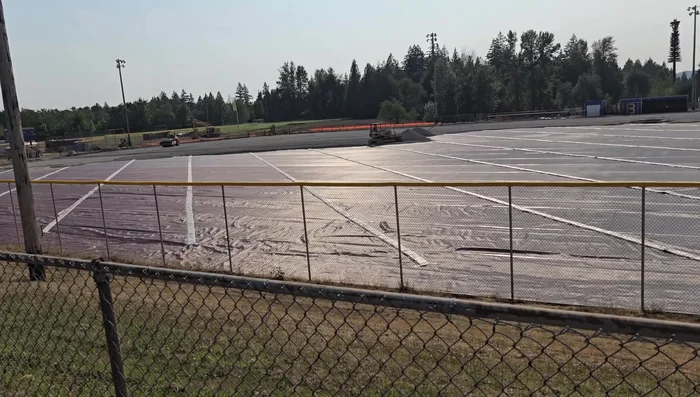
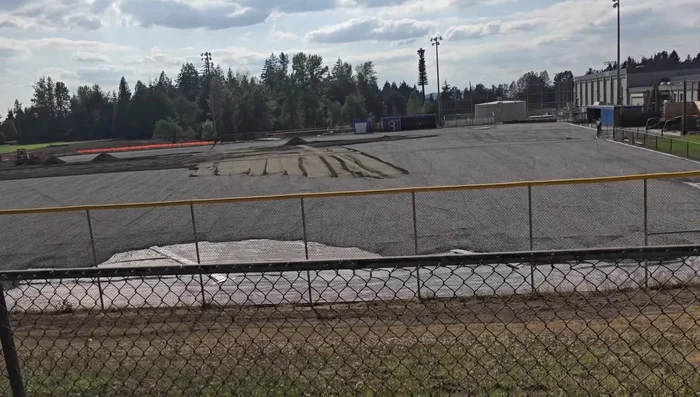
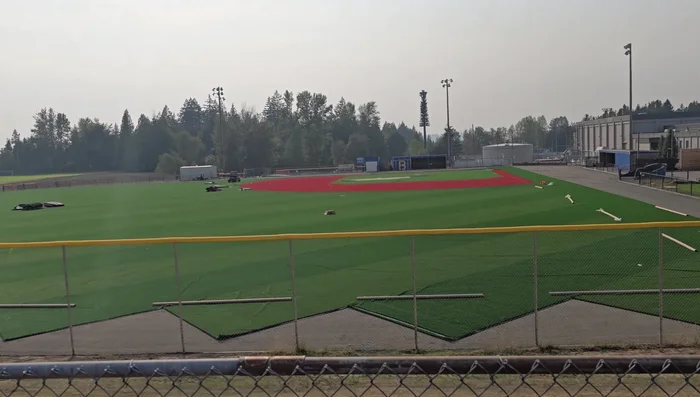
Site Preparation Drainage Installation
- Install drainage pipes and runners. White runners were installed to facilitate water drainage.
- Add drainage rock. A layer of drainage rock was added for better drainage.
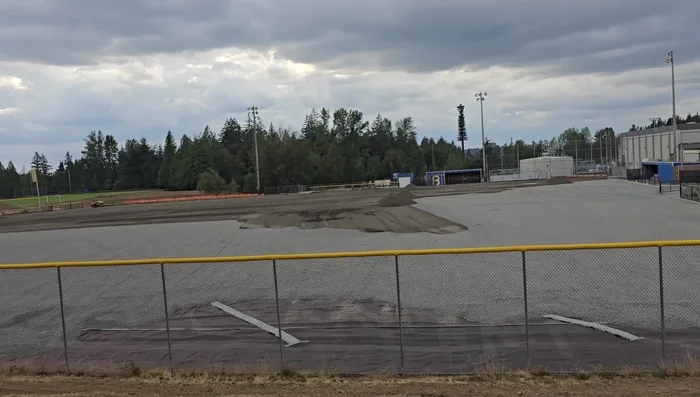
Drainage Installation Base Preparation
- Install underlayment. A layer of underlayment was laid down to prepare for the turf.
- Add gravel. Approximately 8-10 inches of gravel (River Rock) was added.
- Add and compact sand. A significant amount of sand was added and compacted.
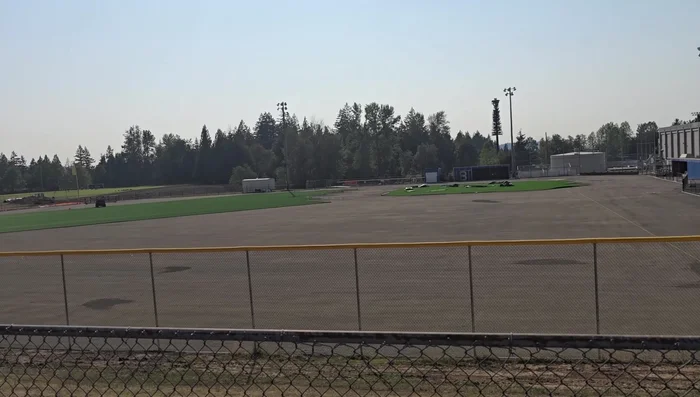
Base Preparation Turf Installation
- Install turf. The turf was laid, seamed together, and secured to the ground.
- Spread granules. Granules were spread across the turf to help with weight and cushioning.
Turf Installation Mound Reconstruction
- Rebuild pitcher's mound and catcher's mound.
Mound Reconstruction Infield Preparation
- Add infield mix. The infield was cut and prepared using a specialized mix.
Infield Preparation


Read more: Building a Championship-Level Youth Baseball Field: A Step-by-Step Guide
Tips
- Proper drainage is crucial. Invest in a robust drainage system to prevent waterlogging.
- Thorough compaction is key for a level playing surface. Ensure proper compaction at every stage.
- Use high-quality materials. Invest in durable turf and other materials for longevity.