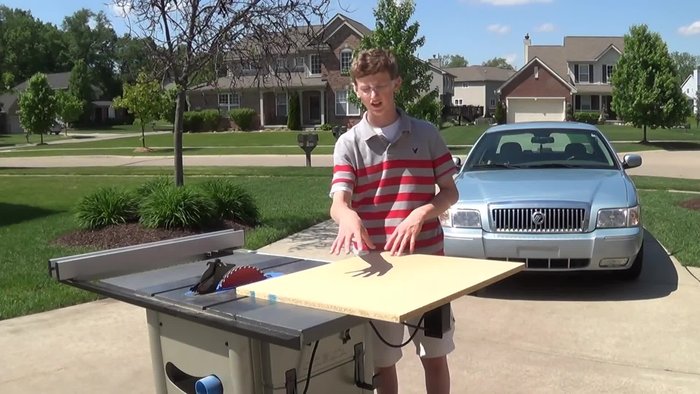
The crack of the bat, the roar of the crowd – the thrill of baseball is undeniable. But what if you could bring that excitement to your own backyard? Building your own DIY baseball field might sound ambitious, but it's more achievable than you think. This guide focuses on the core elements: creating durable, regulation-sized bases and a perfectly pitched pitcher's mound. Forget expensive field rentals and unpredictable weather; with a little planning and elbow grease, you can enjoy America's pastime anytime, anywhere.
This project empowers you to craft a safe and playable space for family games or friendly neighborhood competitions. From selecting the right materials to ensuring proper dimensions, we’ll walk you through each step of the process, transforming your backyard into a miniature baseball stadium. Ready to get started? Let's dive into the step-by-step instructions to building your own bases and pitcher's mound.
Preparation and Safety Guidelines
- 24-inch by 28-inch particle board
- Table saw
- Sander
- Paint (outdoor use)
- Ensure the playing field is level and free of rocks or other hazards to prevent injuries from falls or trips.
- Use appropriate materials for bases and the pitcher's mound that can withstand wear and tear and provide sufficient stability. Avoid materials that could become slippery when wet.
- Always prioritize safety. Consider adding warning markers around the field boundaries, especially if it’s near obstacles or traffic areas.
Step-by-Step Instructions
Prepare Base Material
- Cut the particle board into a 24-inch by 24-inch square.
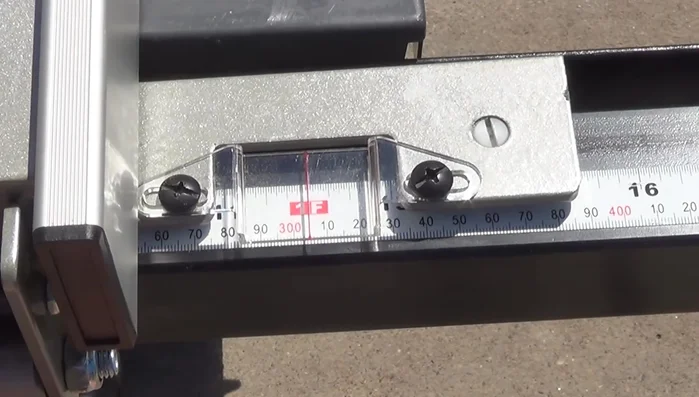
- Set the table saw fence to 12 inches and cut out three 12-inch by 12-inch bases.
- Cut the leftover scrap into a 15-inch long piece (approximately 4 inches thick) for the pitcher's mound.

Prepare Base Material Prepare Home Plate
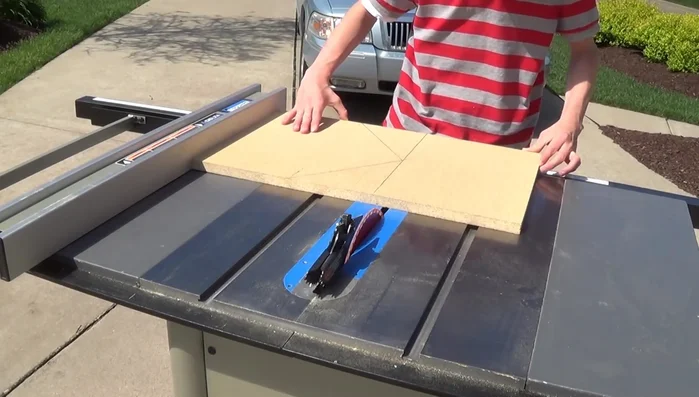
- Cut a 15-inch wide piece from a new board for home plate. Mark out the home plate shape (approximately 8 inches from the center to each edge).
- Cut out the home plate shape using a table saw (initial cuts can be done by scoring the material). Use a hand saw for the more intricate cuts.
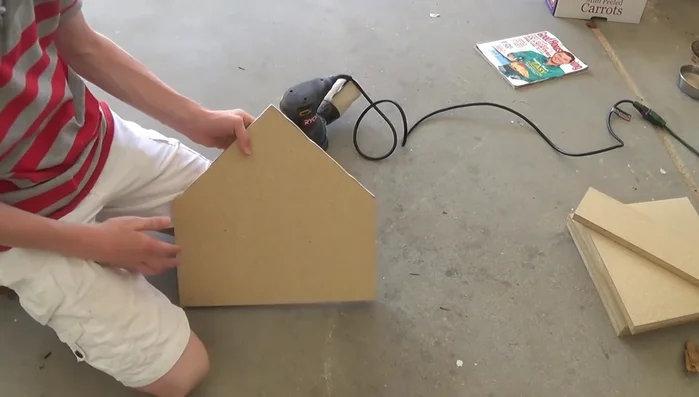
Prepare Home Plate Finishing Touches
- Sand all edges of the bases, pitcher's mound, and home plate to smooth them and prevent injury.
- Paint all pieces with outdoor paint. White is traditional, but any color can be used.
Finishing Touches
Read more: Building a Championship-Level Youth Baseball Field: A Step-by-Step Guide
Tips
- Use inexpensive particle board for ease of cutting and cost-effectiveness.
- Always sand the edges to prevent cuts.
- Use outdoor paint to protect the bases from water damage.