A brand new baseball glove, stiff and unyielding, feels like a brick wall more than a fielding partner. That satisfying crack of the leather as you make a play? That's the sound of a properly broken-in glove, something earned through dedication and the right techniques. For years, players have relied on various methods to soften and shape their gloves, but the hot glove treatment stands out as one of the fastest and most effective. This accelerated breaking-in process allows you to get your glove game-ready much quicker, eliminating the frustration of playing with a stiff, uncomfortable mitt.
This guide provides a clear, concise, and comprehensive step-by-step process for applying the hot glove treatment, transforming your stiff new glove into a supple, reliable fielding instrument in a matter of hours. Get ready to experience the difference a properly broken-in glove can make to your game and follow along as we detail each step of this effective technique.
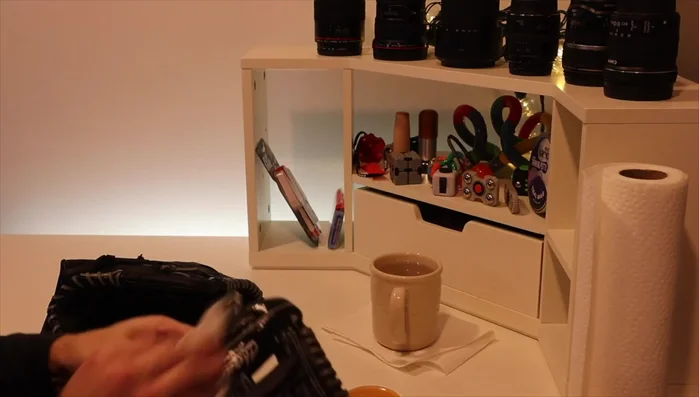
Preparation and Safety Guidelines
- Hot Glove treatment bottle
- Oven
- Cookie sheet
- Clean cloth
- Baseball
- Elastic velcro strap or twine
- Warm damp cloth
- Cream conditioner
- Always use a well-ventilated area when working with hot water or steam. Inhaling steam can be harmful.
- Avoid excessive heat. Overheating your glove can damage the leather, causing cracking and shortening its lifespan.
- Do not submerge the glove completely in water. Focus on the areas needing softening, and avoid prolonged water exposure.
Step-by-Step Instructions
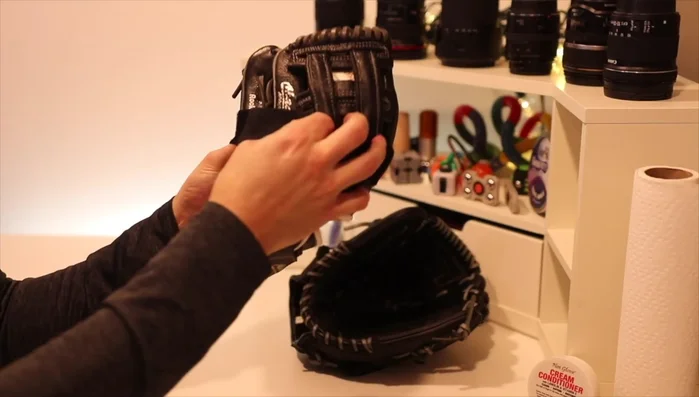
Prepare Workspace and Glove
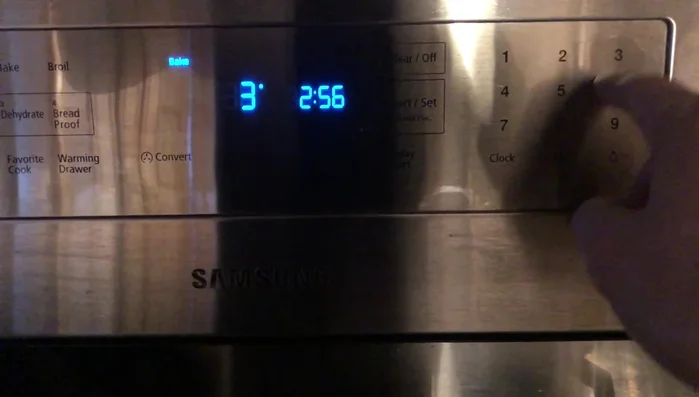
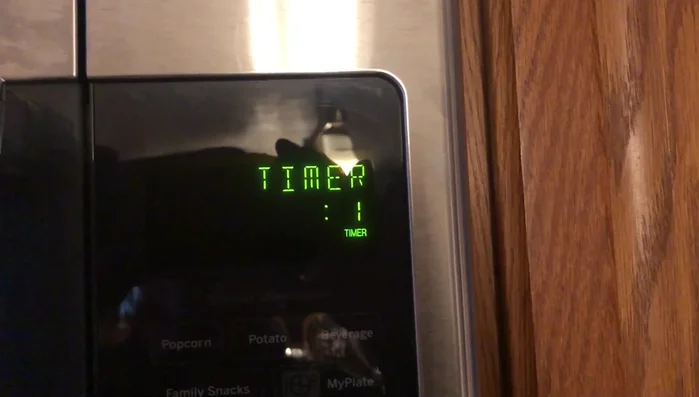
- Preheat oven to 300 degrees. Prepare a clean cloth on a cookie sheet.

Prepare Workspace and Glove Apply Hot Glove Treatment
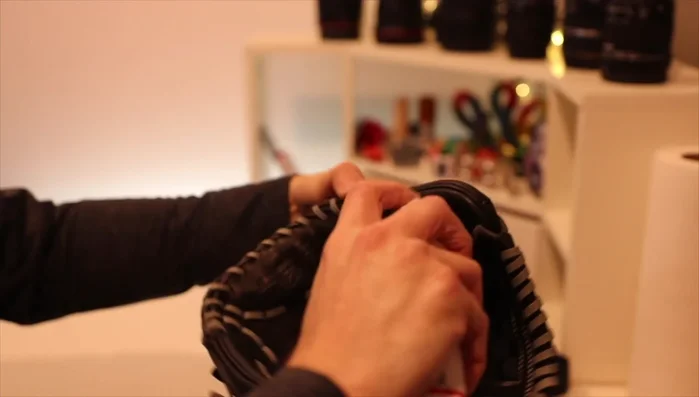
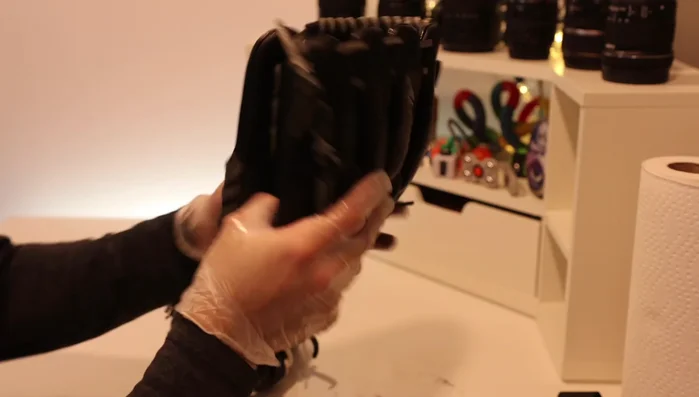
- Shake the Hot Glove bottle well and liberally spray the glove, ensuring full coverage, especially stitching. Wipe the treatment into the glove using your hand or a cloth.
Apply Hot Glove Treatment First Oven Treatment
- Black leather may stain hands.)
First Oven Treatment Repeat Treatment and Form Pocket
- Repeat steps 2 and 3 a couple of times. In the final treatment, immediately after removing from the oven, insert a baseball into the glove pocket, secure with a strap or twine, and let cool to form the pocket.
Repeat Treatment and Form Pocket Clean and Apply Cream Conditioner
- Use a warm, damp cloth to clean the glove. Once dry, apply the cream conditioner liberally, working it into all creases. Let sit for 10-15 minutes, then wipe off excess.
Clean and Apply Cream Conditioner Final Pocket Forming
- Form the pocket again using a baseball and strap/twine, allowing ample time for the pocket to set.
Final Pocket Forming
Read more: Ultimate Guide to Staying Warm While Playing Baseball in Cold Weather
Tips
- Don't get the Hot Glove treatment inside the glove.
- Wear gloves when working with black leather to avoid staining your hands.
- One bottle of Hot Glove can treat multiple gloves.
- Allow ample time for the pocket to form after the final treatment.