Breaking in a new baseball glove shouldn't be a mysterious rite of passage; it's a process that, with the right knowledge, can yield a supple, game-ready piece of equipment. A well-conditioned glove is a player's best friend, providing superior comfort, control, and ultimately, better performance on the field. Whether you're a seasoned pro or just starting out, understanding how to properly break in your glove is crucial to maximizing its potential and ensuring years of reliable use. A poorly broken-in glove can lead to frustration and missed opportunities, so investing time in this process is vital.
This ultimate guide will walk you through every step, from initial preparation to the final stages of molding your glove to your hand. We’ll cover various techniques, materials, and helpful tips to guarantee a smooth and effective conditioning experience. Get ready to learn the secrets to transforming your stiff, new glove into a comfortable, reliable partner for countless games ahead, and let’s dive into the step-by-step process now!
Preparation and Safety Guidelines
- Baseball glove
- Glove conditioner (e.g., Nokona)
- Towel
- Avoid using harsh chemicals or excessive amounts of oil, as this can damage the leather and make the glove too stiff or too soft.
- Always allow the glove to dry completely between conditioning sessions. Excessive moisture can lead to mold and mildew.
- Never put your glove in a washing machine or dryer. This will ruin the leather and the glove's structure.
Step-by-Step Instructions
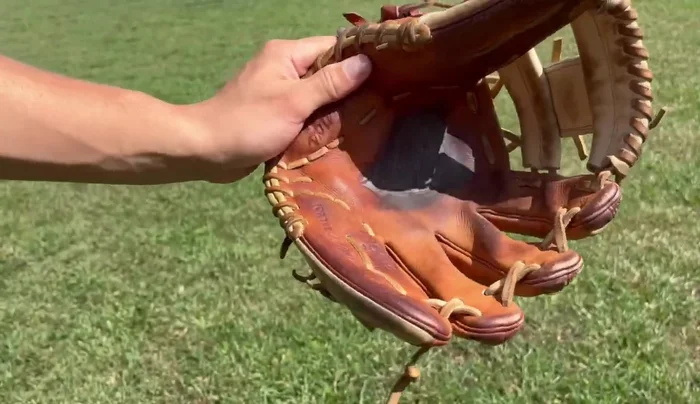
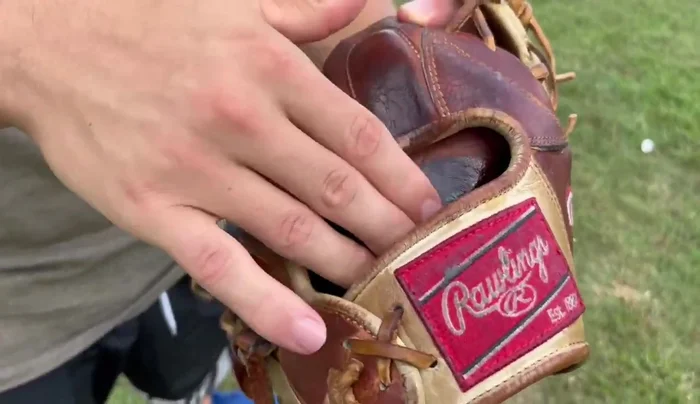
Clean the Glove
- Clean the glove. Wipe off any loose dirt and grime.

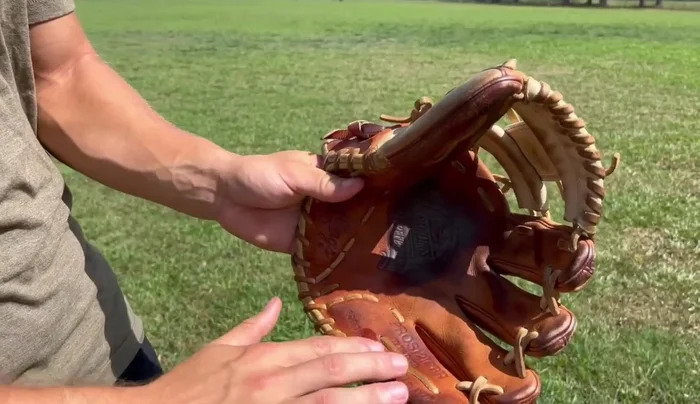
Clean the Glove Apply Conditioner
- Apply glove conditioner. Squeeze a small amount onto your finger and rub it evenly onto the glove, working from pinky to thumb. Ensure even coverage, avoiding excessive amounts in one spot.
- Condition the laces. Pay attention to the laces, applying conditioner to any cracked areas.
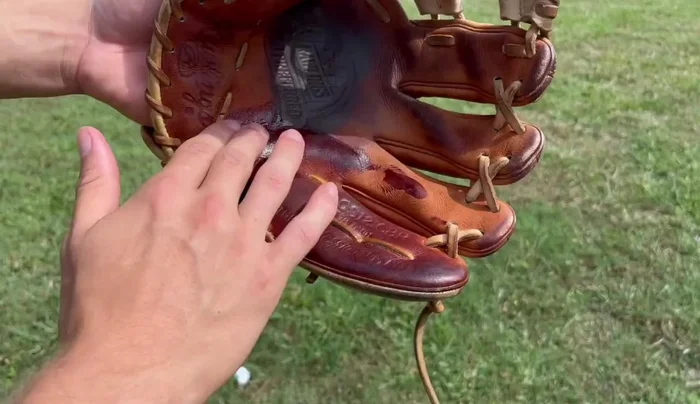
- Condition the web. Work the conditioner into the web, paying special attention to areas that crack easily (often the top where it rubs against the ground).
- Condition the wrist and exterior. Continue applying conditioner evenly across the wrist and exterior of the glove.
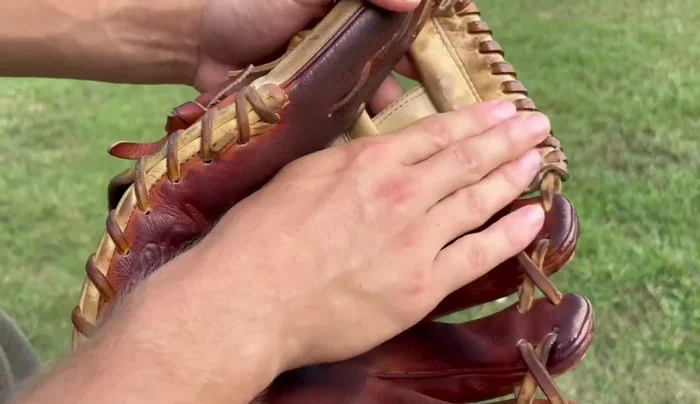
Apply Conditioner - Condition the palm liner. Apply a small amount of conditioner to the palm liner to keep it soft and prevent ripping.
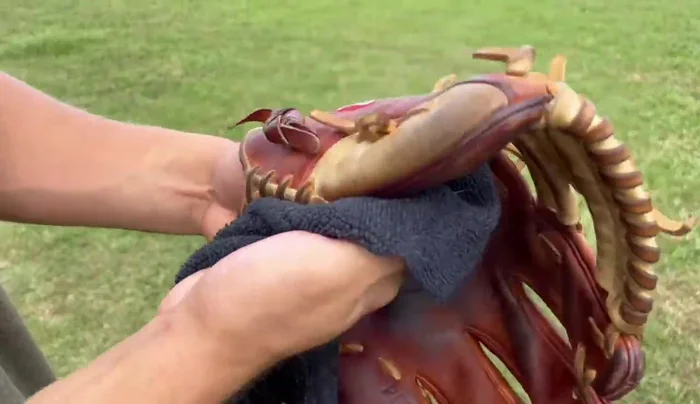
Apply Conditioner Remove Excess Conditioner
- Remove excess conditioner. Use a towel to remove any excess conditioner, ensuring even distribution across the glove.
Remove Excess Conditioner

Read more: Ultimate Guide to Staying Warm While Playing Baseball in Cold Weather
Tips
- Use a quality glove conditioner. Avoid products with harsh chemicals.
- Don't leave your glove in direct sunlight for extended periods; this can dry it out and cause cracking.
- Condition your glove regularly, depending on usage (1-4 times per season).
- Apply a small amount of conditioner to a new glove to soften the leather.