Stepping onto the baseball field with a stiff, new glove can feel like playing with a brick. That brand new leather, while beautiful, needs breaking in before it becomes a reliable partner in making those crucial catches. A poorly broken-in glove can lead to missed plays and frustration, hindering your performance on the field. Investing time in proper glove preparation is key to unlocking its full potential and ensuring you're ready to snag every fly ball and grounder with confidence. This isn't just about softening the leather; it's about molding the glove to your hand, creating a comfortable and responsive extension of yourself.
This guide will walk you through the ultimate youth baseball glove break-in process, transforming your stiff new mitt into a game-ready weapon in a fraction of the time it would take using old-school methods. We'll cover everything from initial conditioning to advanced techniques, ensuring your glove is perfectly formed and prepared for the upcoming season. Ready to get started? Let's dive into the step-by-step process!
Preparation and Safety Guidelines
- Baseball glove
- Water
- Mallet
- Always prioritize safety when breaking in your glove. Avoid using sharp objects or excessive force that could damage the leather or stitching.
- Never leave your glove in direct sunlight for extended periods. Overexposure to heat can dry out and crack the leather, ruining its flexibility and longevity.
- If you experience any pain or discomfort during the break-in process, stop immediately. Forcing the glove could lead to injury.
Step-by-Step Instructions
Preparation
- Untie the laces on the thumb, pinky, and wrist loops to allow for more thorough soaking and shaping.
Soaking the Glove
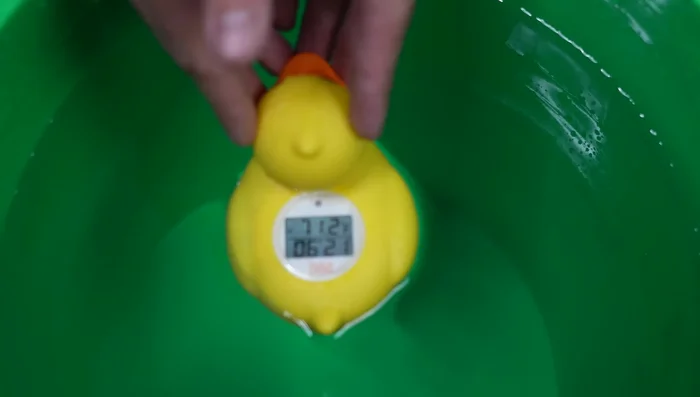
- Submerge the glove in lukewarm water (approximately 70°F) for 25-60 seconds, repeating the process several times for optimal saturation.

Soaking the Glove Removing Excess Water
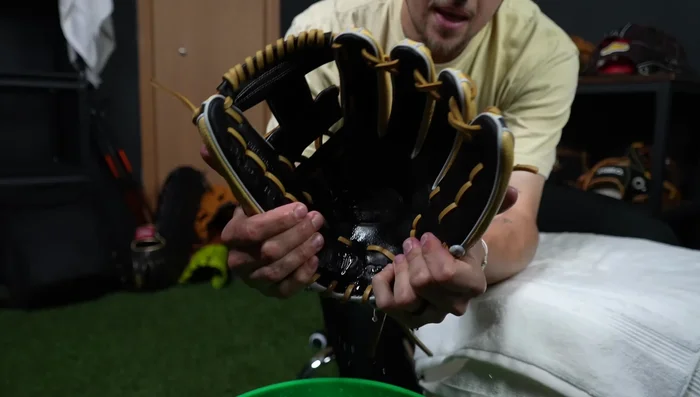
- Squeeze out excess water from the glove, paying special attention to areas with padding like the thumb, pinky, and wrist.
Removing Excess Water Initial Shaping (Wet)
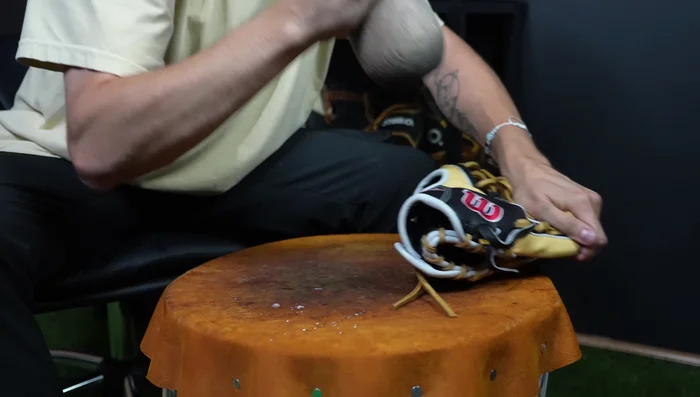
- Use a mallet to gently work the glove's leather while it's still wet and covered to prevent water splatter. Focus on the areas that feel stiff.
Targeted Shaping (Dry)
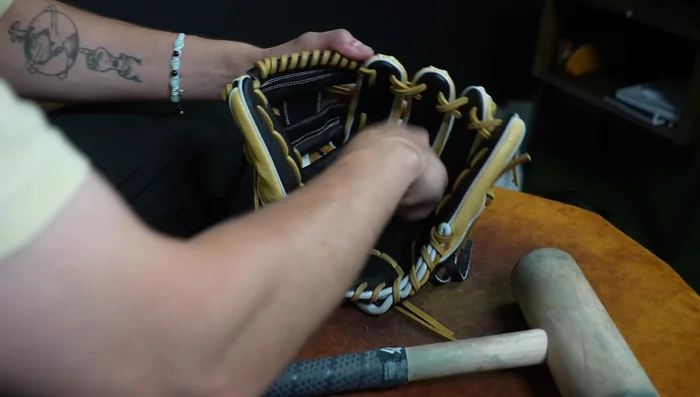
- Once the glove is mostly dry, continue mallet work, focusing on specific areas: thumb, pinky, wrist, and the back of the glove. Pay attention to the area where the ball will be caught.
Targeted Shaping (Dry) Pocket Formation
- Work the glove to create and shape the pocket, ensuring a proper fit for the youth player's hand. Teach the player to close the glove correctly, aiming for the thumb to meet the pinky and ring fingers.
Pocket Formation Drying
- Hang the glove to allow it to completely air dry. This may take several days.
Read more: Ultimate Glove Break-In Guide: The Fast & Effective Method
Tips
- Don't put your hand in the glove if you're not the youth player.
- Make the glove as loose and deep as possible.
- Teach the player how to close the glove correctly.
- Consider teaching the two-in-the-pinky method for a stiffer glove.
- Pull on laces to loosen them and deepen the pocket.