Breaking in a new baseball glove is a rite of passage for any aspiring ballplayer, and a crucial part of that process is lacing the glove properly. A well-laced glove offers superior support, a better feel, and ultimately, a more reliable catch. Many players overlook the importance of this seemingly simple task, assuming that the factory lacing is sufficient. However, understanding how to lace your glove correctly can significantly improve its performance and longevity, leading to a glove that becomes an extension of your hand. Proper lacing ensures that the glove holds its shape and remains comfortable during extended use.
This often-overlooked detail can greatly impact your game, so we've created a comprehensive guide to walk you through the entire process. Let's dive into our step-by-step instructions on how to expertly lace your baseball glove, transforming it from a stiff new piece of equipment into a reliable fielding partner.
Preparation and Safety Guidelines
- baseball glove
- needle (baseball glove needle)
- leather lacing
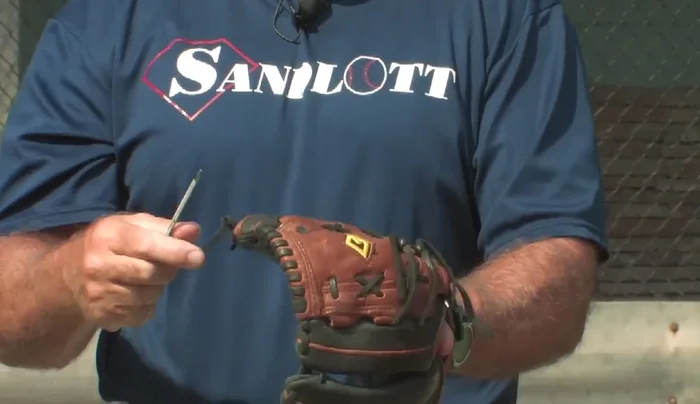
- Always use a lacing tool or awl to prevent injury to your fingers and to ensure clean lacing.
- Be patient and take your time. Rushing can lead to mistakes and make the lacing harder to correct.
- If you're unsure about any step, refer to a video tutorial or seek assistance from an experienced glove worker.
Step-by-Step Instructions
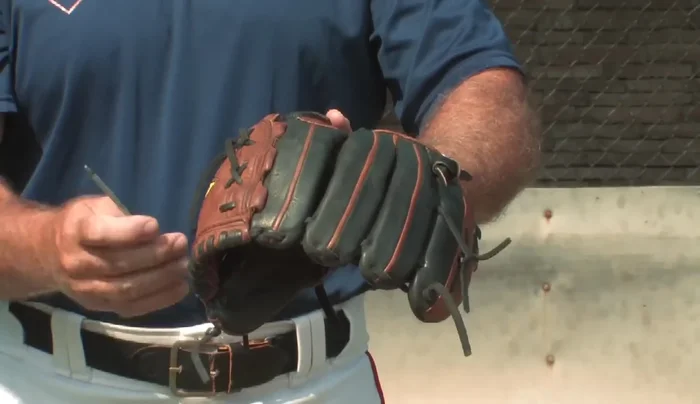
Preparation
- Disassemble the glove.
- Take the glove apart piece by piece, noting how each section is laced.

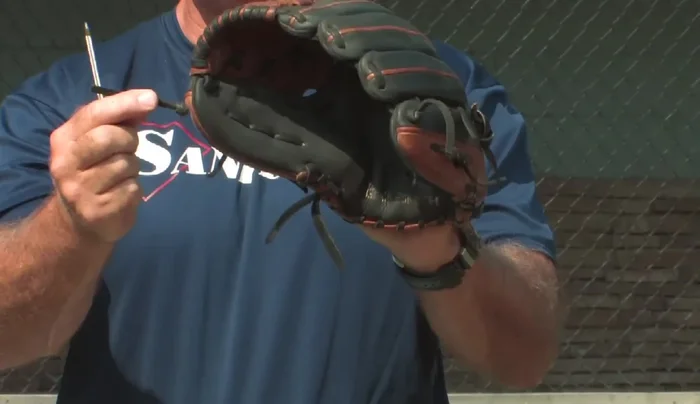
Preparation Webbing Lacing
- Start with the webbing.
- Thread the leather lacing through the needle.
- Carefully guide the needle and lacing through the pre-existing holes in the glove, following the original lacing pattern.
- Remember the location of original knots to tie off new sections of lacing.
Webbing Lacing - Use multiple pieces of leather lacing as needed.
Webbing Lacing Reassembly
- Reassemble the glove, retracing your steps from disassembly.
Reassembly


Read more: Ultimate Guide to Staying Warm While Playing Baseball in Cold Weather
Tips
- Take your time and work methodically to avoid mistakes.
- Disassembling the glove into sections makes the process easier to manage.
- Start with the most complicated section (the webbing) first.
- Pay close attention to the original lacing pattern to ensure accurate replacement.