A well-broken-in baseball glove is a pitcher's best friend, an infielder's trusted companion, and an outfielder's sure-handed ally. But even the most meticulously cared-for glove will eventually require restringing, a process that can significantly extend its lifespan and restore its original form. Over time, the laces weaken, stitching unravels, and the glove's overall structure can become compromised, leading to poor performance and even injury. Replacing worn laces and re-stitching the glove isn't as daunting as it might seem; with the right tools and a little patience, you can breathe new life into your prized possession.
This guide offers a comprehensive, step-by-step approach to restringing your baseball glove, taking you from preparing the glove to the final tightening and securing of the new laces. Follow these clear instructions, and you'll soon be back in the game with a glove that feels as good as new, ready to snag those crucial catches.
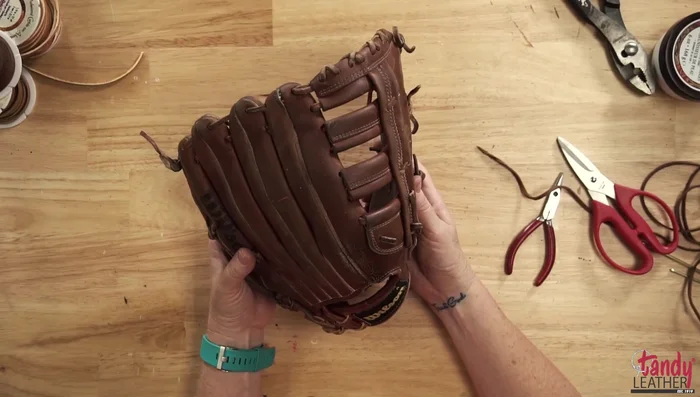
Preparation and Safety Guidelines
- Leather conditioner (Dr. Jackson's Hydra Juvenile recommended)
- Pro Allen Lace (or Tandy's Kodiak Lace)
- Perma Locks (large and small)
- Pliers
- Scissors
- Needles (large and small)
- Use the correct lacing for your glove type and size. Incorrect lacing can damage the glove and lead to poor performance.
- Work in a well-lit area with proper tools. Poor lighting or inadequate tools can increase the risk of injury and mistakes.
- Take your time and be patient. Rushing the process can easily lead to mistakes that are difficult to correct.
Step-by-Step Instructions
Prepare the Glove
- Condition the glove thoroughly. It's best to do this after disassembling the glove, but conditioning before restringing can still improve the leather.
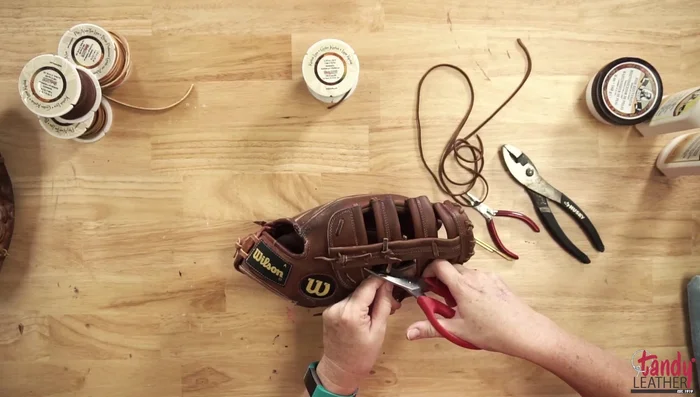
- Remove the old laces, including any zip ties holding the glove together.
- Take apart the glove section by section (e.g., the web first), taking photos as you go to aid in reassembly.

Prepare the Glove Reassemble and Lace (Web)
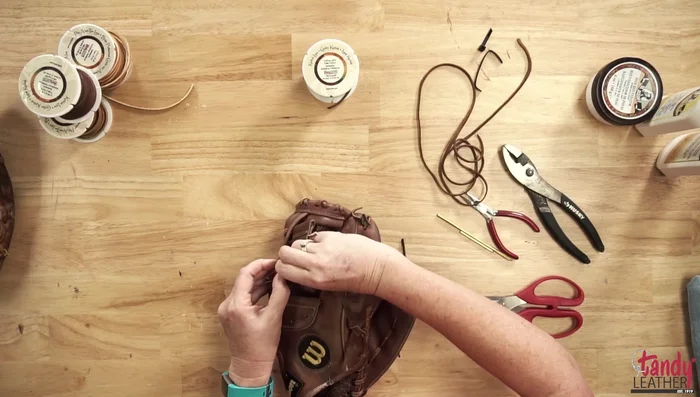
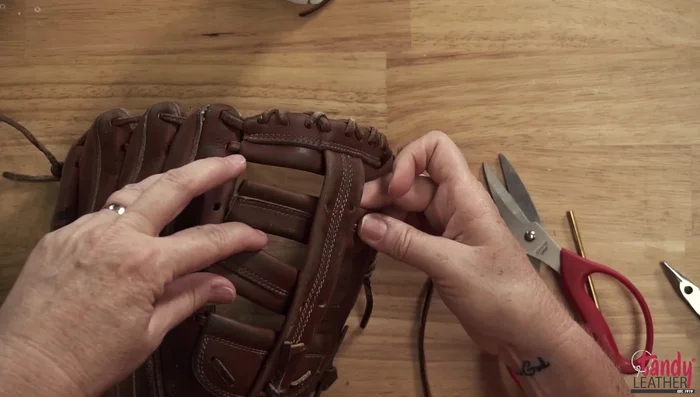
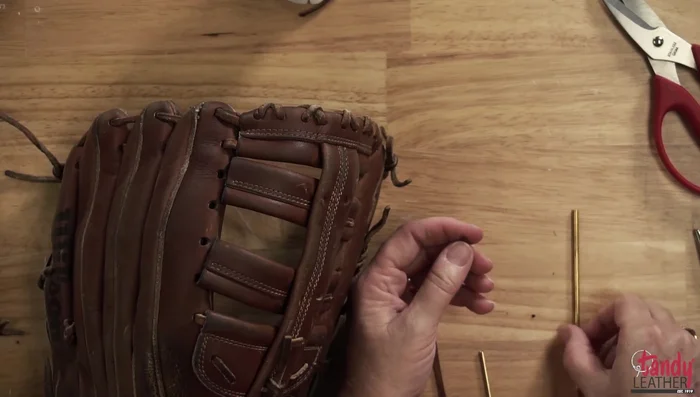
- Reassemble the glove section by section, using the photos as a guide. Think of it as a puzzle, ensuring each lace is securely anchored.
- Lace the glove using the chosen lace (Pro Allen or Tandy's Kodiak). Use the large perma lock for larger sections and the small one for smaller sections. Secure the laces using the perma locks; tighten firmly.
Reassemble and Lace (Web) Reassemble and Lace (Remaining Sections)
- Repeat steps 4 & 5 until the entire glove is re-laced.
Reassemble and Lace (Remaining Sections)
Read more: Ultimate Guide to Staying Warm While Playing Baseball in Cold Weather
Tips
- Work on one section of the glove at a time to make the process less overwhelming.
- Take lots of pictures as you disassemble the glove to help with reassembly.
- Condition your glove at least once a year to keep the leather supple and prevent drying out.
- Use a good quality leather cleaner before conditioning. Let the glove dry completely between cleaning and conditioning, and between conditioning applications.
- After restringing, consider placing a baseball in the pocket and wrapping it with lace to help form the glove to the ball.