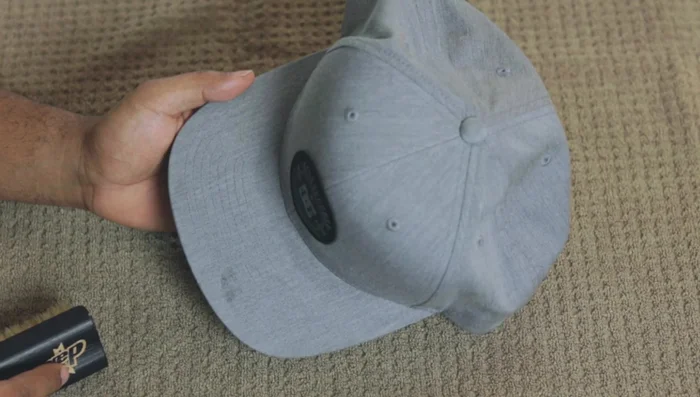
Baseball caps: the quintessential accessory for sunny days, sporting events, and expressing your personal style. But after countless hours of wear, those once-crisp brims and vibrant logos can start to look a little worse for wear. Sweat stains, dirt, and general grime can quickly diminish the appeal of your favorite hat, leaving you feeling less than confident rocking it. Fortunately, restoring your caps to their former glory isn't as daunting as you might think. With the right techniques and a little elbow grease, you can easily keep your collection looking fresh and stylish for years to come.
This ultimate guide provides a comprehensive, step-by-step process for cleaning baseball caps of all materials, from delicate fabrics to durable synthetics. We'll cover everything from pre-treatment techniques to tackling stubborn stains, ensuring your hats emerge from the cleaning process looking crisp and new. Ready to learn how to revitalize your beloved baseball cap collection? Let's get started!
Preparation and Safety Guidelines
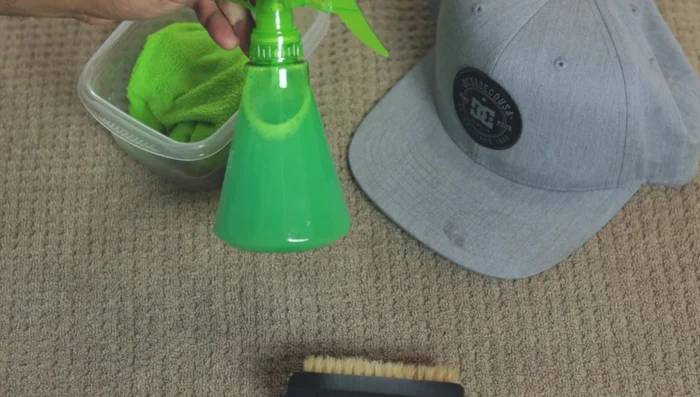
- Large towel
- Small washcloth (microfiber recommended)
- Detergent (Tide or similar)
- Spray bottle
- Small bowl
- Soft-medium bristle cleaning brush
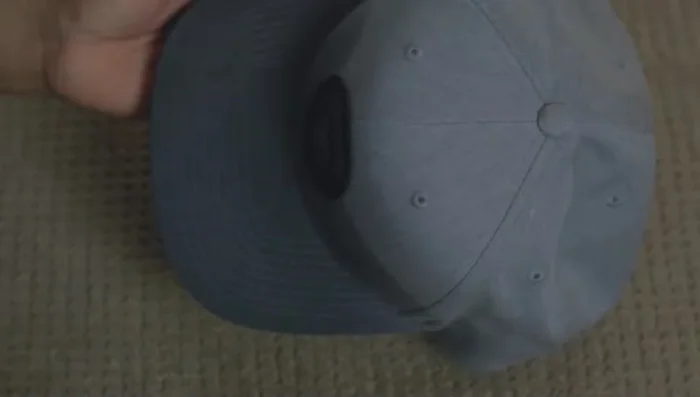
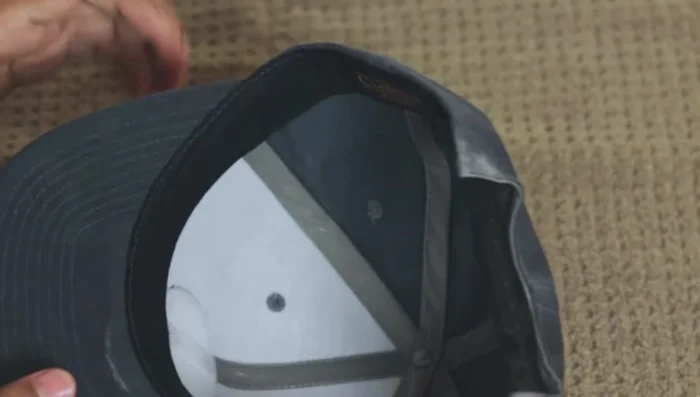
- Always check the care label inside your hat before cleaning. Some materials require special handling or may not be machine washable.
- Avoid harsh chemicals and abrasive brushes that can damage the fabric, embroidery, or structure of the hat.
- Allow the hat to air dry completely after cleaning to prevent mildew and maintain its shape. Do not put it in a dryer.
Step-by-Step Instructions
Preparation
- Lightly brush the cap to remove loose dirt and dust.
- Fill spray bottle with water and detergent (3-4oz detergent per 10oz bottle). Maintain the ratio for different sized bottles.

Preparation Cleaning Each Section
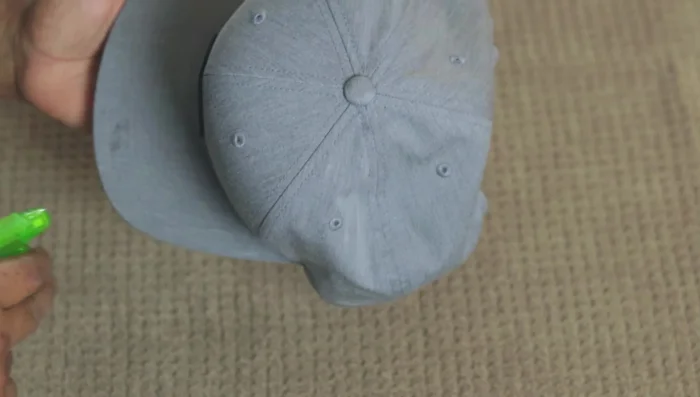
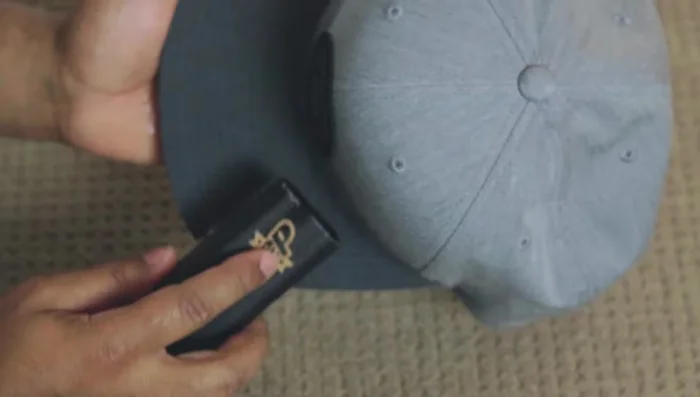
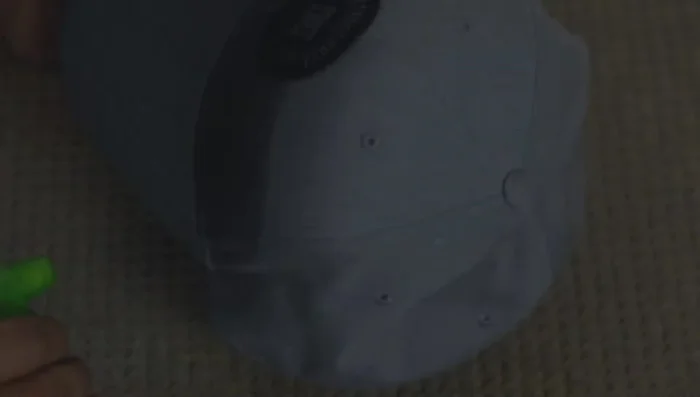
- Spray one section of the cap with the cleaning solution. Ensure the entire section is covered.
- Gently brush the sprayed section. Avoid harsh scrubbing to prevent fraying.
- Wipe away residue with a wet washcloth. Squeeze clean water onto the cap and wipe again.
Cleaning Each Section Treat Stubborn Stains (Optional)
- For stubborn stains, add a bit of Oxiclean to your cleaning solution (but don't apply directly to the hat).
Treat Stubborn Stains (Optional) Complete Cleaning & Drying
- Repeat steps 3-5 for the remaining sections of the cap.
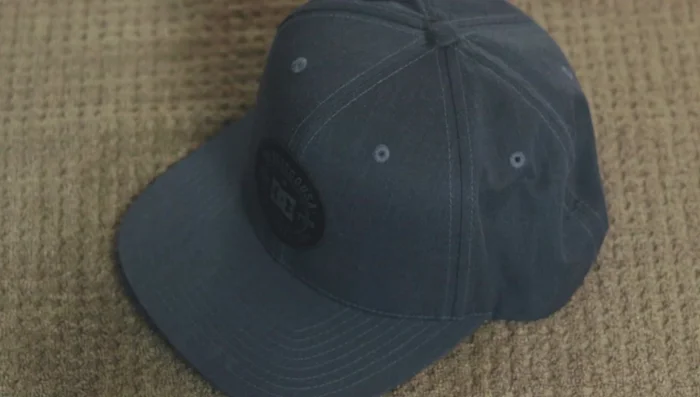
- Let the cap air dry (15-25 minutes). Optionally, stuff a towel inside to maintain shape.
Complete Cleaning & Drying
Read more: Ultimate Glove Break-In Guide: The Fast & Effective Method
Tips
- Use a microfiber washcloth for less lint on dark caps.
- Don't overdo the detergent; avoid excessive suds.
- Work in sections for even cleaning and to avoid over-saturation.