The pristine, perfectly manicured baseball field – a sight that evokes dreams of grand slams and diving catches. But even the most meticulously maintained diamonds can fall victim to a common nemesis: nail dragging. This seemingly minor issue can significantly impact gameplay, leading to uneven surfaces, dangerous divots, and frustrating inconsistencies. From the pitcher's mound to the outfield grass, nail dragging can wreak havoc on a field's integrity, affecting everything from pitching accuracy to the speed and trajectory of batted balls. Ignoring this problem only leads to more extensive repairs down the line.
This ultimate guide will equip you with the knowledge and techniques to not only identify nail dragging but to also effectively prevent and remedy it. We'll take you through a step-by-step process, detailing the tools you'll need, the best practices to follow, and crucial maintenance tips to keep your field in top condition. Prepare to learn how to transform your baseball field from a bumpy, uneven playing surface into a smooth, consistent, and safe environment for players of all skill levels.
Preparation and Safety Guidelines
- Toro Sam Pro with nail drag attachment
- Steel rake
- Backpack blower or puddle sucker
- Three base plugs
- Base tool
- Always ensure the dragging equipment is in good working order and properly maintained to prevent accidents like snags or equipment malfunctions.
- Be mindful of the field conditions and avoid dragging when the field is excessively wet or muddy, as this can damage the turf and equipment.
- Exercise caution around players and other field personnel while dragging to avoid collisions or injuries. Clearly communicate your movements.
Step-by-Step Instructions
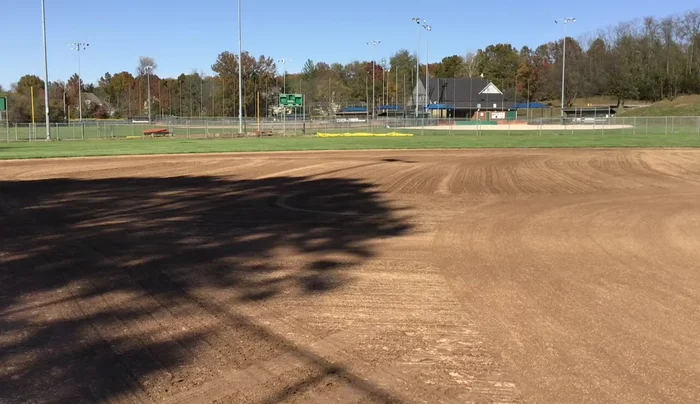
Field Assessment and Preparation
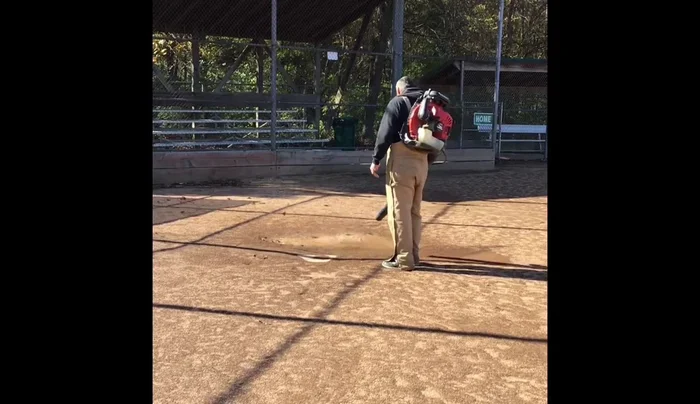
- Assess field readiness after a rain event. Check for standing water.
- Remove bases and insert base plugs.
- Address standing water using a backpack blower or puddle sucker.

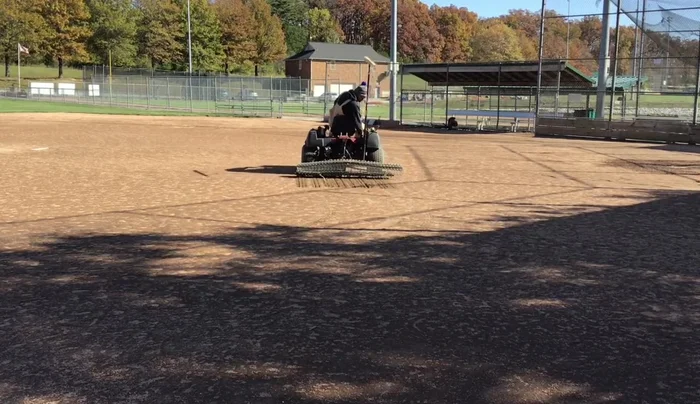
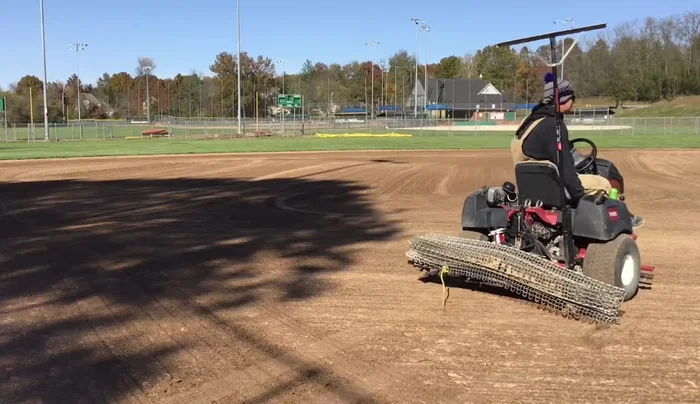
Field Assessment and Preparation Initial Nail Dragging
- Begin nail dragging between foul lines, making a single pass to avoid overlapping.
- Create channels for wind flow by making grooves in the infield.
- Work the middle of the infield first, as it's the most important area.
- Adjust the nail drag depth to create grooves without digging too deep.
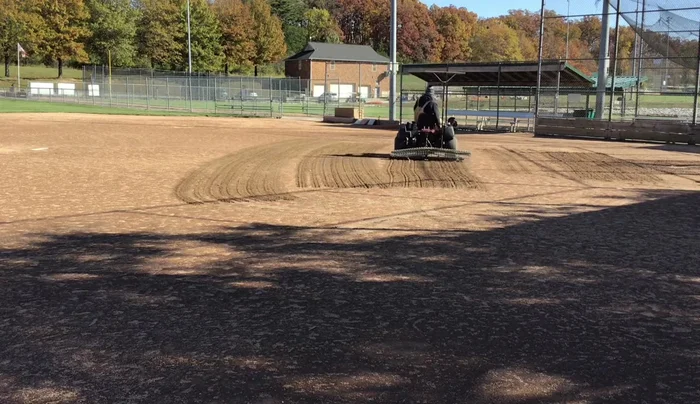
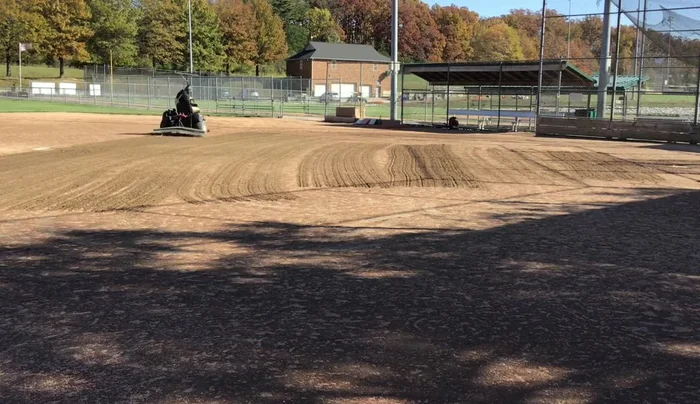
Initial Nail Dragging Complete Nail Dragging and Finishing
- After initial passes, make full circles around the outside, overlapping slightly to ensure even surface.
- Lower the teeth of the nail drag and make perpendicular passes over previous grooves to break up large clumps of material and push dry material back into the ground.
- Avoid base pegs, sprinklers, and infield dusters.
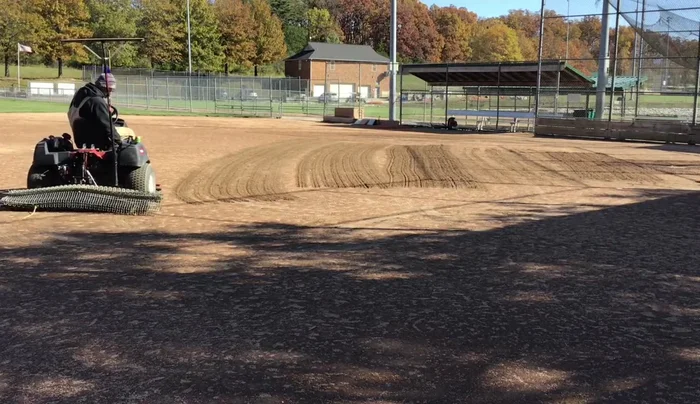
- Finish by making smaller circles to knock down ruts and ensure even surface.
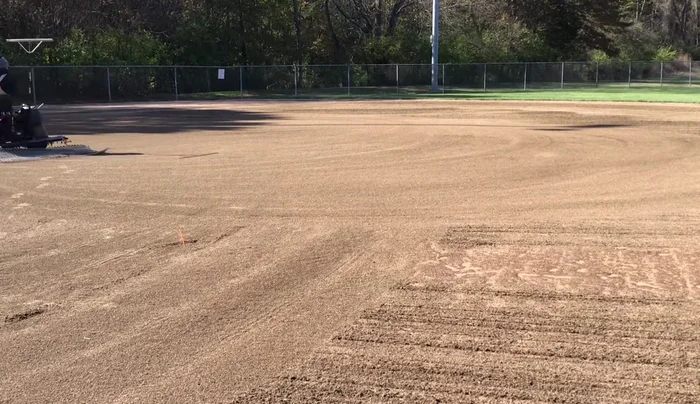
Complete Nail Dragging and Finishing - Leave the lip area alone to avoid disturbing the transition between the infield and outfield.
Complete Nail Dragging and Finishing


Read more: DIY Drag Mat: Level Your Lawn for Under $160!
Tips
- Prioritize player safety. Ensure the field is ready for play.
- Avoid overlapping during initial nail dragging passes, but overlap during final passes for a more even surface.
- Use the teeth of the nail drag to break up large clumps of material and push dry material back into the ground.
- Monitor the drag screen. If material is not falling through, the field is not dry enough.