Tired of inconsistent practice sessions and unpredictable pitching? A baseball or softball hitting trainer can revolutionize your training, offering controlled practice and measurable improvement. But the thought of complex assembly might be holding you back. Fear not! Setting up your hitting trainer doesn't have to be a daunting task. We'll guide you through a straightforward, user-friendly process, proving that achieving a professional-grade practice setup is surprisingly simple and quick.
This guide provides a clear, step-by-step walkthrough of the assembly process for your new hitting trainer, regardless of your specific model. We'll cover everything from unpacking the components and identifying the parts to the final adjustments, ensuring you're ready to hit your first ball in no time. Let's get started with a quick and easy setup that will have you hitting home runs in minutes!
Preparation and Safety Guidelines
- Softball/baseball hitting trainer
- Ladder (optional)
- Always ensure the hitting trainer is set up on a level, stable surface away from obstacles and other people. Uneven ground or obstructions can cause instability and potential injury.
- Before each use, inspect all parts of the hitting trainer for damage or loose connections. Do not use if any parts are broken or damaged.
- Wear appropriate safety gear, including batting gloves and a helmet, while using the hitting trainer. Never swing at the trainer with excessive force or without proper technique.
Step-by-Step Instructions
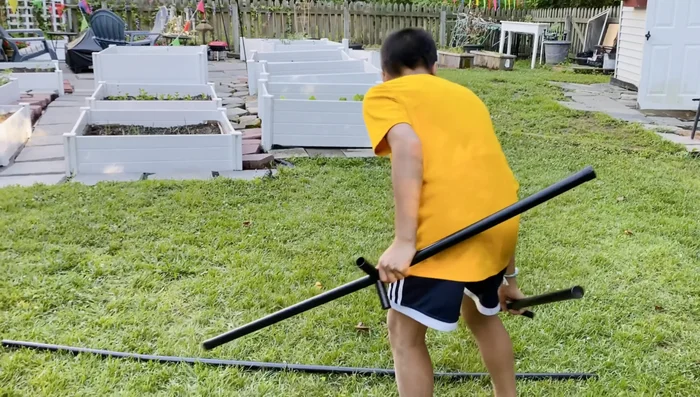
Assemble the Main Frame
- Attach the two long poles together.
- Position the assembled poles away from obstacles (woods, deck) to avoid damage.

Assemble the Main Frame Attach the Flags
- Attach the flags to the poles. Ensure the side with the hole faces outward.
- Attach the other side of the structure, mirroring the process of step 3.
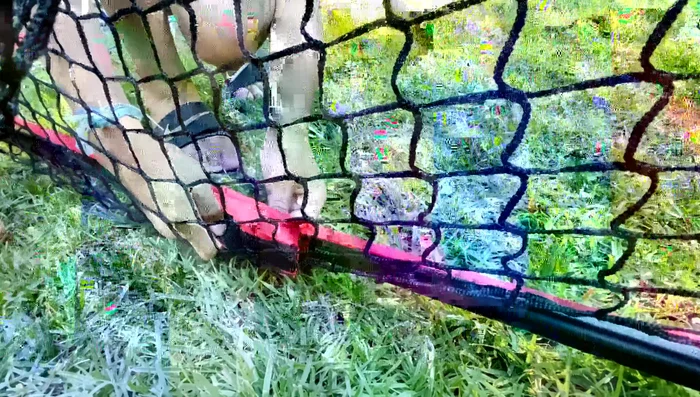
Attach the Flags Attach and Secure the Stand
- Assemble the stand and attach it to the main structure.
- Secure the stand using velcro straps.
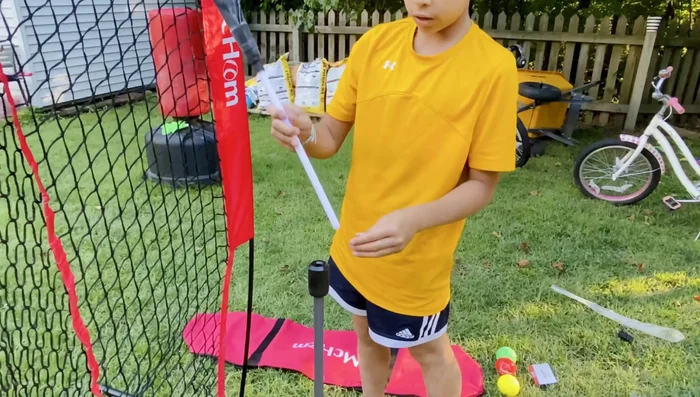
Attach and Secure the Stand Final Adjustments
- Adjust the position of the hitting target as needed.
Final Adjustments


Read more: Repairing Heavy Hitting Netting: The Professional Method
Tips
- Avoid placing the trainer near breakable objects.
- Use a ladder if needed for higher adjustments.
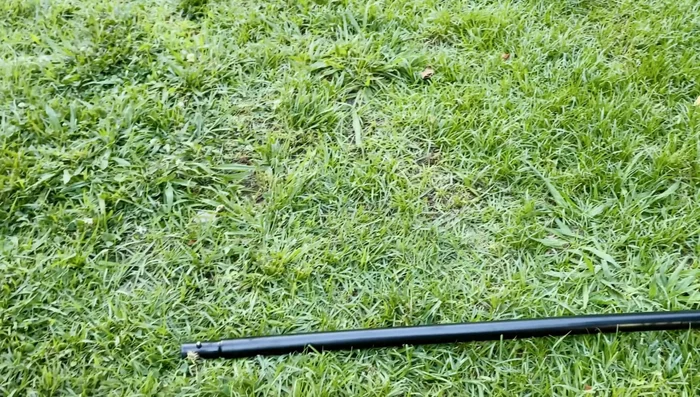
- Ensure the end of the connected parts are aligned correctly; it should look like 'this'.
- When attaching parts, ensure a snug fit, then potentially loosen slightly for better hitting.