Paddle ball, a beloved pastime for many, often thrives in outdoor settings. However, the enjoyment of a friendly game can be significantly impacted by inadequate netting, leading to lost balls, disrupted gameplay, and even safety concerns. A well-installed net is crucial for a positive paddle ball experience, ensuring the game flows smoothly and minimizing interruptions. This isn't just about stringing up some netting; it's about creating a secure and functional playing environment that enhances the overall enjoyment of the game.
This comprehensive guide tackles the intricacies of secure net installation for paddle ball courts, offering a step-by-step approach to ensure a successful and long-lasting setup. From selecting the right materials to addressing common installation challenges, we'll cover everything you need to know to build a robust and reliable net system. Follow along as we detail the process, providing clear instructions and valuable tips to elevate your paddle ball experience.
Preparation and Safety Guidelines
- Paddle cord
- Screws
- Cable ties
- Fixing mechanisms for net and posts
- Always use heavy-duty netting specifically designed for paddle ball courts. Improper netting can easily fail, leading to injury.
- Ensure proper tensioning of the net. A loosely strung net can sag and create tripping hazards, while overly tight netting may cause damage to the posts or net itself.
- Regularly inspect the net and its attachments for wear and tear. Replace any damaged components immediately to prevent accidents.
Step-by-Step Instructions
Net Assembly
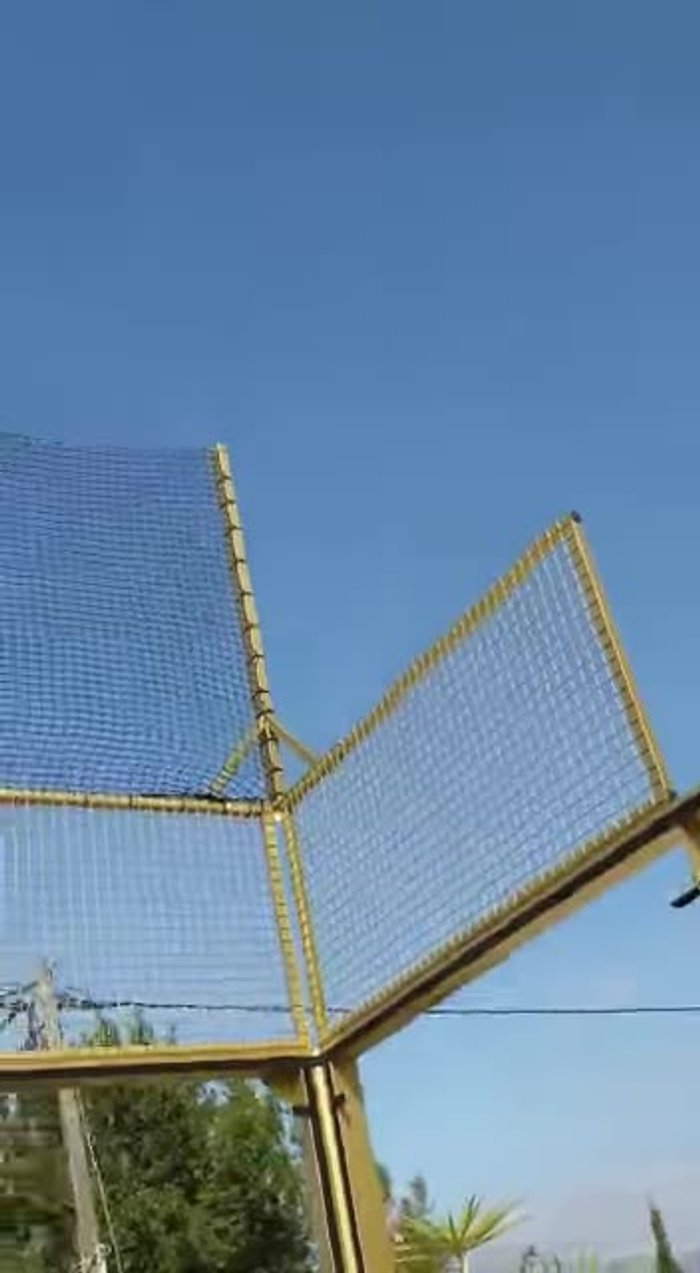
- Assemble the corner net and main net sections. The main net goes in the middle.
- Securely fasten the net using screws to connect the sections (corner and main).

Net Assembly Attaching Net to Paddle Cord
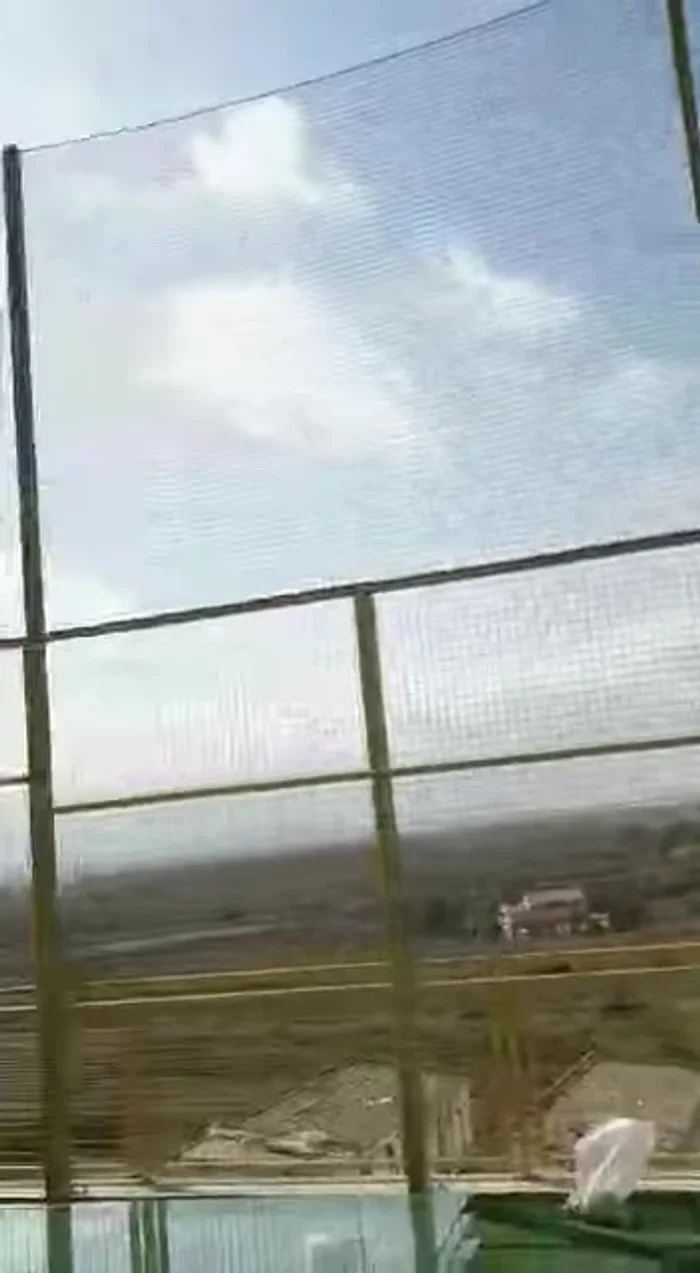
- Attach the net to the paddle cord. Every four holes of the paddle cord should have a fixing point to the net. This prevents the net from being blown sideways by wind.
- For the 10-meter and 20-meter sections (long parts of the paddle), start fixing from the corner and work your way along. Use multiple fixing points to ensure stability.
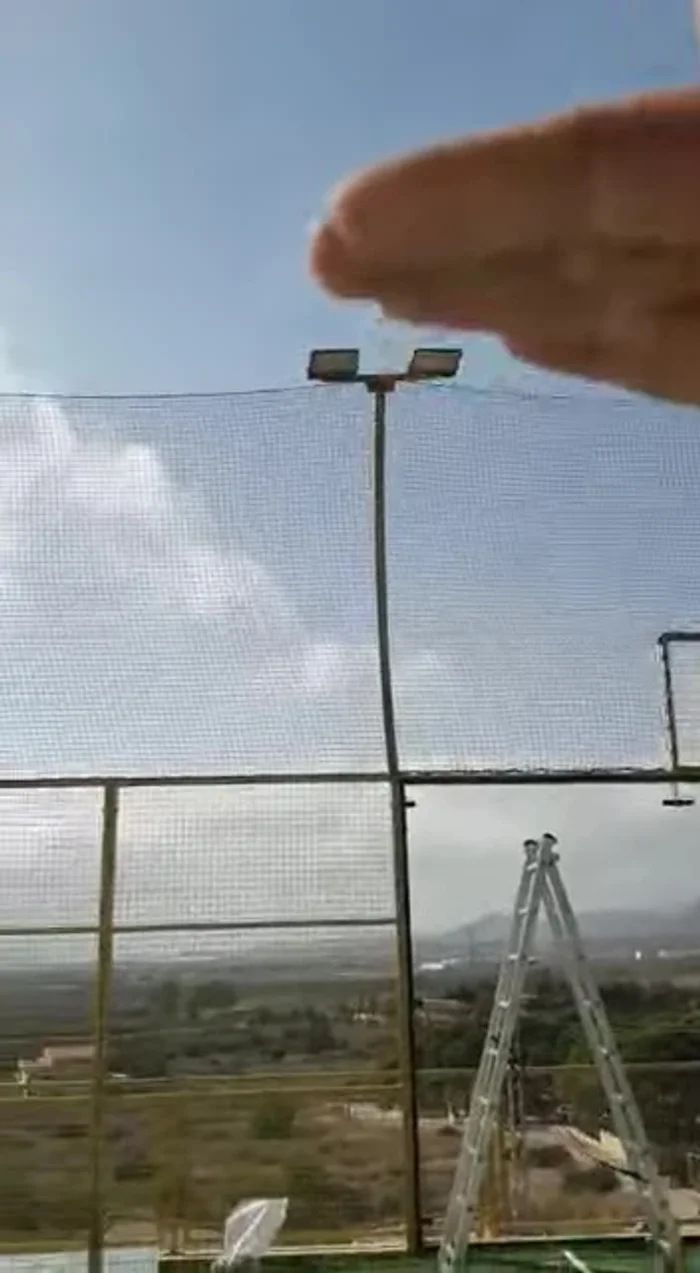
Attaching Net to Paddle Cord Securing to Support Posts
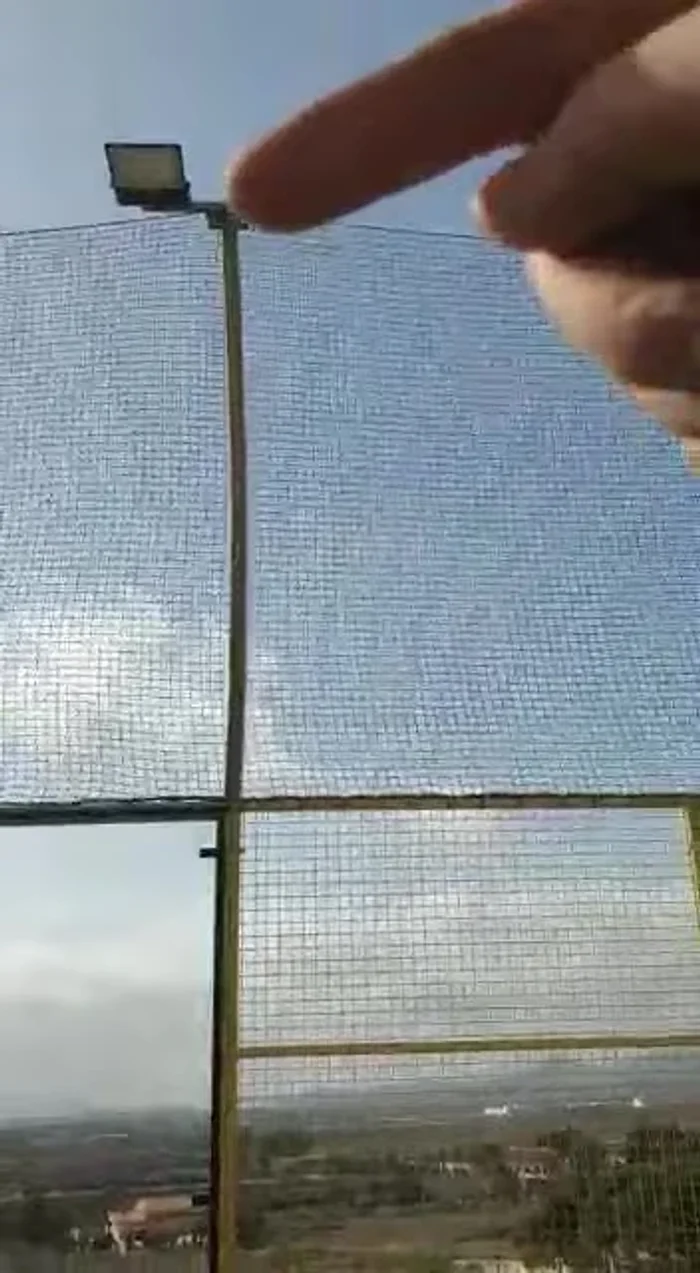
- Add extra fixing points at lamp posts, using cable ties (two for lamp posts). The primary fastening is to the top posts; these posts have specialized fixing mechanisms for the net cable.
- Secure the cable to the main post's top fixing mechanism (specialized fixing on the top of the post).
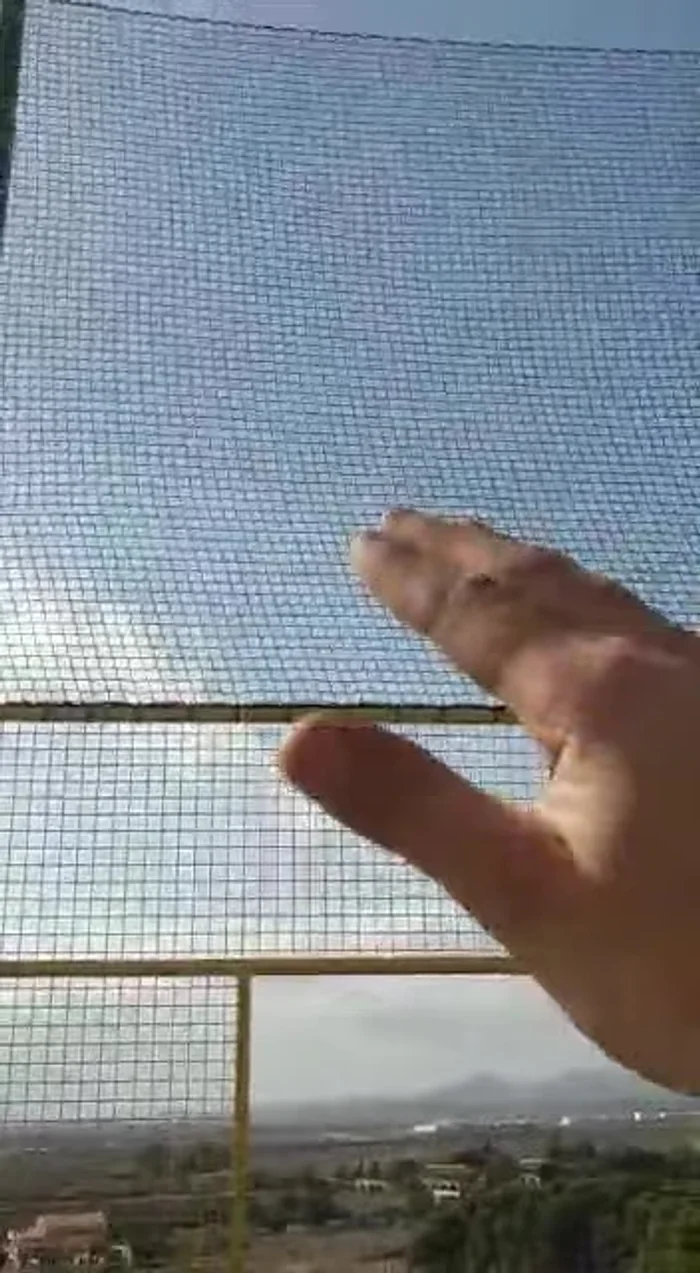
Securing to Support Posts Adjusting Net Tension
- After fixing the net, slowly pull it down to create slight tension. Pull through two holes of the net's squares for optimal tension. It should be taut but not overly tight.
Adjusting Net Tension Repeating for All Corners
- Repeat steps for each corner. Remember that for lamp posts, the cable ties are for minor cable support. The main stability comes from the top post fixings.
Repeating for All Corners


Read more: Repairing Heavy Hitting Netting: The Professional Method
Tips
- Use ample fixing points, especially at the bottom and corners, to withstand wind.
- Pull the net down by hand, ensuring even tension without over-tightening. Slight slack is acceptable.
- The main fixing points should be to the top posts; these have specific mechanisms for the net cable.
- Ensure ample fixing at the corners to prevent ball slippage.