The Yeti 2, a popular and versatile pitching machine, offers the flexibility to adapt to various ball types and sports. While many initially purchase it for softball, its robust design and adjustable settings allow for a seamless transition to leather baseball pitching. This can be particularly beneficial for coaches and players who need a machine capable of accurately delivering both types of balls during practice. The slight differences in ball size and weight require specific adjustments to optimize performance and prevent damage to the machine. Switching over improperly can lead to inaccurate throws or even potential equipment damage.
This guide will walk you through the process of converting your Yeti 2 pitching machine from a softball to a leather baseball setting, step by step. We will cover crucial adjustments to wheel speed, ball feed, and other vital settings to ensure your machine accurately and safely delivers baseballs, maximizing its utility and extending its lifespan. Let's get started!
Preparation and Safety Guidelines
- half inch wrench
- Always ensure the Yeti 2 is completely powered off before making any adjustments to the pitching mechanism or settings. Failure to do so could result in injury or damage to the machine.
- Carefully review the Yeti 2's official manual before attempting any conversion. Incorrect adjustments can lead to malfunction and potential harm.
- Use appropriate safety equipment, including eye protection, when handling the machine and the baseballs. Leather baseballs are harder than softballs and can cause injury if mishandled.
Step-by-Step Instructions
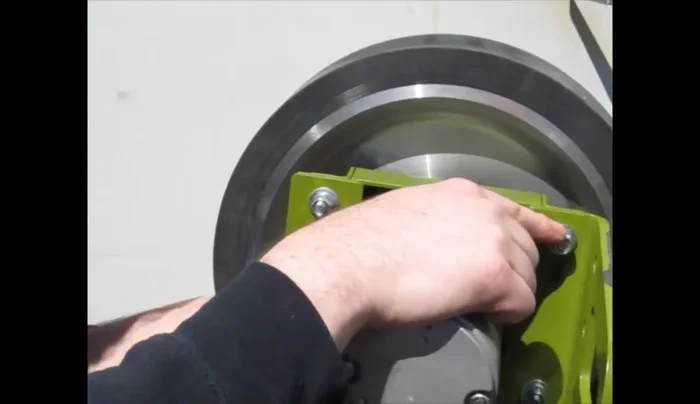
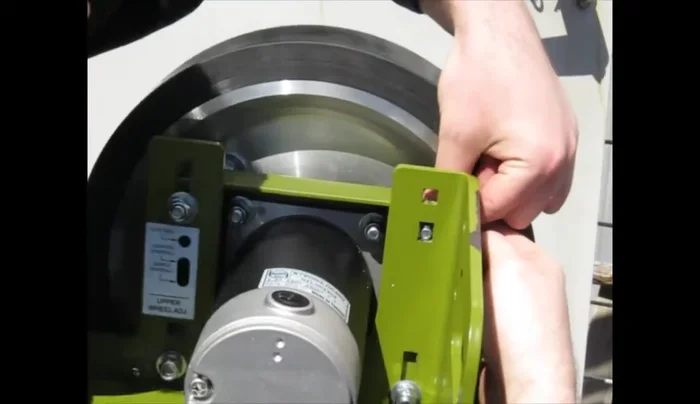
Prepare the Motor Mount
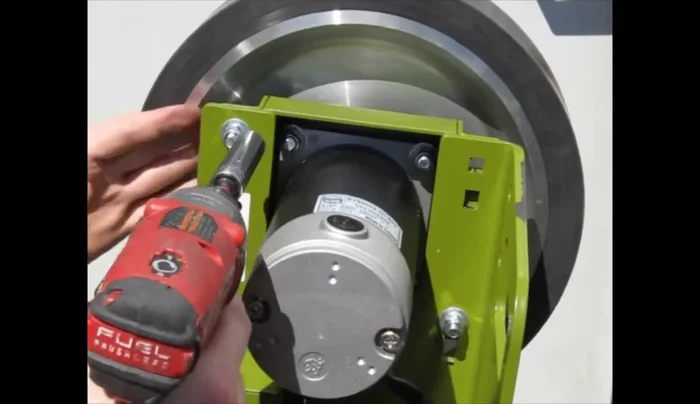
- Loosen the bottom left and top right nuts using a half inch wrench.
- Remove the bottom left and top right carriage bolts and all associated hardware.
- Loosen the remaining two carriage bolts on the top motor mount. Be prepared to hold the motor assembly to prevent it from falling.

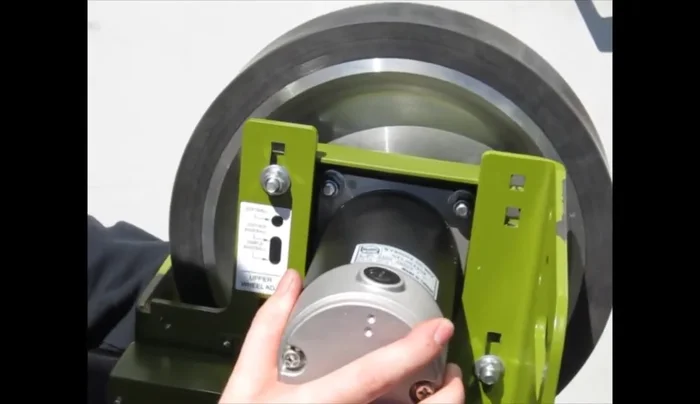
Prepare the Motor Mount Lower the Motor Assembly
- Let the motor assembly drop gently into the slots.
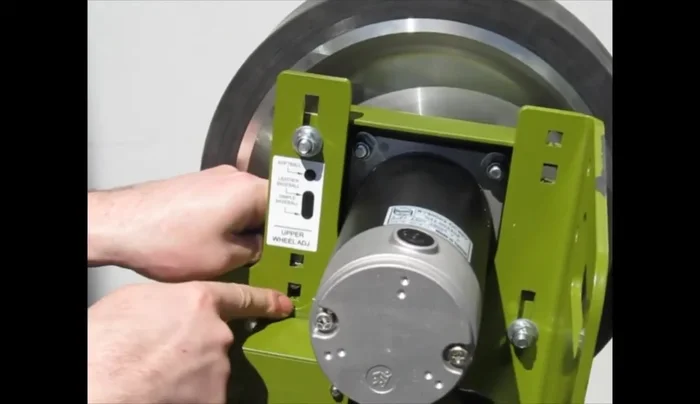
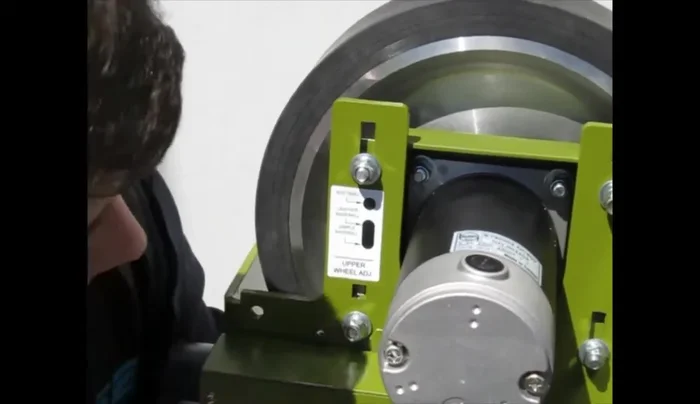
Lower the Motor Assembly Secure the Motor Assembly in the Leather Baseball Position (Part 1)
- Replace the bottom left carriage bolt in the bottom elongated slot, add the washer and nut, and tighten.
- Install the top right carriage bolt with washer, lock washer, and nut. Position the motor assembly at the top of the slot for the leather baseball setting.
- Before tightening, hold the motor up so it rests at the top of the bottom slots (not the top slot).
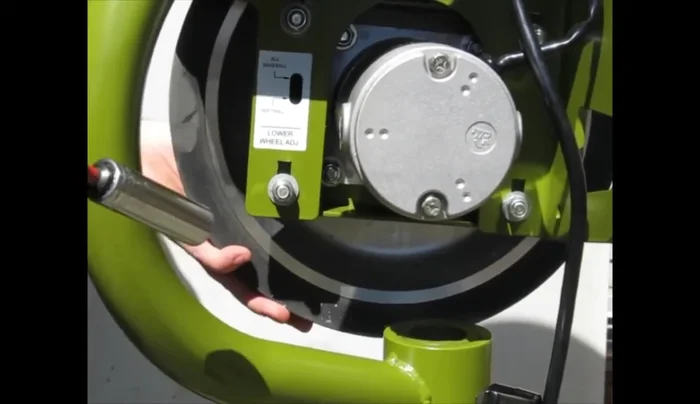
Secure the Motor Assembly in the Leather Baseball Position (Part 1) Secure the Motor Assembly in the Leather Baseball Position (Part 2)
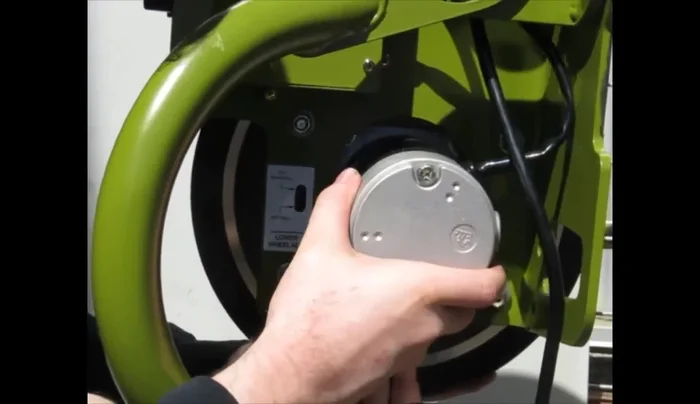
- Bring the bottom wheel assembly up to the top of its slots.
- Loosen all four nuts on the bottom motor mount.
- Bring the motor mount all the way to the top of the four slots, hold it in place, and tighten all four nuts.
Secure the Motor Assembly in the Leather Baseball Position (Part 2)
Read more: Louisville Slugger Blue Flame Pitching Machine Assembly & Best Practice Tips
Tips
- Carefully hold the motor assembly to prevent it from dropping unexpectedly.
- Refer to the diagram to ensure correct placement of the motor assembly.
- Ensure the motor assembly is at the top of the *bottom* slots for the baseball setting.