Maintaining your green pitching machine is crucial for ensuring its longevity and consistent performance. A vital component requiring periodic attention is the spring mechanism, responsible for the powerful launch of baseballs or softballs. Over time, the springs can weaken, lose their tension, or even break, leading to inconsistent throws and potential damage to the machine itself. Ignoring this crucial part can lead to costly repairs down the line, making regular inspection and timely replacement essential for any serious coach or player. A well-maintained pitching machine translates directly to more efficient and effective training sessions.
This simple guide provides a step-by-step process for replacing and maintaining your green pitching machine's springs, ensuring you can get back to honing your skills with a consistently reliable machine. Whether you're a seasoned user or tackling this for the first time, follow along as we break down the process into manageable steps, complete with helpful tips and tricks for a successful spring replacement.
Preparation and Safety Guidelines
- Green Pitching Machine by Pop Toss
- Screwdriver
- New Spring
- Towel
- Dawn dish soap (optional)
- Washcloth (optional)
- Air compressor or leaf blower (optional)
- Motor oil or bar chain oil
- Silicone-based grease
- Adjustable wrench
- Always disconnect the power source before attempting any maintenance or spring replacement on your green pitching machine. Failure to do so could result in serious injury.
- Wear appropriate safety glasses and gloves to protect yourself from potential injury from springs, wires, or other components.
- If you are unsure about any aspect of the repair or maintenance, consult a qualified technician or refer to the manufacturer's instructions. Improper repair could damage the machine or cause injury.
Step-by-Step Instructions
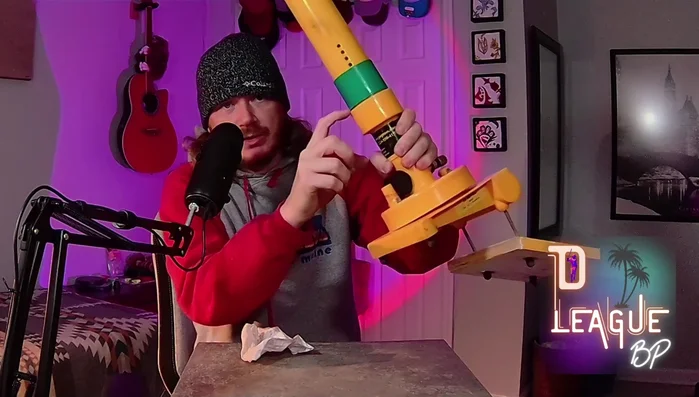
Disassembly
- Unscrew the top of the pitching machine. Locate the screws at the point between the screen piece and the larger piece.
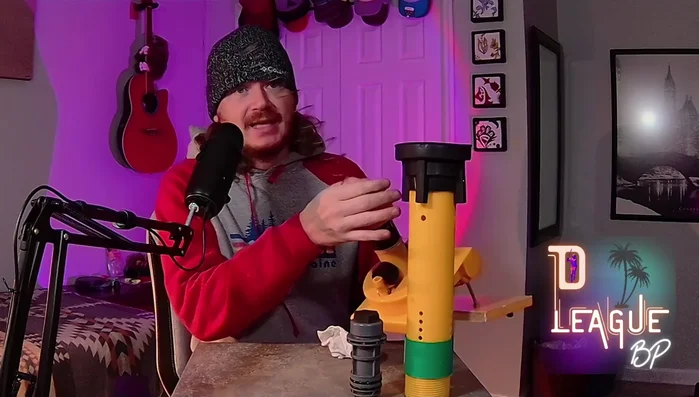
- Carefully remove the top to avoid losing the plunger.
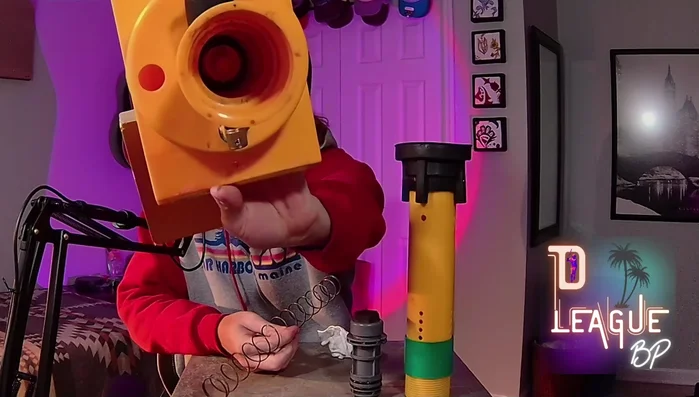
- Remove the old spring.

Disassembly Spring Replacement
- Insert the new spring.
Spring Replacement Reassembly
- Reassemble the plunger and shaft.
- Screw the top back on.
Reassembly


Read more: Louisville Slugger Blue Flame Pitching Machine Assembly & Best Practice Tips
Tips
- Regularly clean the machine to prevent dirt buildup. Wipe down the balls and the bat handle.
- Clean the machine using a non-abrasive cleaner like Dawn dish soap. Remove the timer and air pressure valves before cleaning to prevent water damage.
- Lubricate the base with motor oil or bar chain oil.
- Lubricate the O-rings with silicone-based grease to prevent cracking and drying.
- Contact Pop Toss for warranty support if you need replacement parts.