Little League baseball is a time of learning, growth, and unforgettable moments. For young pitchers, mastering the art of throwing strikes and developing effective pitches is crucial for both individual success and team victories. But beyond the actual pitching, understanding and effectively utilizing the pitching machine can significantly accelerate a pitcher's development. This often-overlooked tool offers a unique opportunity for consistent practice, allowing young athletes to refine their mechanics and build confidence at their own pace. Proper use, however, requires understanding its nuances.
This guide will demystify the pitching machine, transforming it from a potentially frustrating piece of equipment into a valuable ally in your pitching journey. We'll delve into a step-by-step process, covering everything from setup and adjustment to effective practice routines. Get ready to unlock the full potential of the Little League pitching machine and elevate your pitching game to the next level.
Preparation and Safety Guidelines
- Pitching Machine
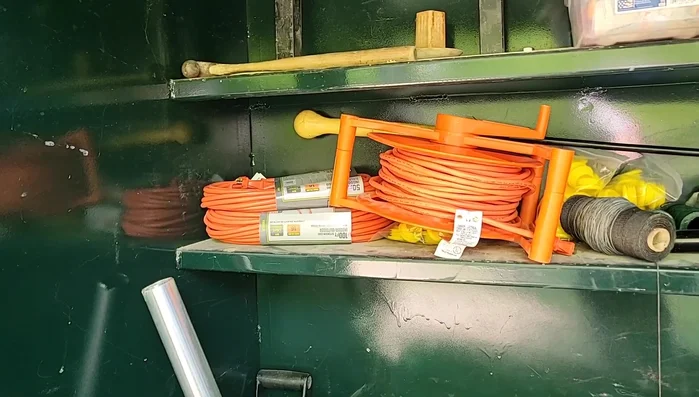
- 100-foot extension cord
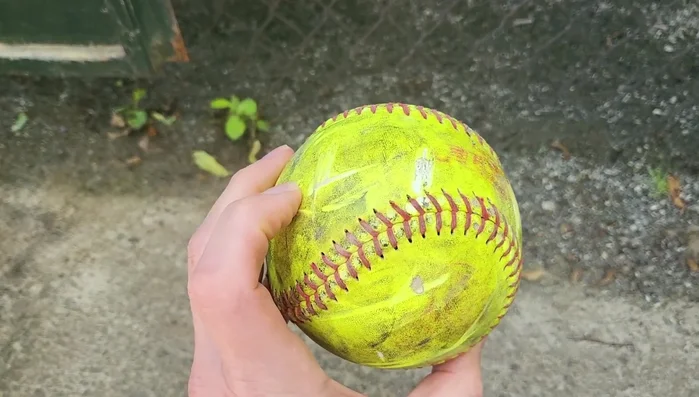
- 12-inch dimpled softballs
- Older aluminum bat
- Always ensure the pitching machine is properly secured and on a level surface before operation. Never operate near children or other individuals.
- Inspect the machine and baseballs before each use. Replace damaged parts or balls immediately. Never use a damaged or malfunctioning machine.
- Wear appropriate eye protection at all times while operating or near the pitching machine. Never stand directly in line with the pitching path.
Step-by-Step Instructions
Setting Up the Pitching Machine
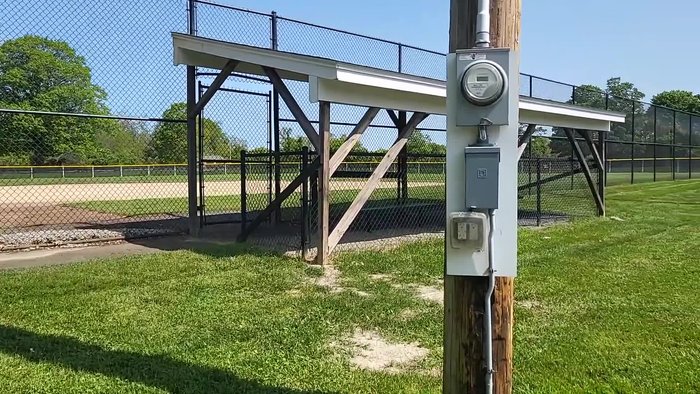
- Locate and access the electrical outlet at either Maple Avenue or Upper Dean Fields.
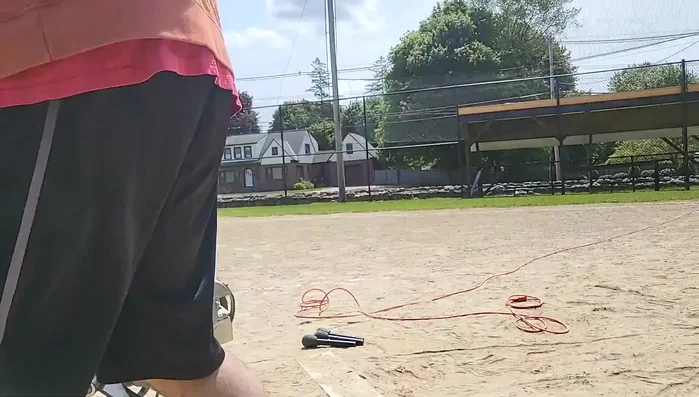
- Extend the 100-foot extension cord to the pitcher's circle.
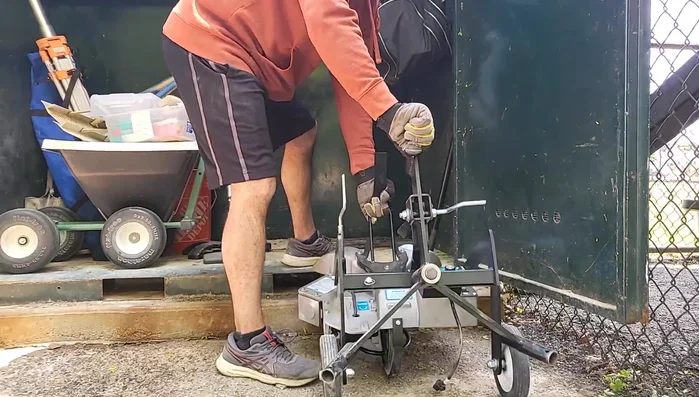
- Carefully remove the pitching machine from its cabinet.
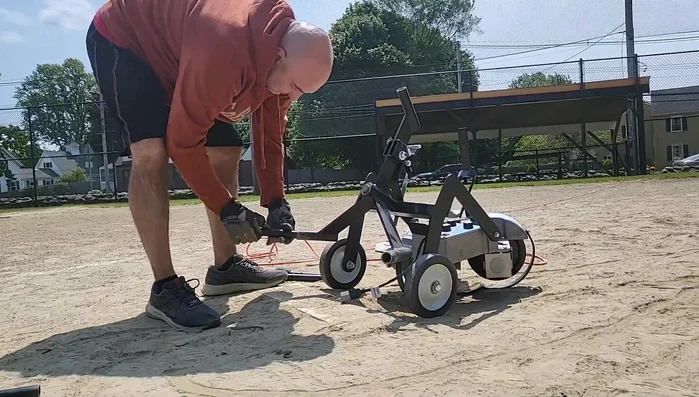
- Attach the long handle attachment to the top socket and roll the machine to the desired location.

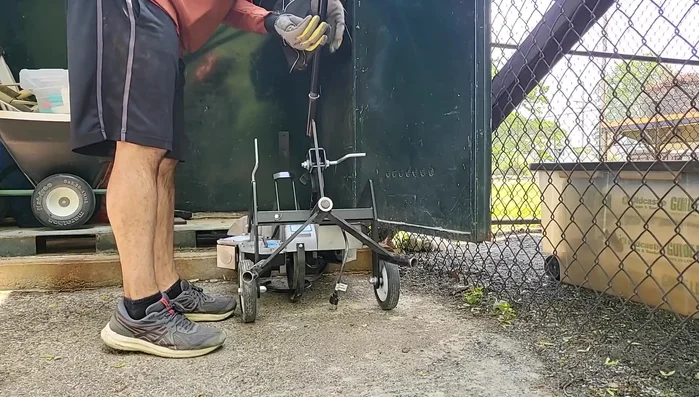
Setting Up the Pitching Machine - Position the machine, ensuring it's level, with the wheels where you want the ball released.
- Remove the long handle and attach the short attachments. Pivot the machine down onto its three legs.
Setting Up the Pitching Machine Preparing for Pitching
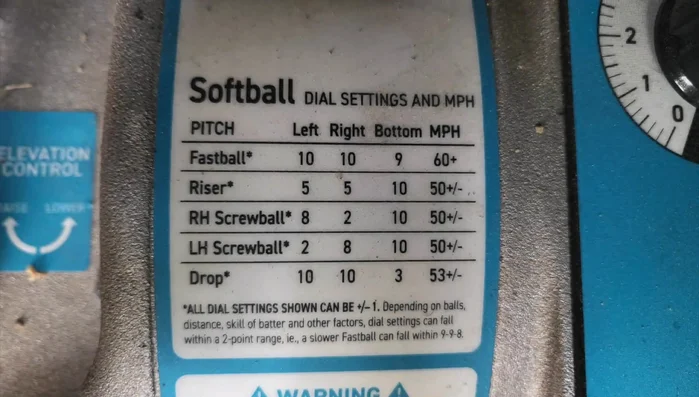
- Use the 12-inch dimpled softballs (not regular practice balls).
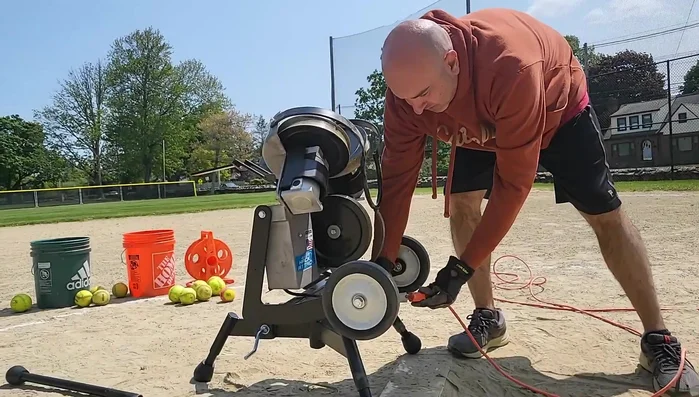
- Plug in the machine and turn on the power switch.
- same speed for a regular fastball, between 4 and 7).
Preparing for Pitching Adjusting the Pitch
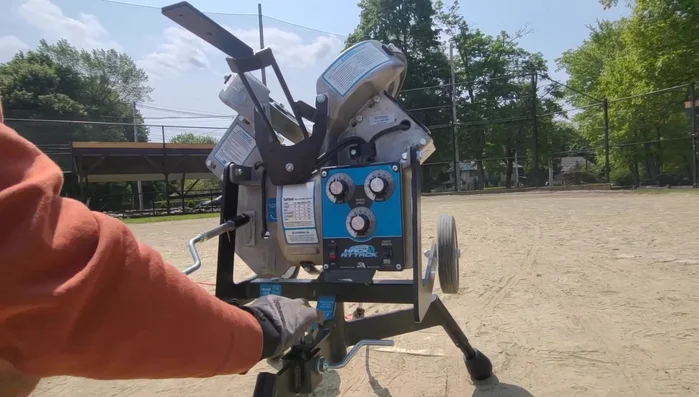
- Adjust the aim (inside/outside) using the black handle and bottom crank.
- Adjust the elevation using the left-hand crank.
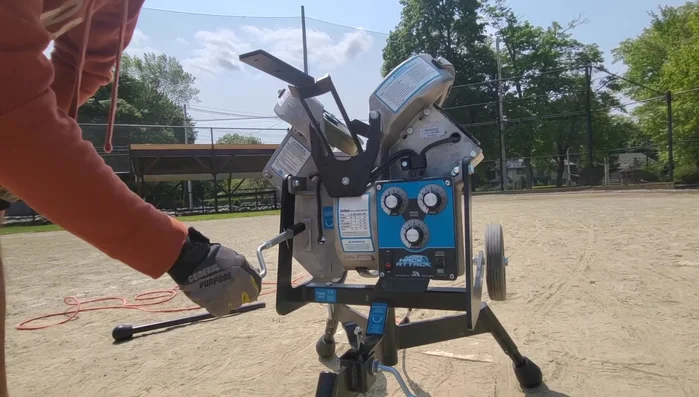
- Feed softballs into the feeder, making adjustments until satisfied with the location.
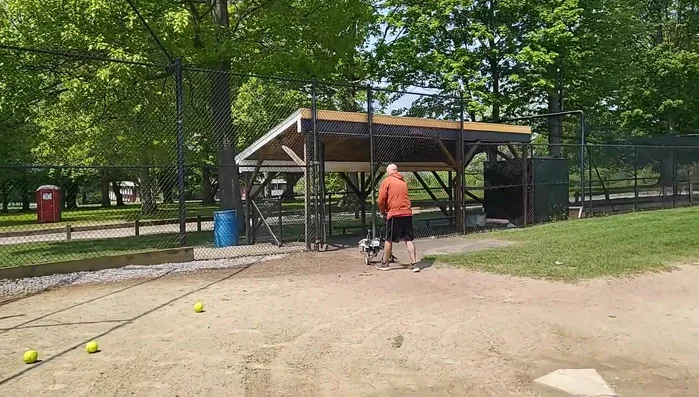
Adjusting the Pitch Operating and Storing the Machine
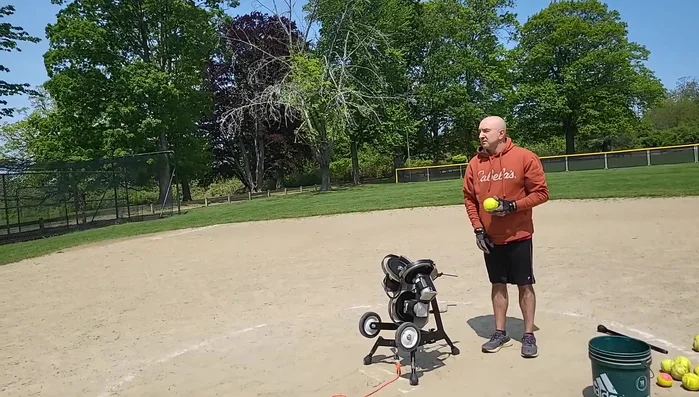
- Operate the machine slowly and deliberately, warning the batter before each pitch.
- After use, reverse all setup steps, returning equipment to the cabinet and securing the electrical outlet.
Operating and Storing the Machine

Read more: Louisville Slugger Blue Flame Pitching Machine Assembly & Best Practice Tips
Tips
- Use an older aluminum bat to avoid damaging a composite bat.
- Only adults should operate the pitching machine.