Pitching machines are invaluable tools for baseball and softball training, providing consistent practice for batters of all skill levels. However, even the most robust machines can malfunction, leaving coaches and players frustrated and practice sessions disrupted. A faulty pitching machine can range from minor annoyances, like inconsistent ball speed, to complete breakdowns that halt training entirely. This can be incredibly disruptive to a well-structured training schedule and can leave you feeling quite helpless.
This frustrating situation is precisely why we've created this comprehensive guide: a step-by-step process to troubleshoot common problems and get your pitching machine back in action quickly. From simple fixes like checking the power supply to more complex repairs, we'll guide you through the diagnosis and solution, helping you minimize downtime and maximize your training time. Let's get started!
Preparation and Safety Guidelines
- Pitching Machine
- Fuse
- Transformer
- Grounding Wire
- Always disconnect the pitching machine from its power source before performing any maintenance or troubleshooting.
- Never attempt to repair internal components unless you are experienced with electrical and mechanical systems. Incorrect repairs can lead to injury.
- Wear appropriate safety glasses or eye protection when working around the pitching machine, especially during troubleshooting or repairs. Parts can break or fly off unexpectedly.
Step-by-Step Instructions
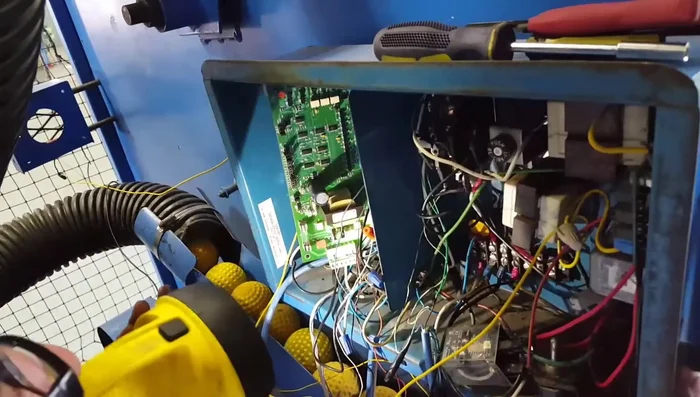
Check Power and Initial Test
- Ensure the pitching machine is receiving power.
- Press the button on the machine to see if it operates. If it works when the button is pressed but not with a token or manual start, proceed to the next step.

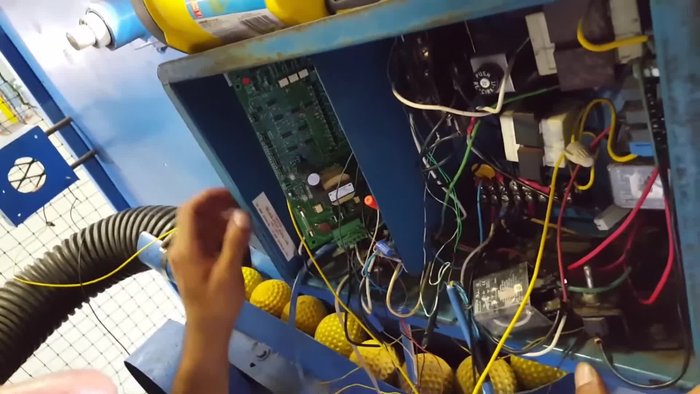
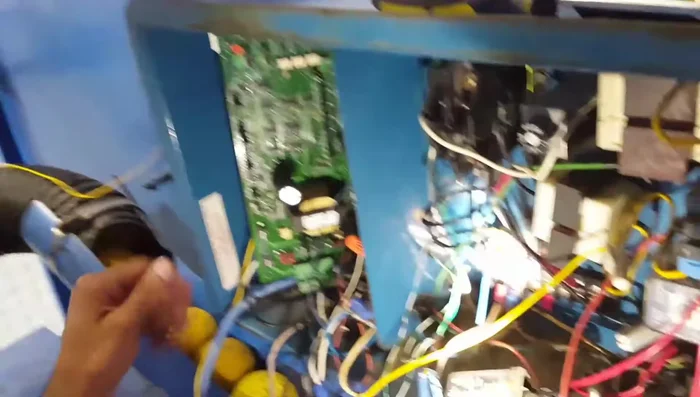
Check Power and Initial Test Inspect Fuse and Identify Problem
- Examine the fuse on the main board. If it keeps blowing, the problem is likely with the grounding of the light.
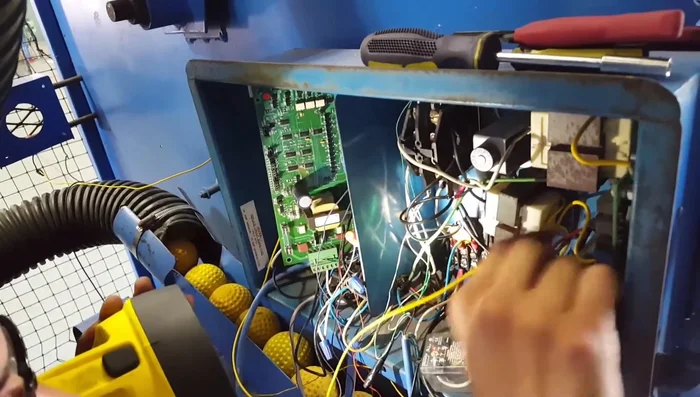
Inspect Fuse and Identify Problem Ground and Connect the Light
- Check the grounding of the light and ensure it's properly connected to the transformer.
- Correctly connect the light to the transformer and ground it.
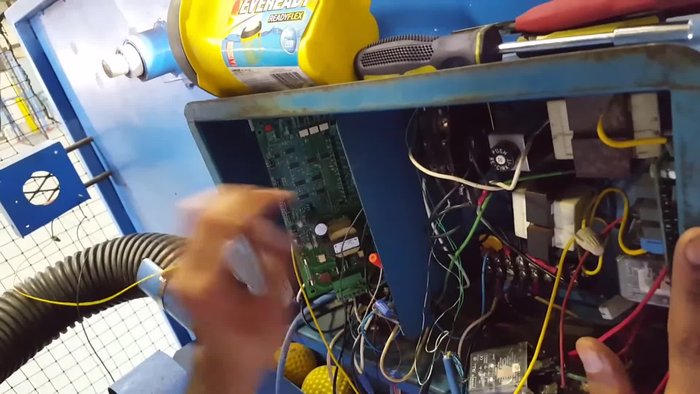
Ground and Connect the Light Test After Grounding
- After grounding, try turning on the machine. If it still doesn't work, the transformer might be faulty.
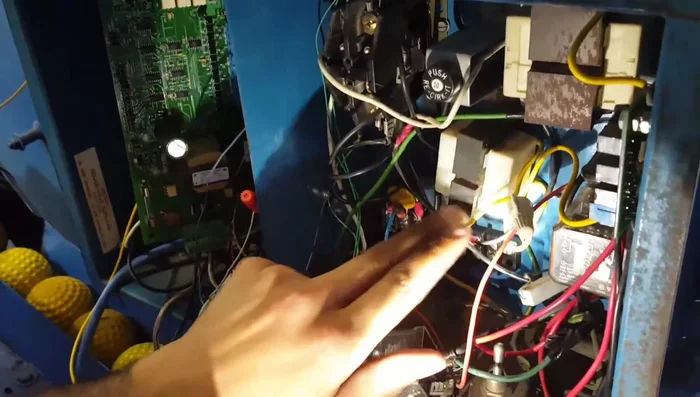
Test After Grounding Replace Transformer (If Necessary)
- If the fuse continues to blow even after proper grounding, replace the transformer.
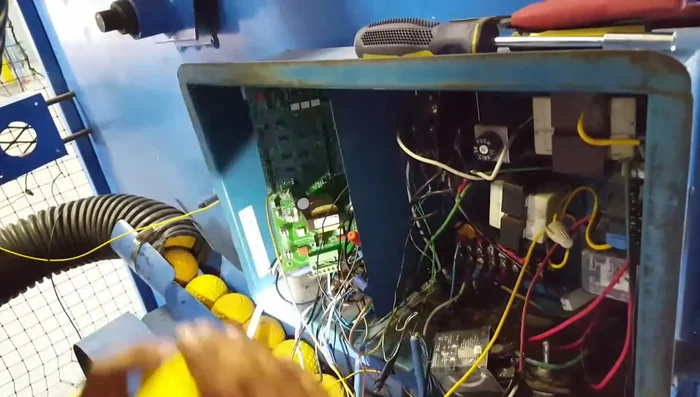
Replace Transformer (If Necessary) Replace Fuse
- Once the light is properly grounded and connected, and/or the transformer replaced, replace the blown fuse.
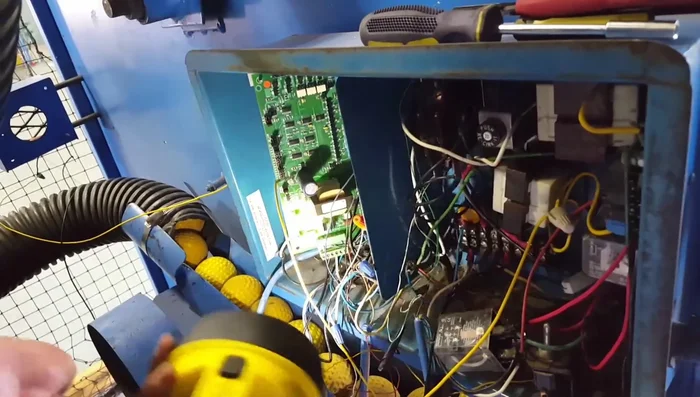
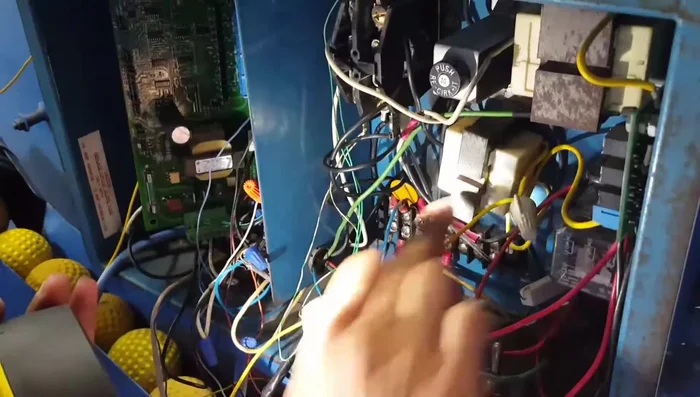
Replace Fuse Final Test
- After replacing the fuse (and transformer if needed), test the machine again.
Final Test
Read more: Louisville Slugger Blue Flame Pitching Machine Assembly & Best Practice Tips
Tips
- A continuously blowing fuse indicates a short circuit, usually caused by improper grounding.
- If the fuse keeps blowing after replacing the transformer, there may be another issue within the machine's circuitry requiring professional attention.